Watering schedule
This script will allow you to set a watering schedule based on weather conditions.
Installation
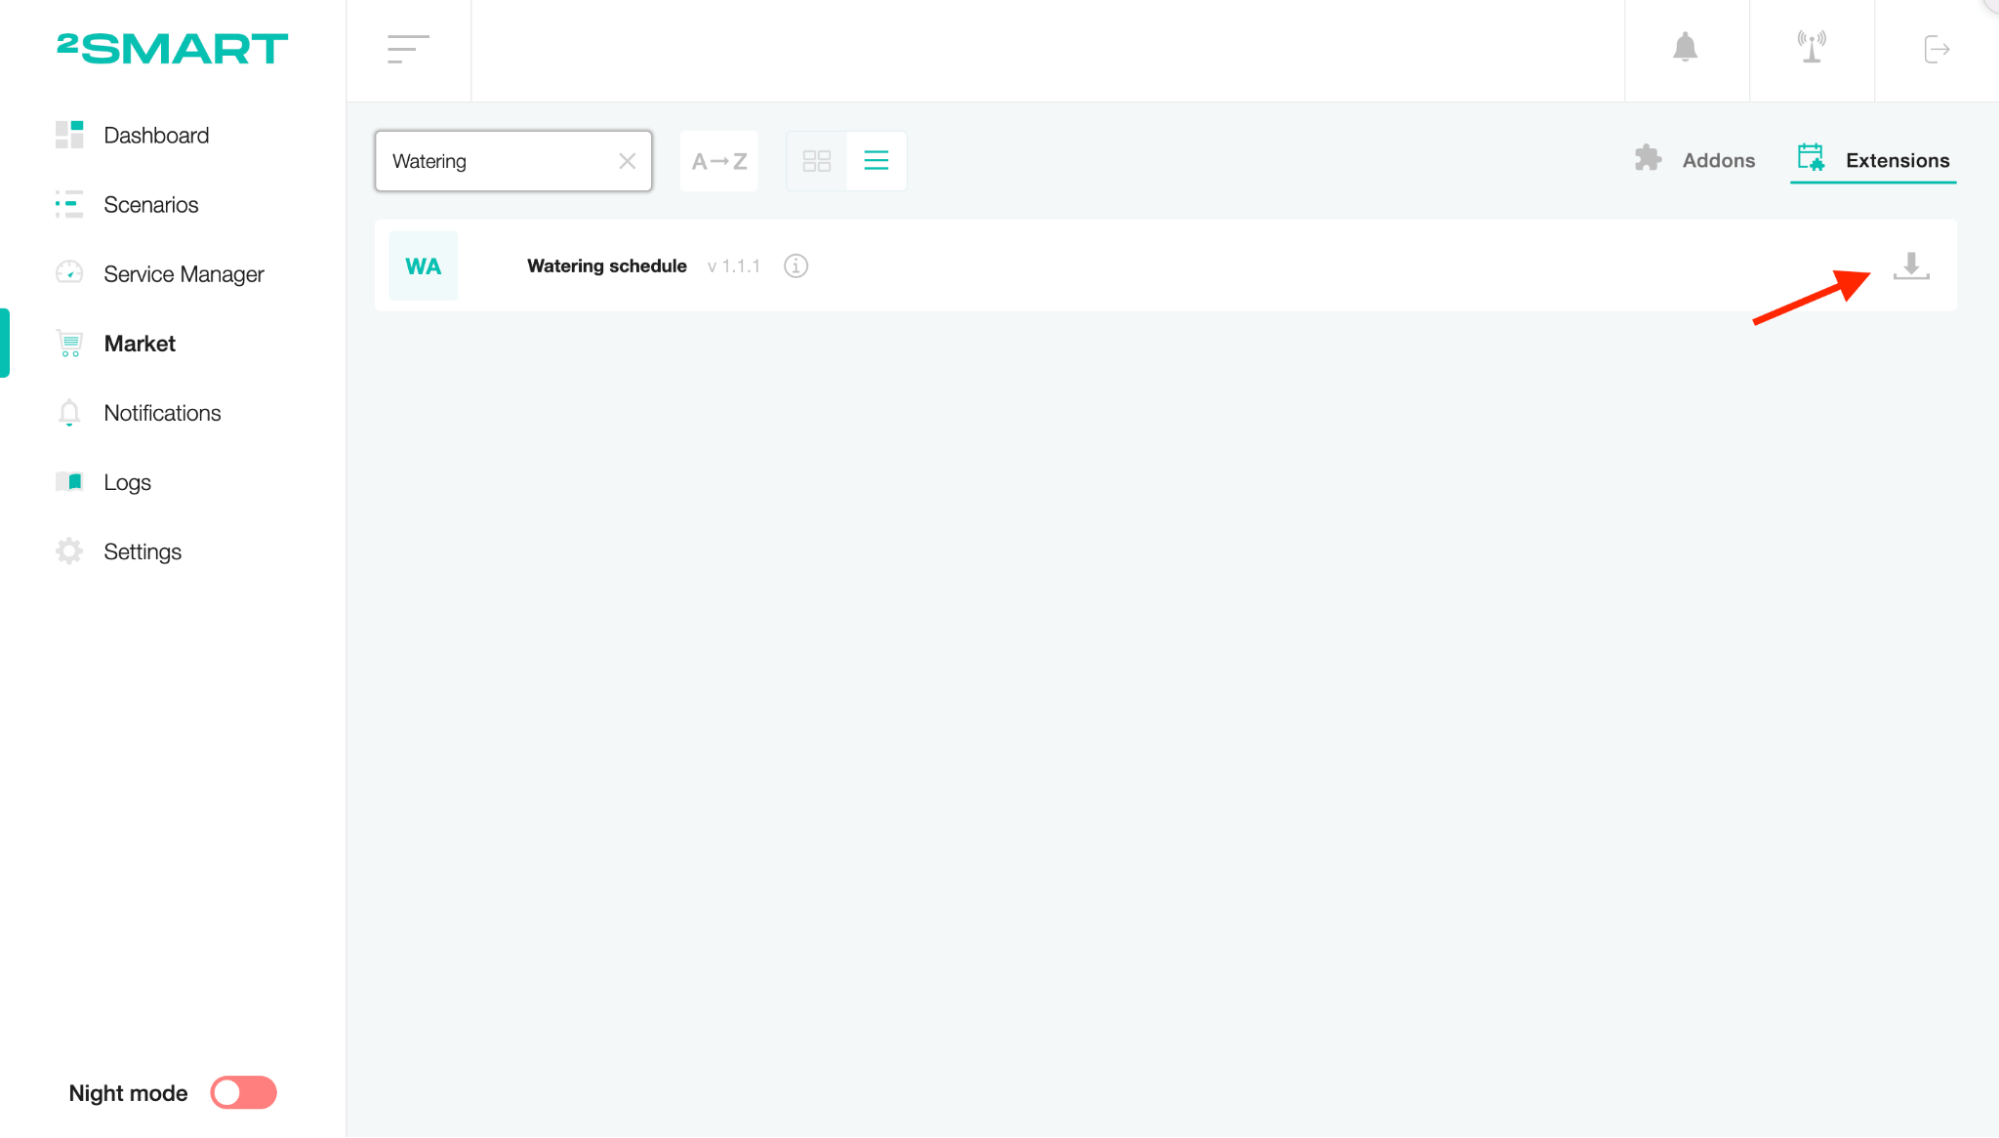
On the Market page, open the Extensions tab and click on the download icon near the selected item.
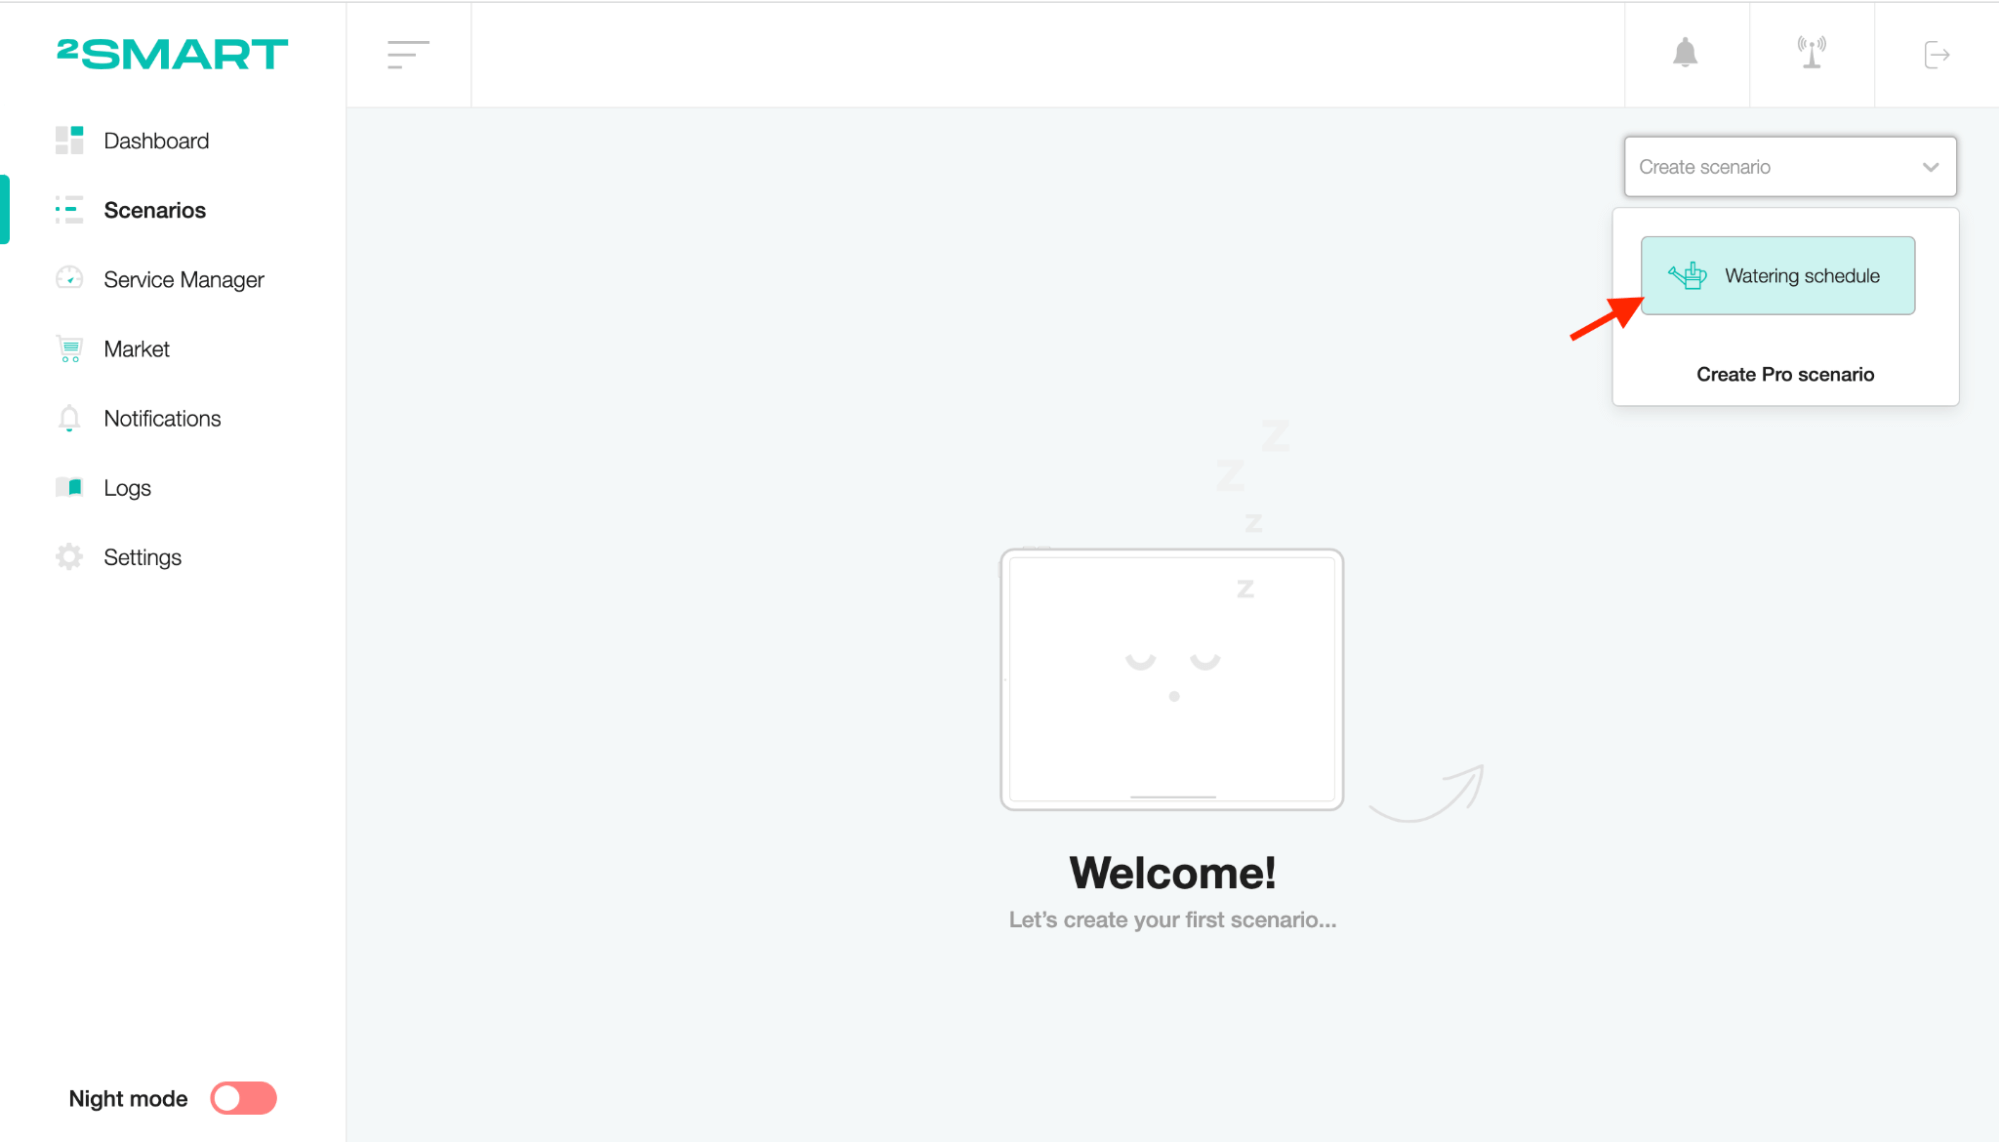
Go to the Scenarios page, click on the “Create scenario” list, and select the scenario you need.
Setup
To edit the scenario name, click on the title, enter a new value and save.
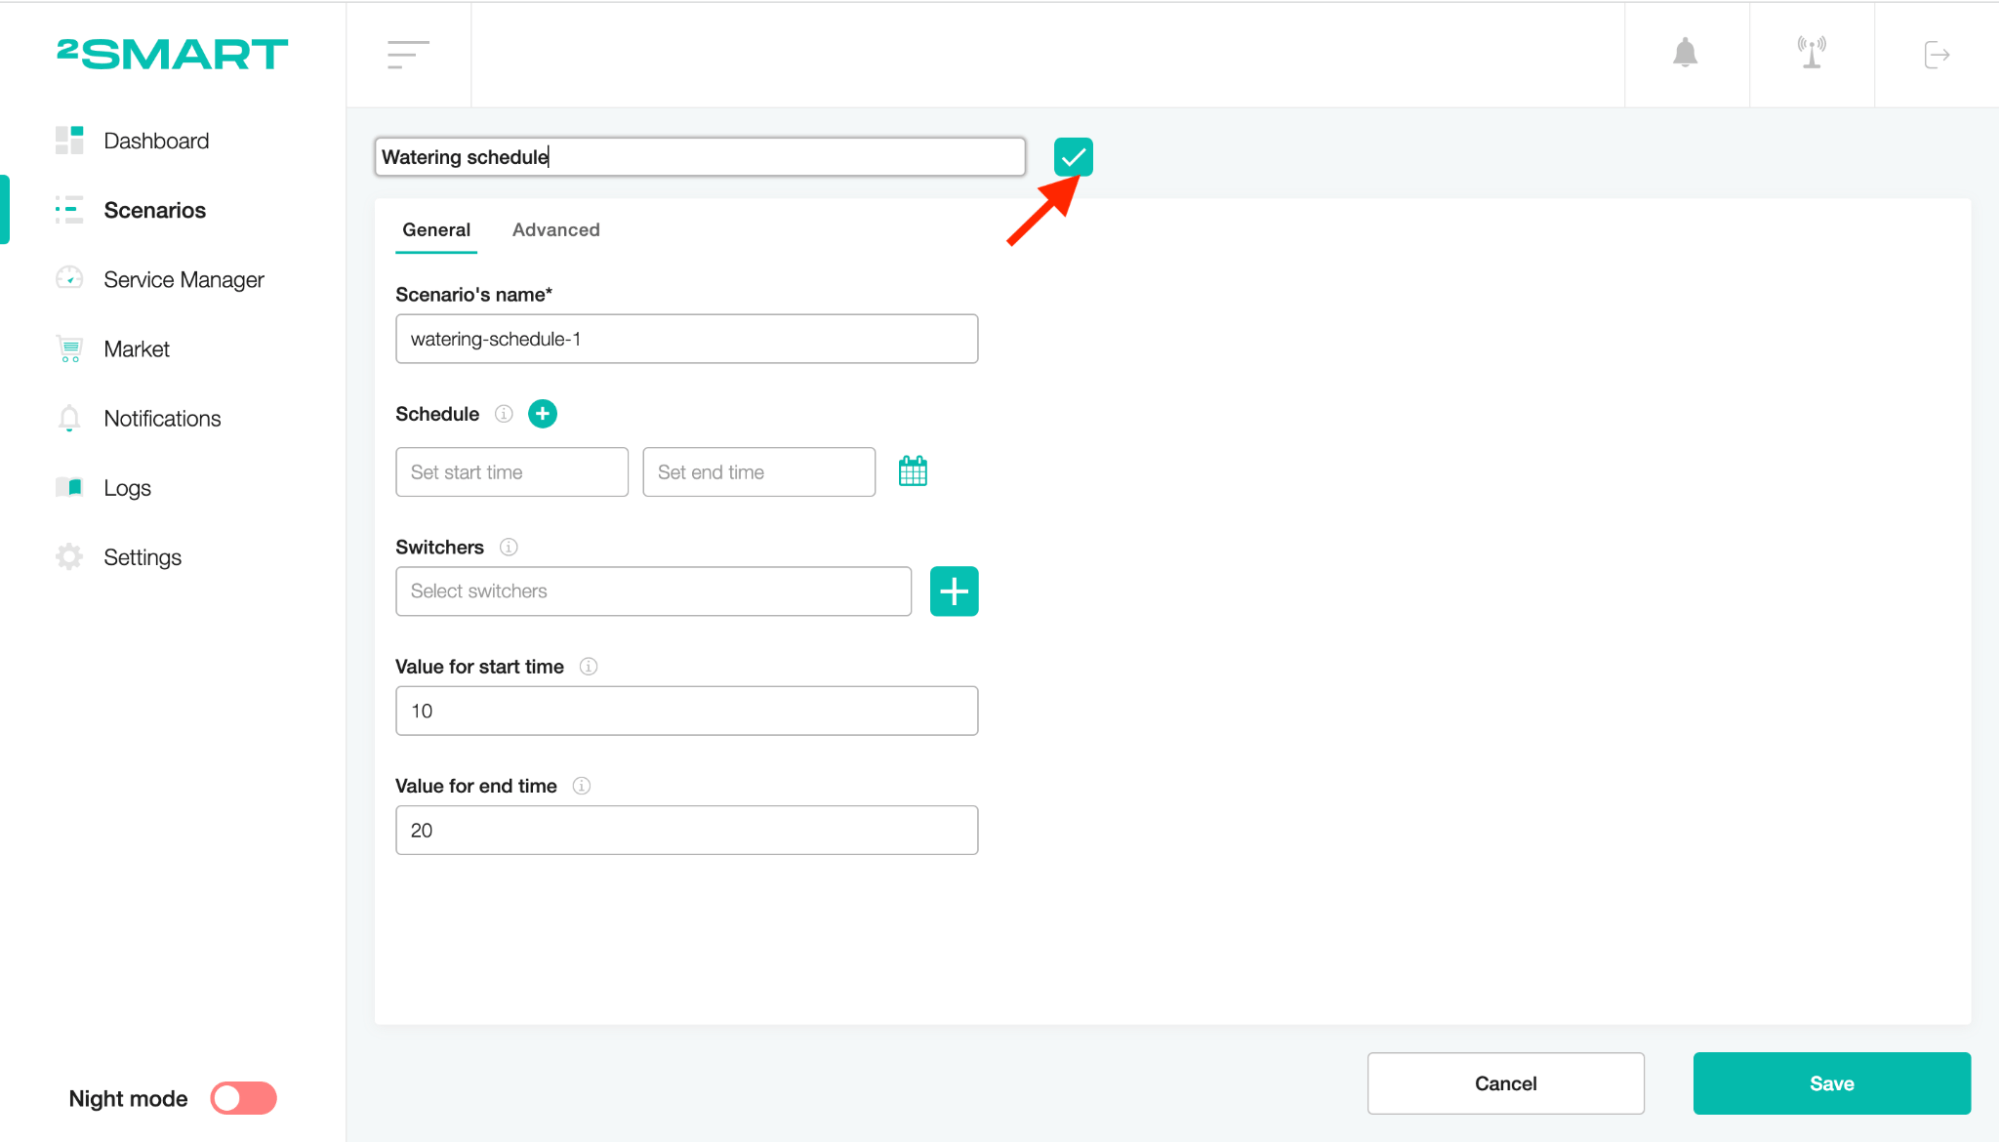
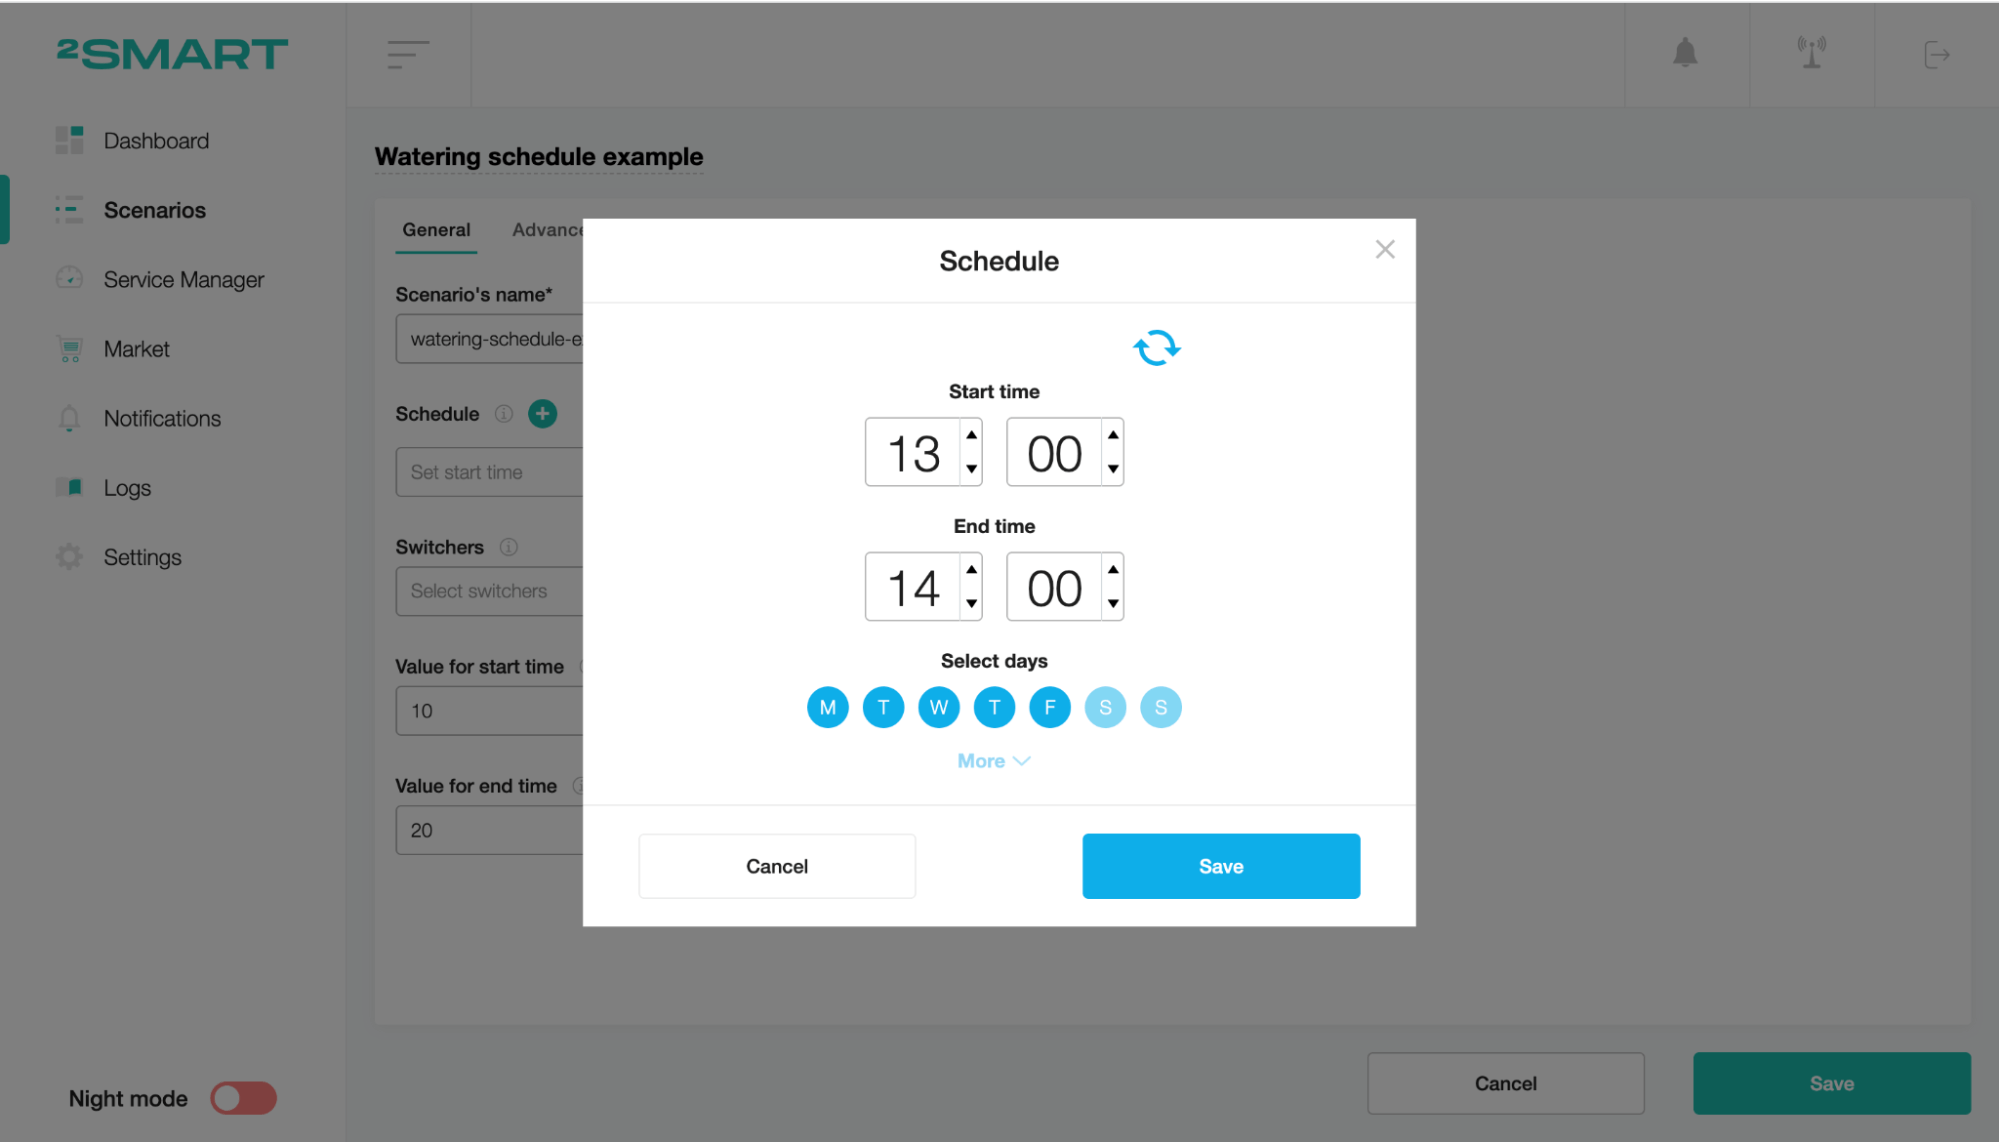
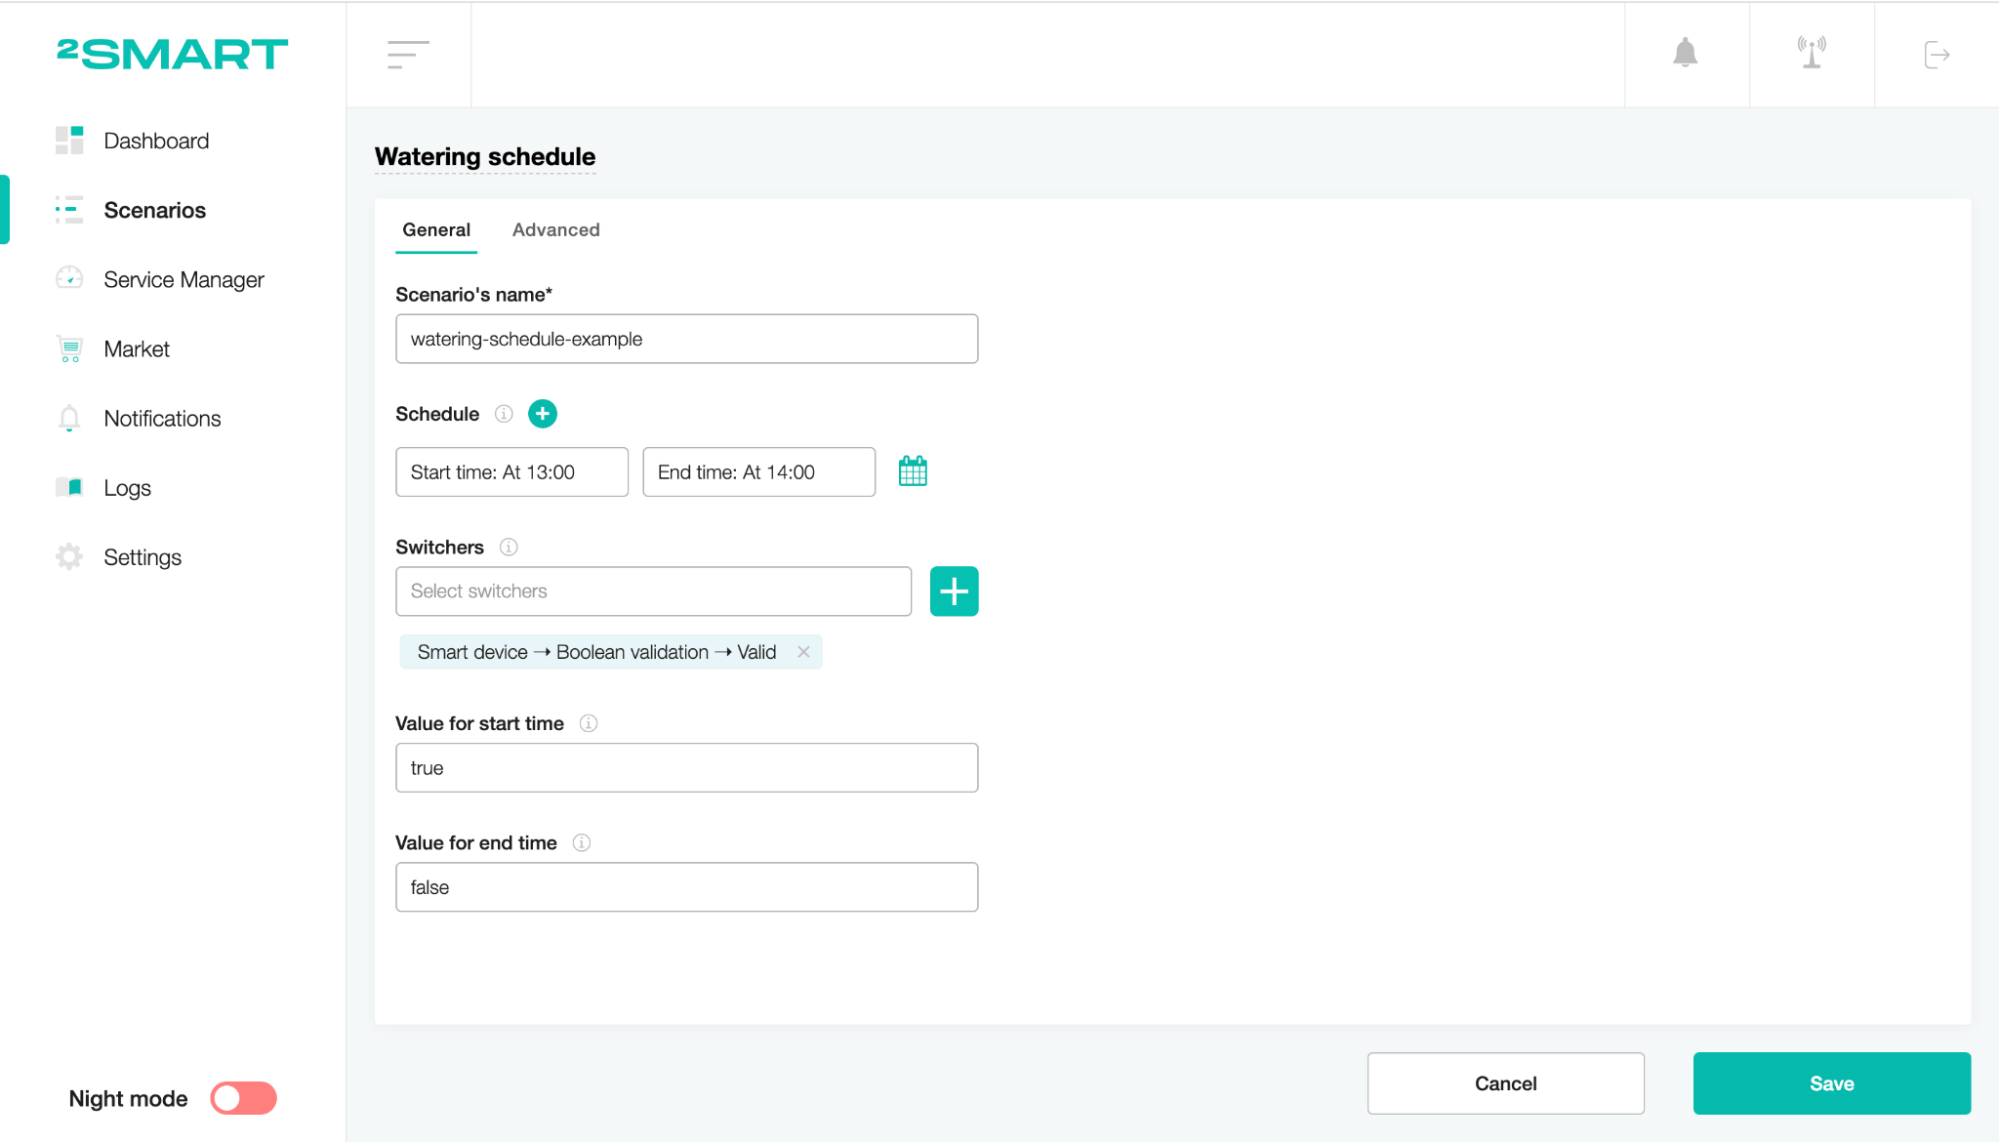
Configure the schedule for watering by setting the time.
Choose the device sensors to switch for turning on the watering.
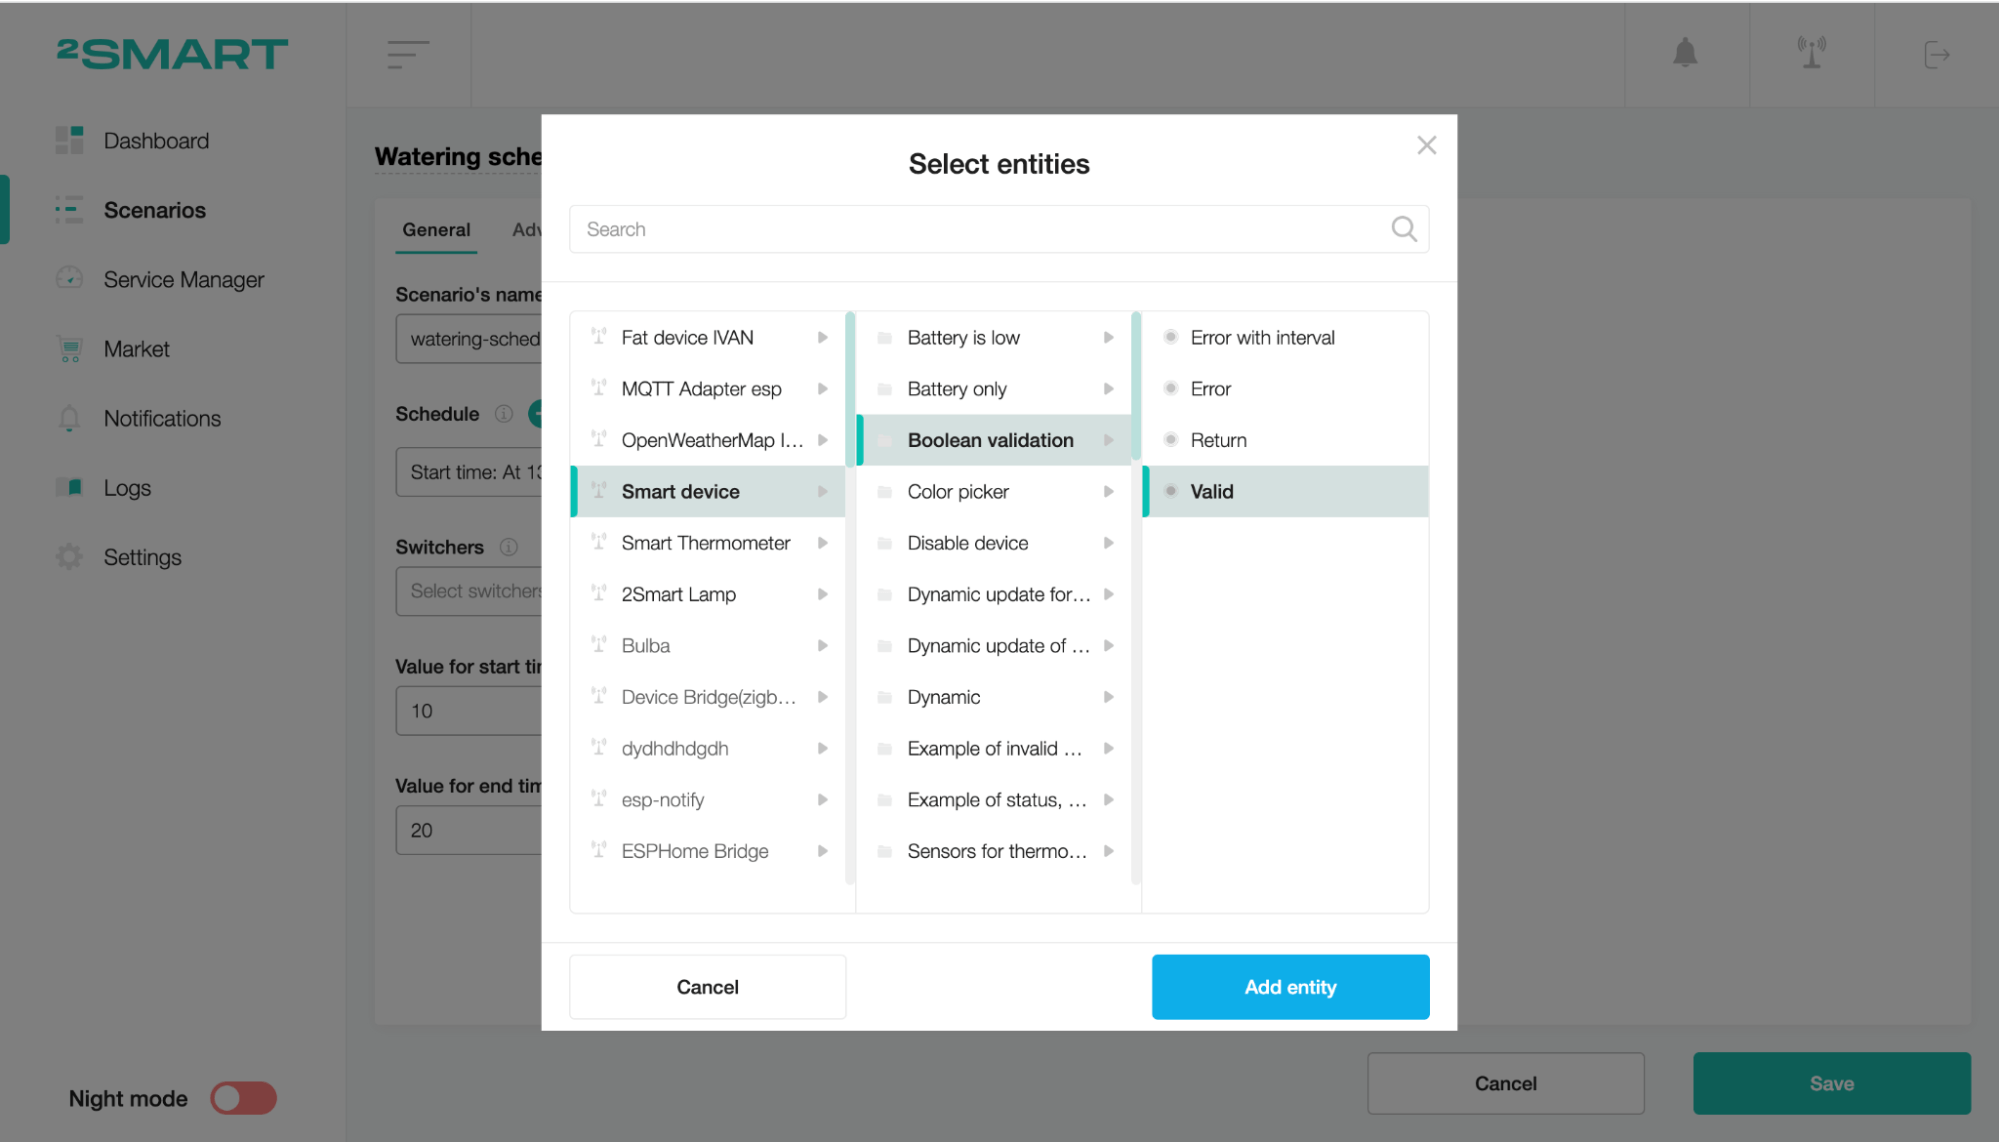
Set the value for the start of the time interval (example: 10). Set the value for the end of the time interval (example: 20). In our case, the switcher has a boolean type, so the start and finish time values are true and false.
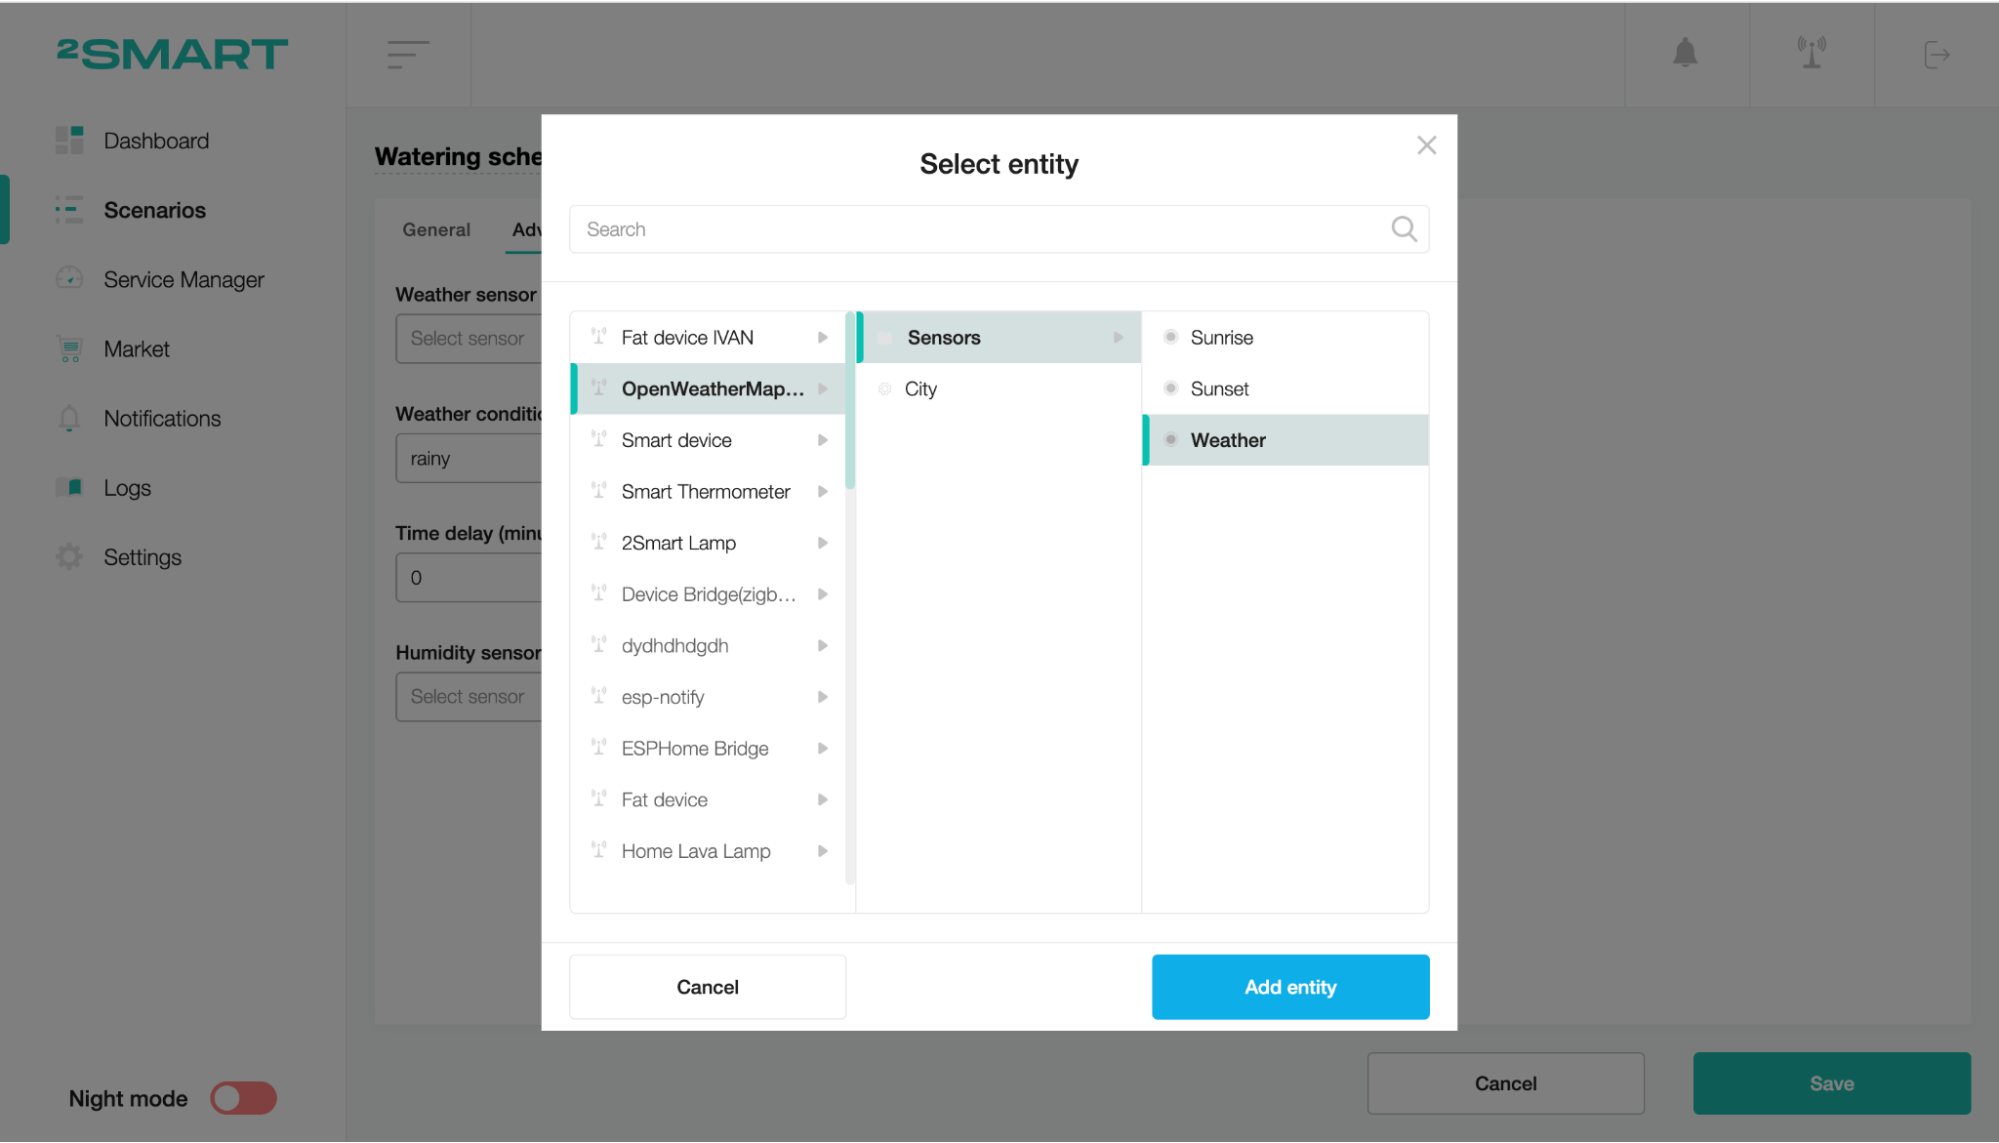
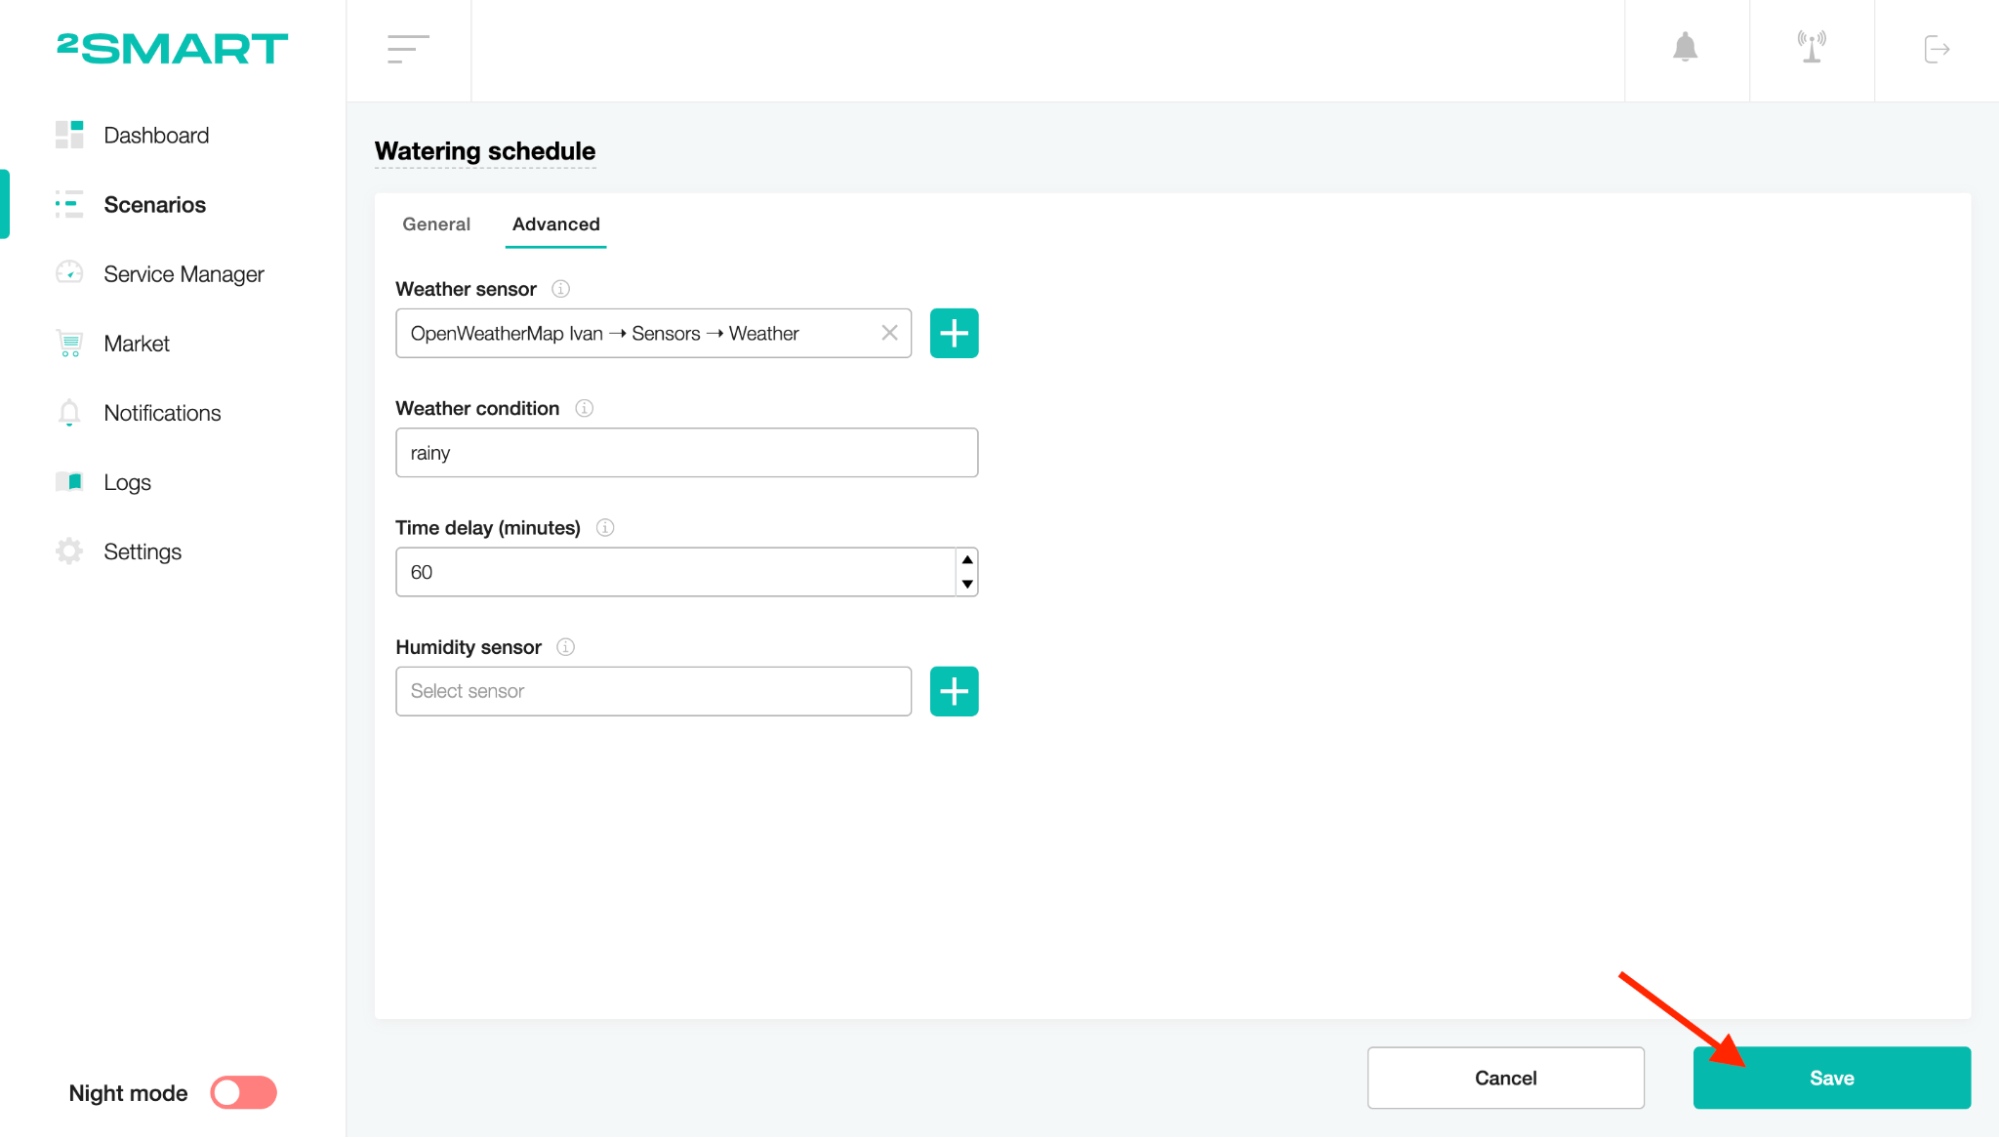
On the Advanced tab, choose the device sensor of the weather state. According to this sensor, the system will detect the necessity of turning on the watering.
Set the value at which watering should be stopped (example: rainy).

Set the period (in minutes) by which watering resumption should be delayed after stopping in case of weather conditions.

You can also choose the device sensor of the humidity. To save the scenario, click the “Save” button.
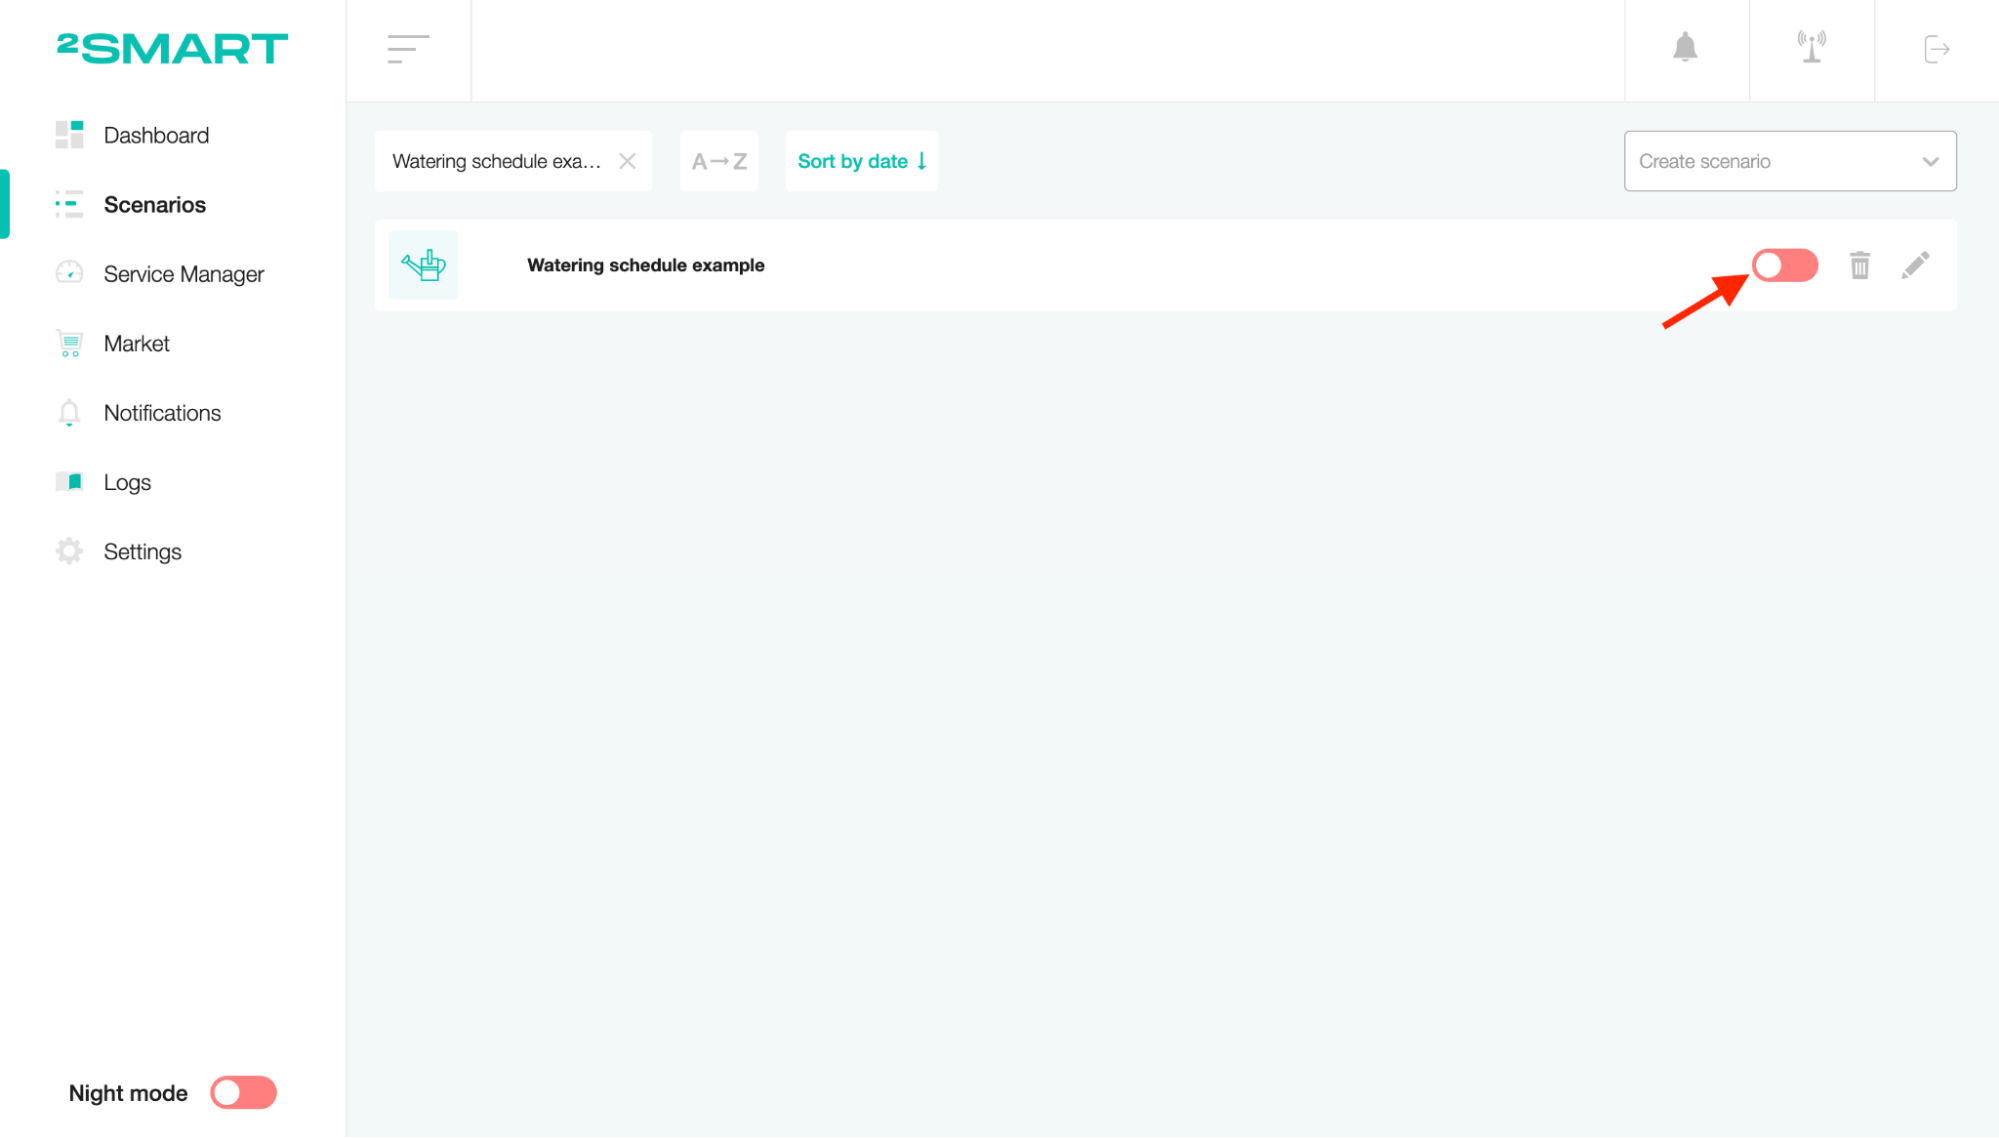
To start the scenario, turn on the toggle of the status.
On the client part, you can create widgets represented as scenario sensors. In our case, only one boolean sensor controls the watering process.
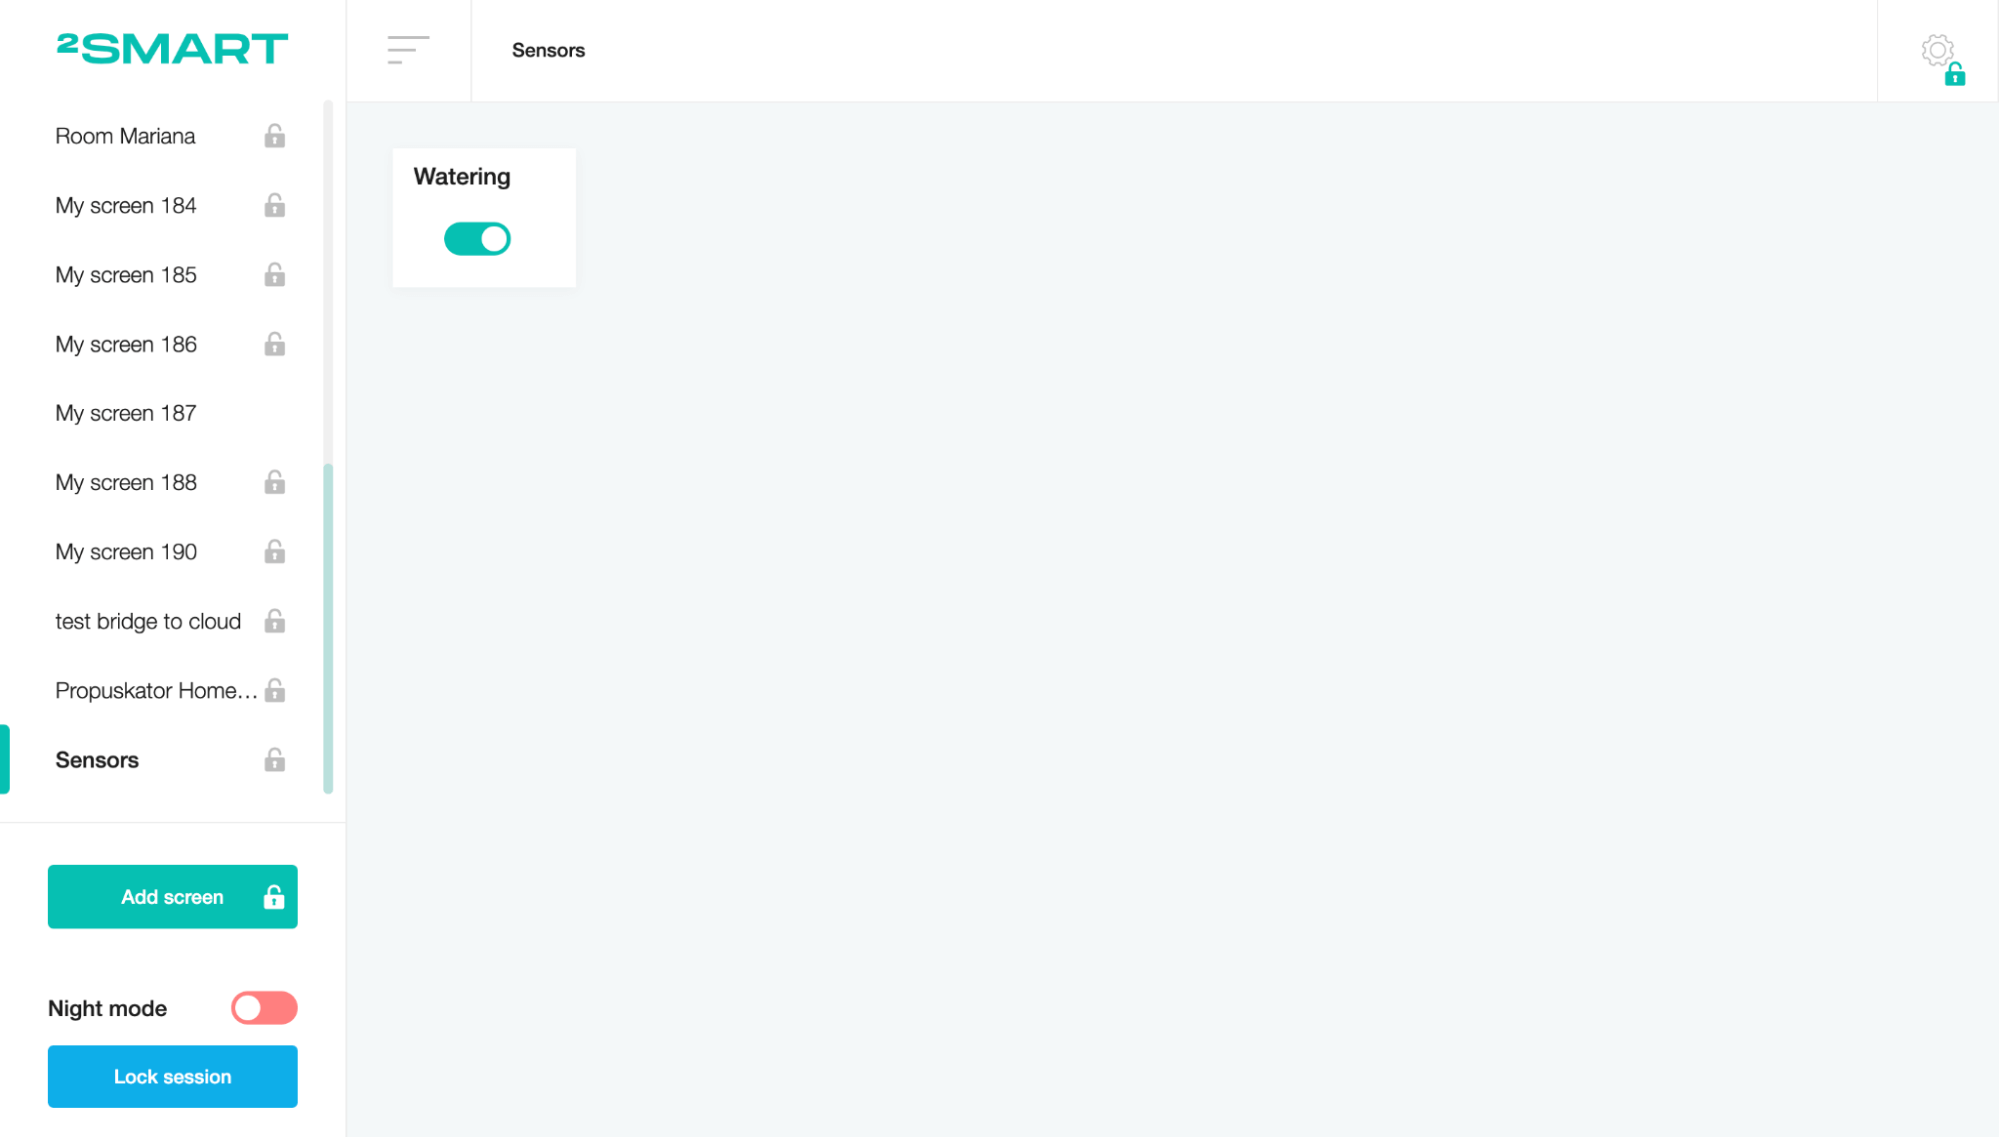
If the time is referred to as the time selected in the scenario, the watering schedule will start and will have been working during the defined period.
That’s all! In this scenario, you can set watering schedules and control the process according to weather conditions. It is convenient for automatically controlling the watering process and saving resources.