ESPHome
ESPHome Bridge is a tool that allows 2Smart Standalone to connect devices with ESPHome firmware and control smart devices using the platform.
What is ESPHome
ESPHome is a system to control your ESP8266/ESP32-based devices with simple yet powerful configuration files and control them remotely via Home Automation systems. It is the perfect solution for creating custom firmware for your ESP8266/ESP32 boards.
More details: https://esphome.io/
Installation
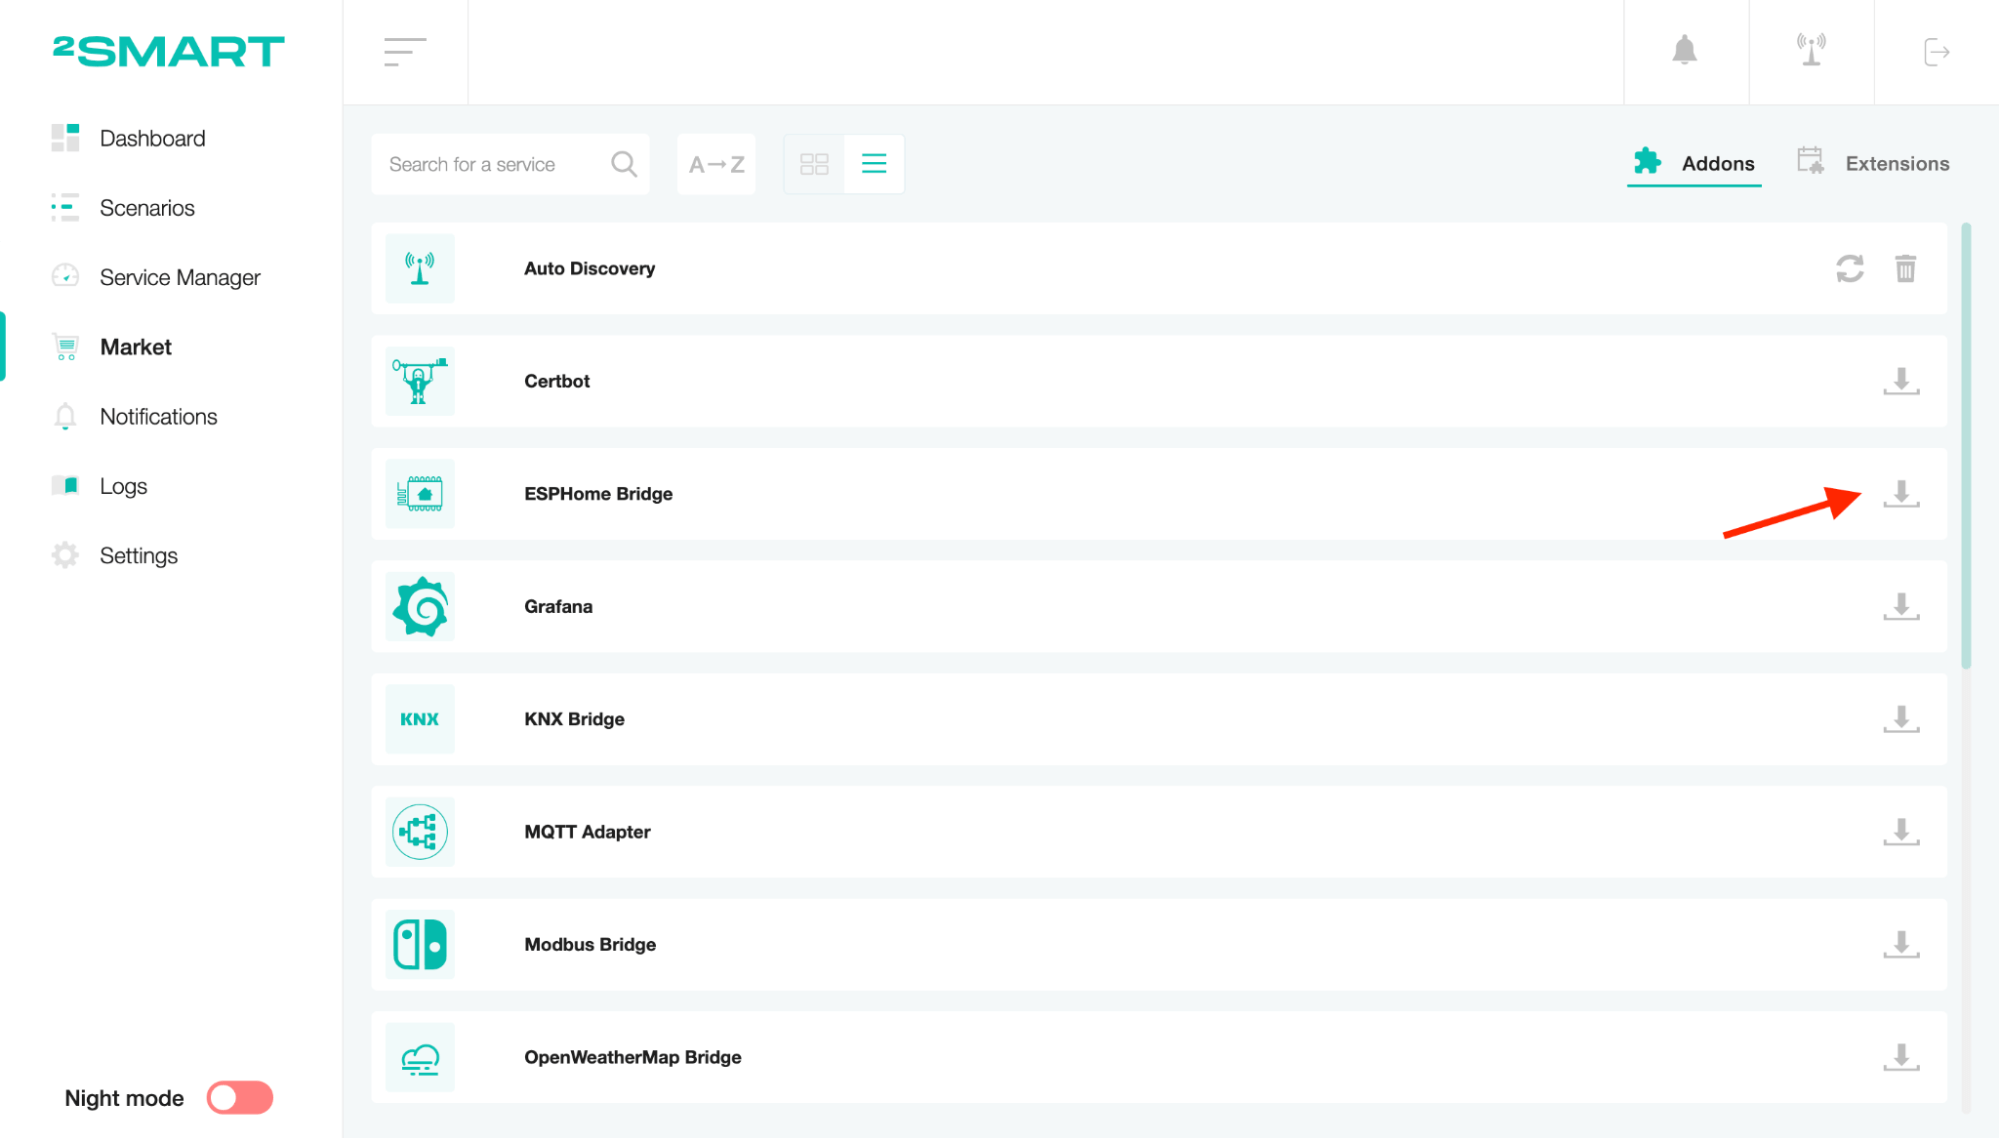
On the Market page, open the Addons tab and click on the download icon near the ESPHome Bridge item.
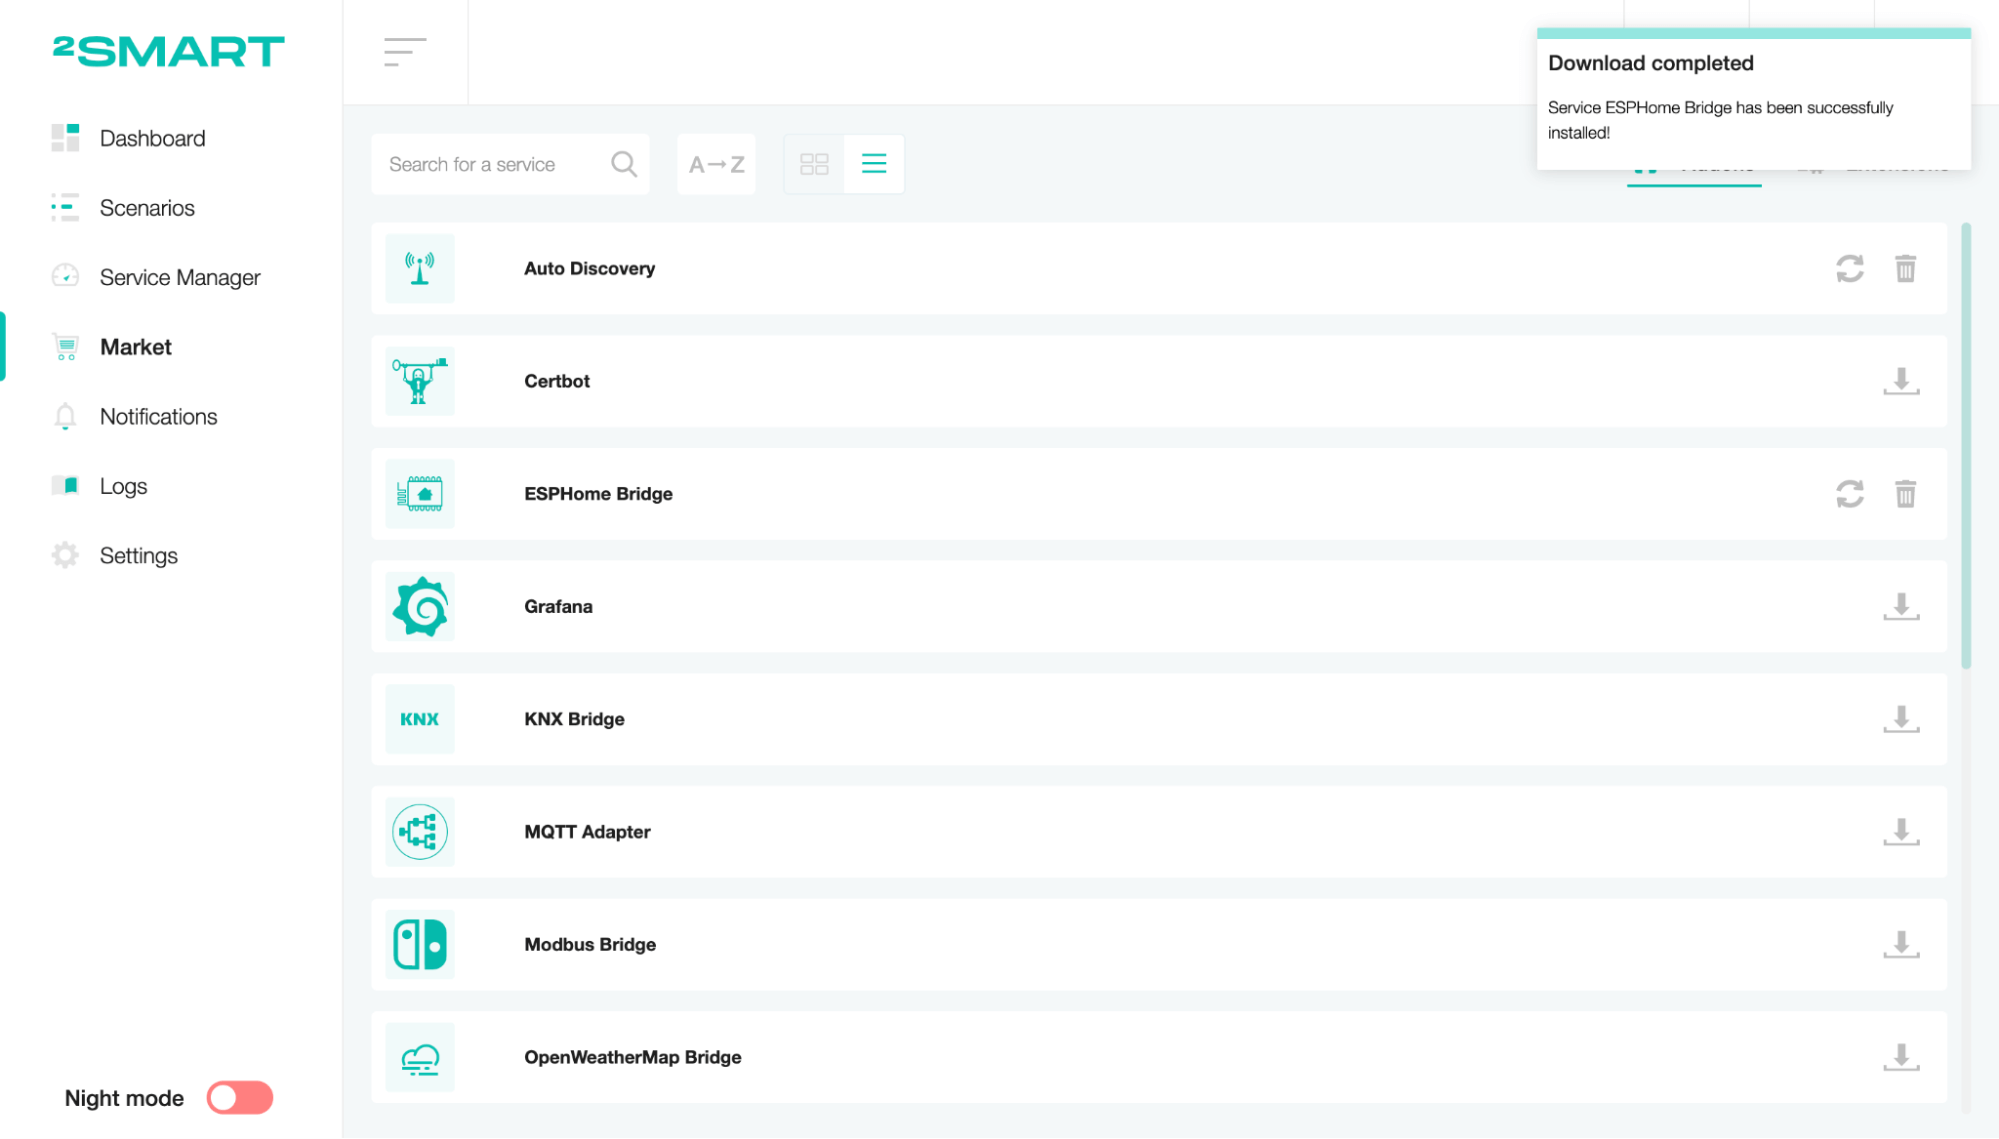
Wait for a notification that the installation process has been completed successfully.
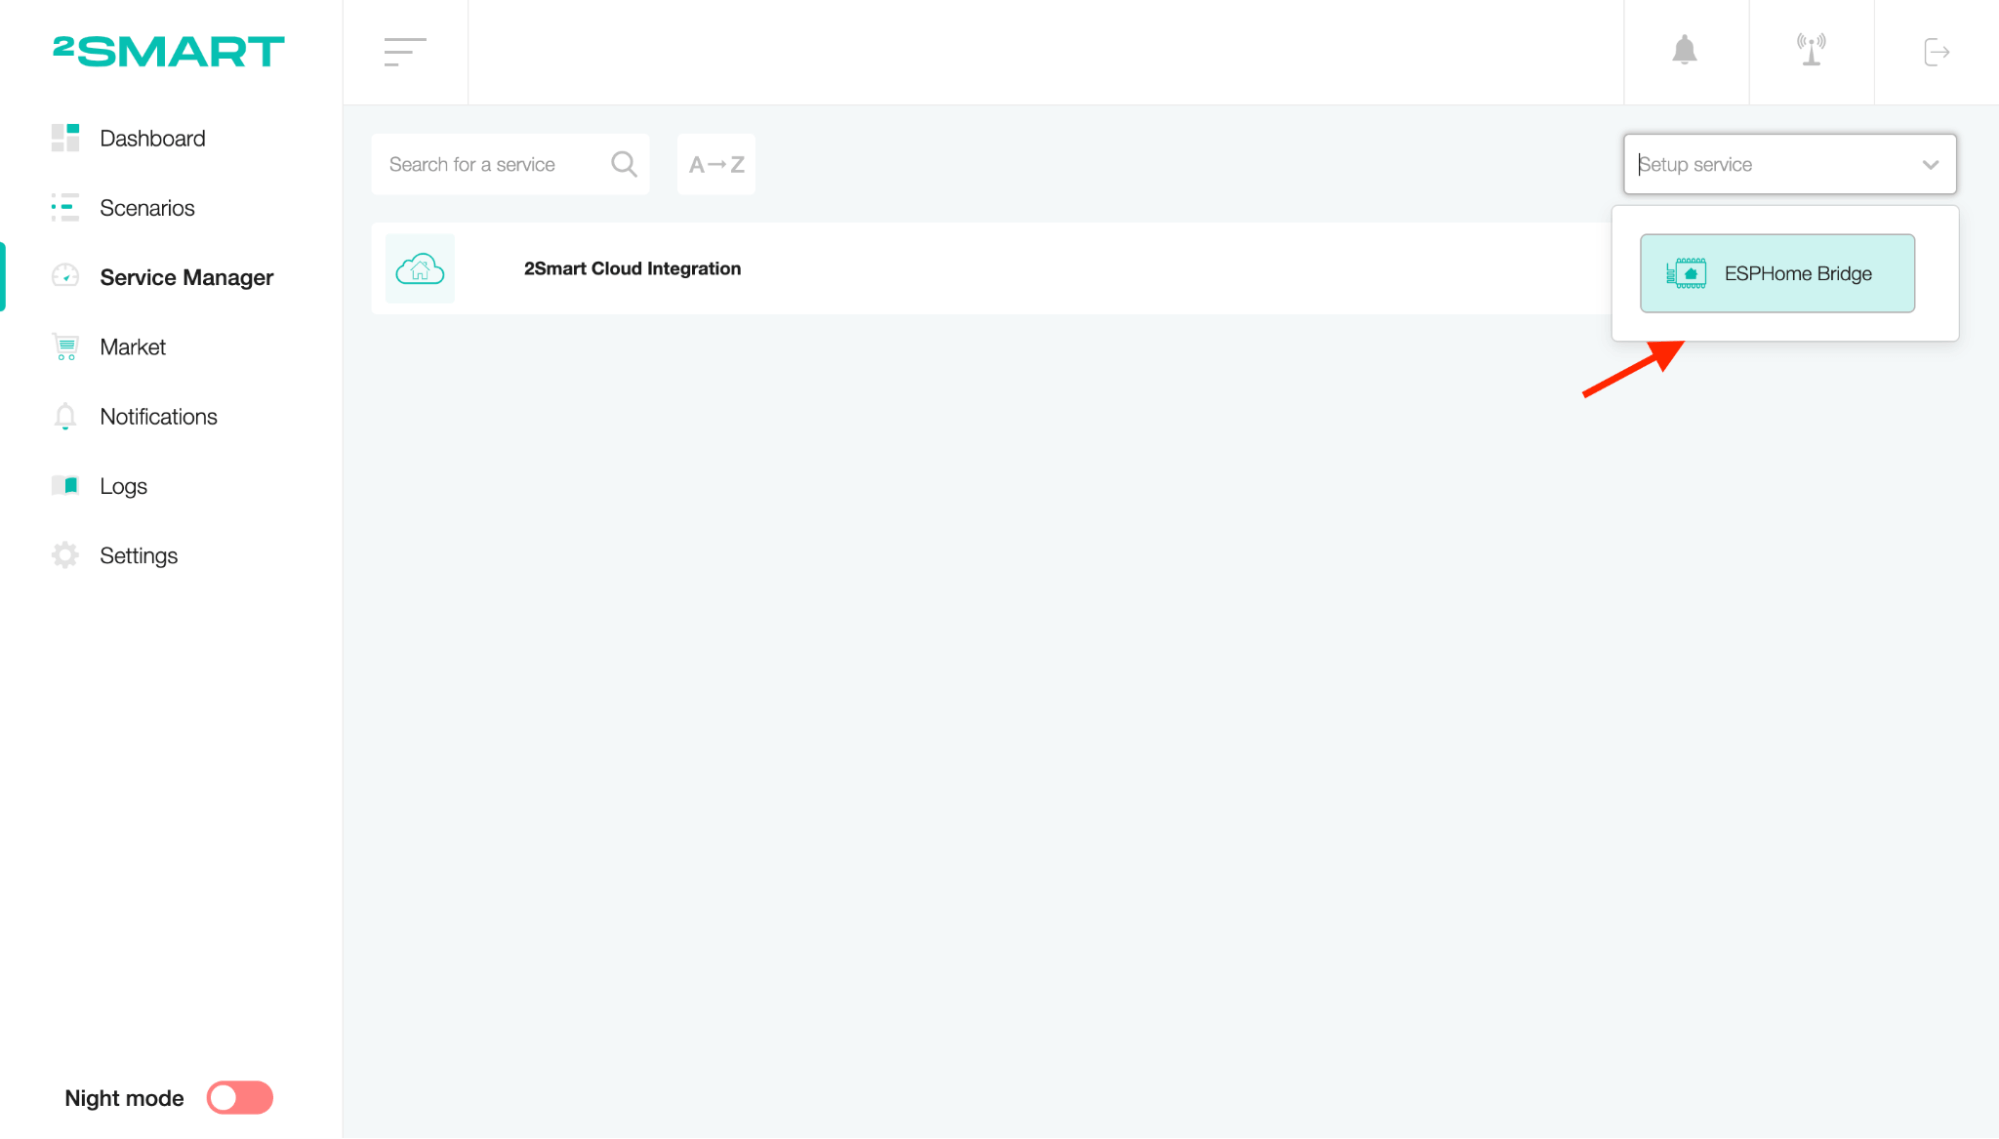
On the Service Manager page, click on the “Setup service” list and select the ESPHome Bridge addon.
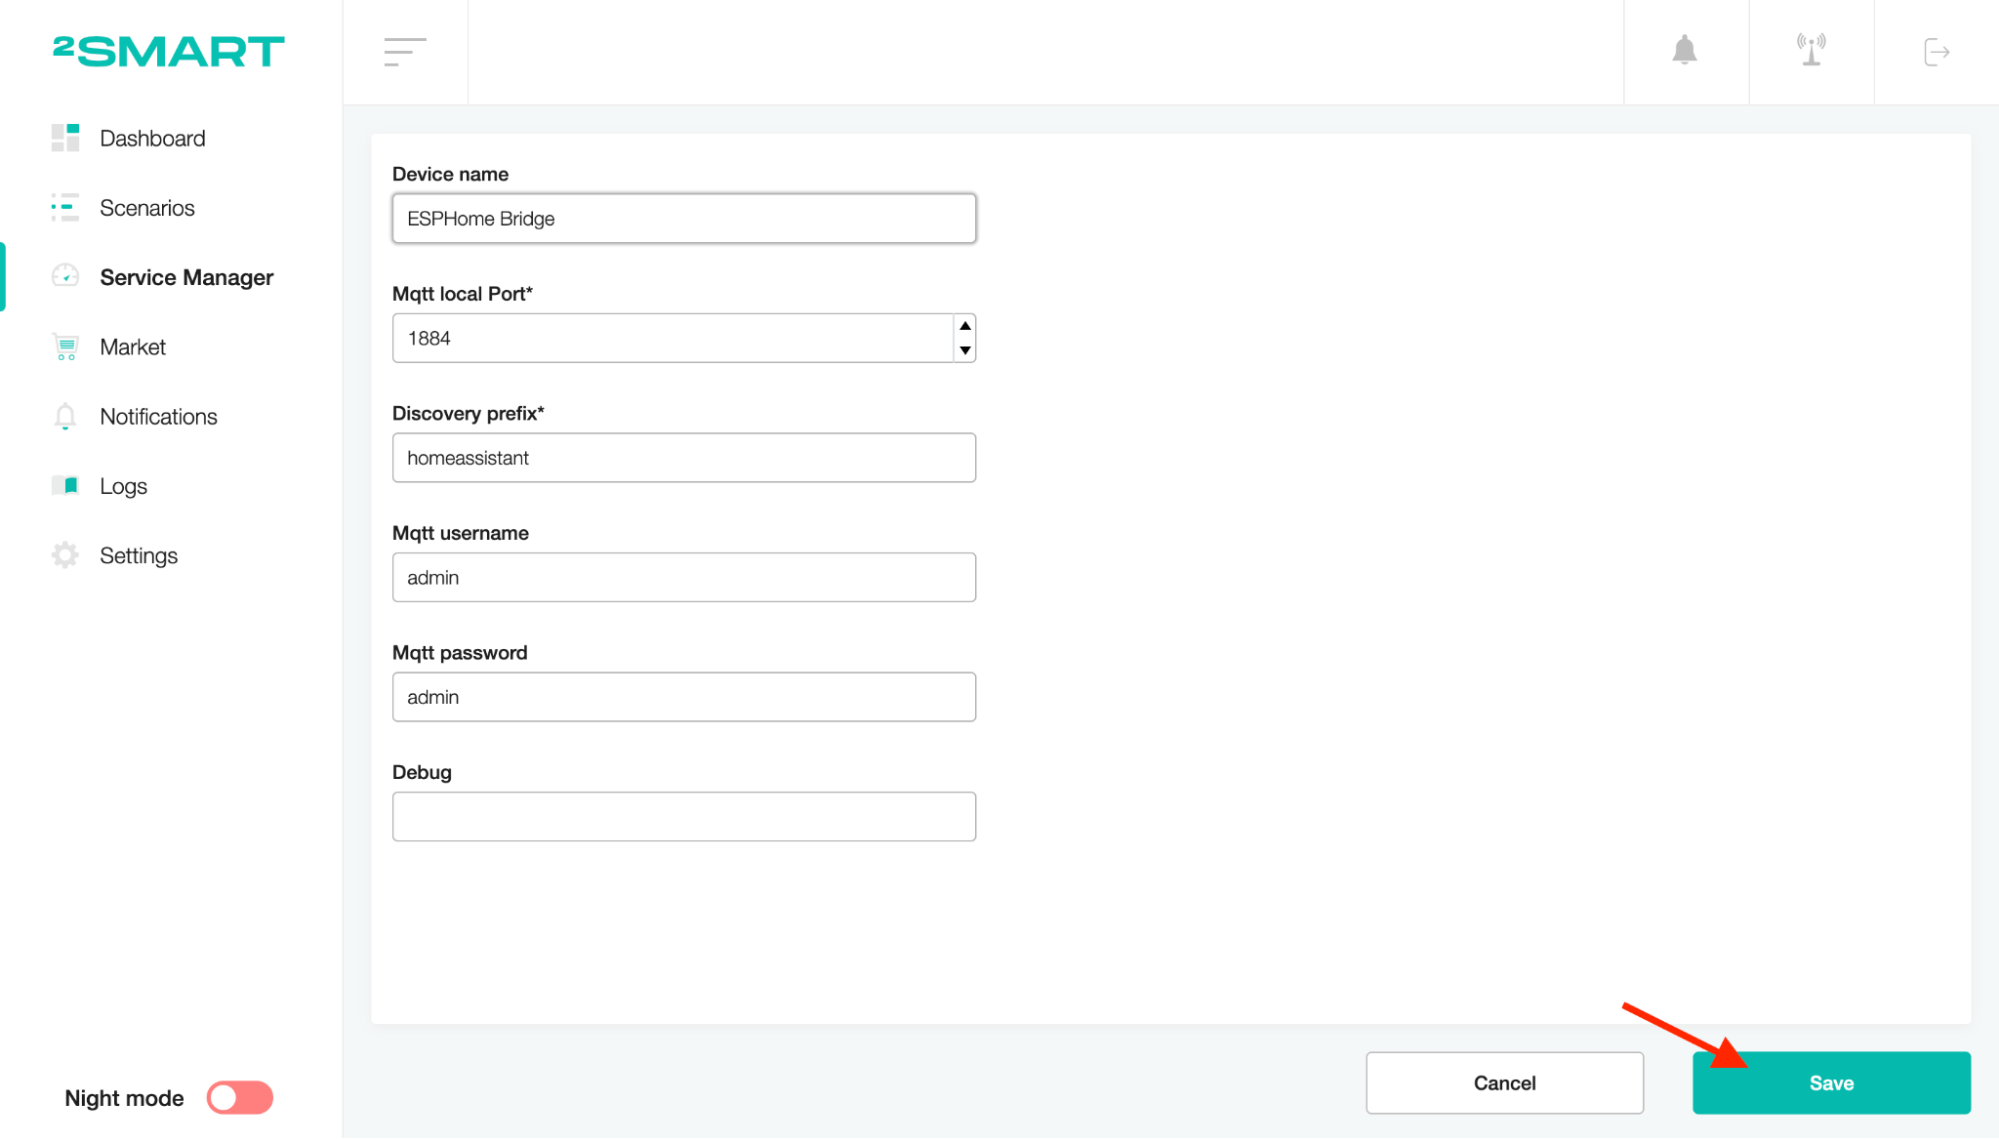
Setup
Enter the device's name and click on the “Save” button.
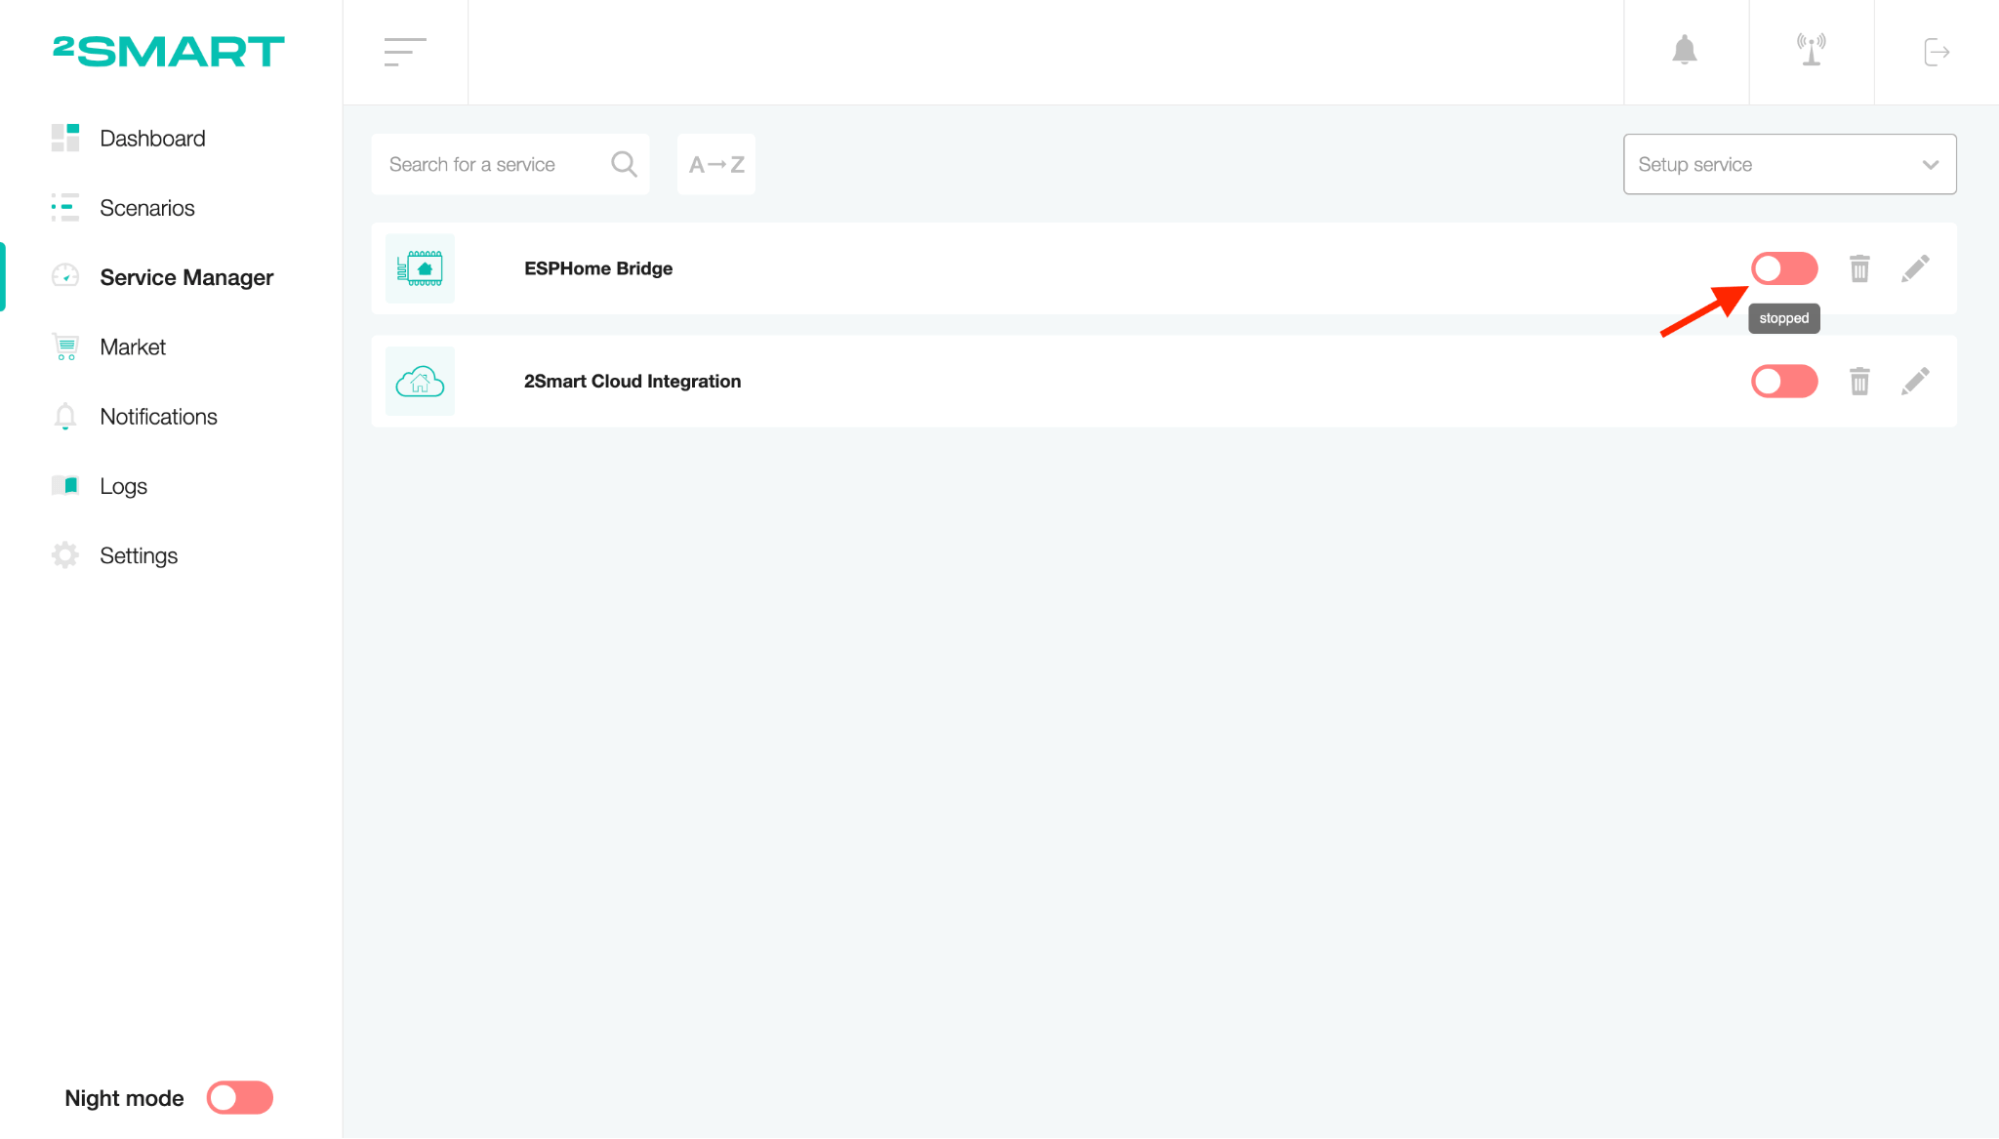
To activate the bridge, click on the toggle widget in the list of services.
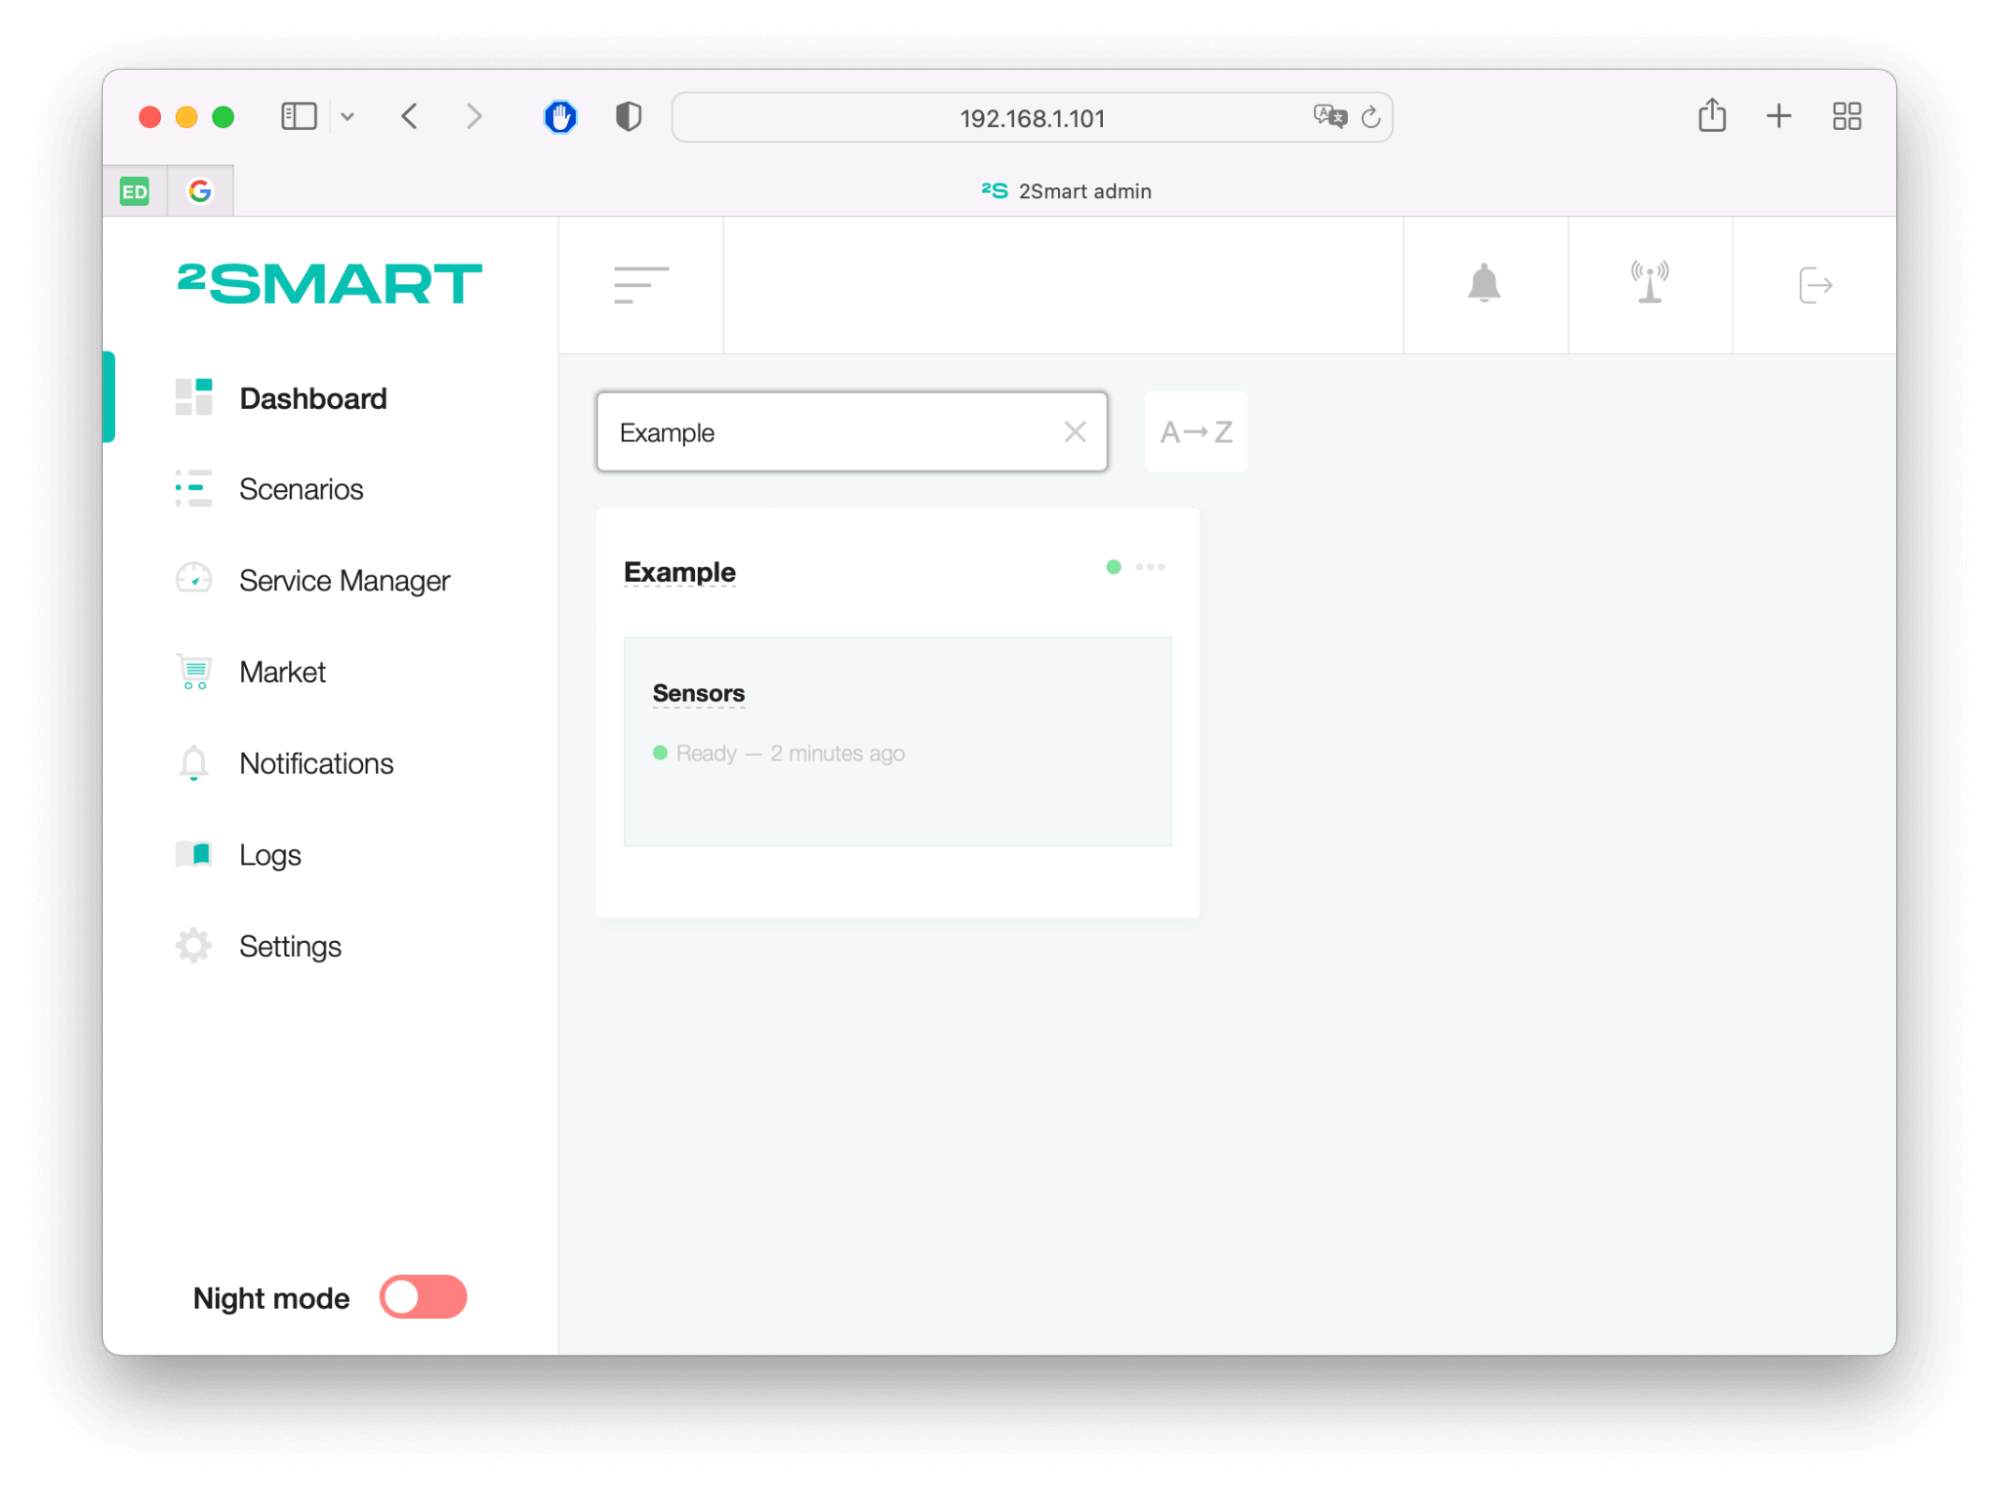
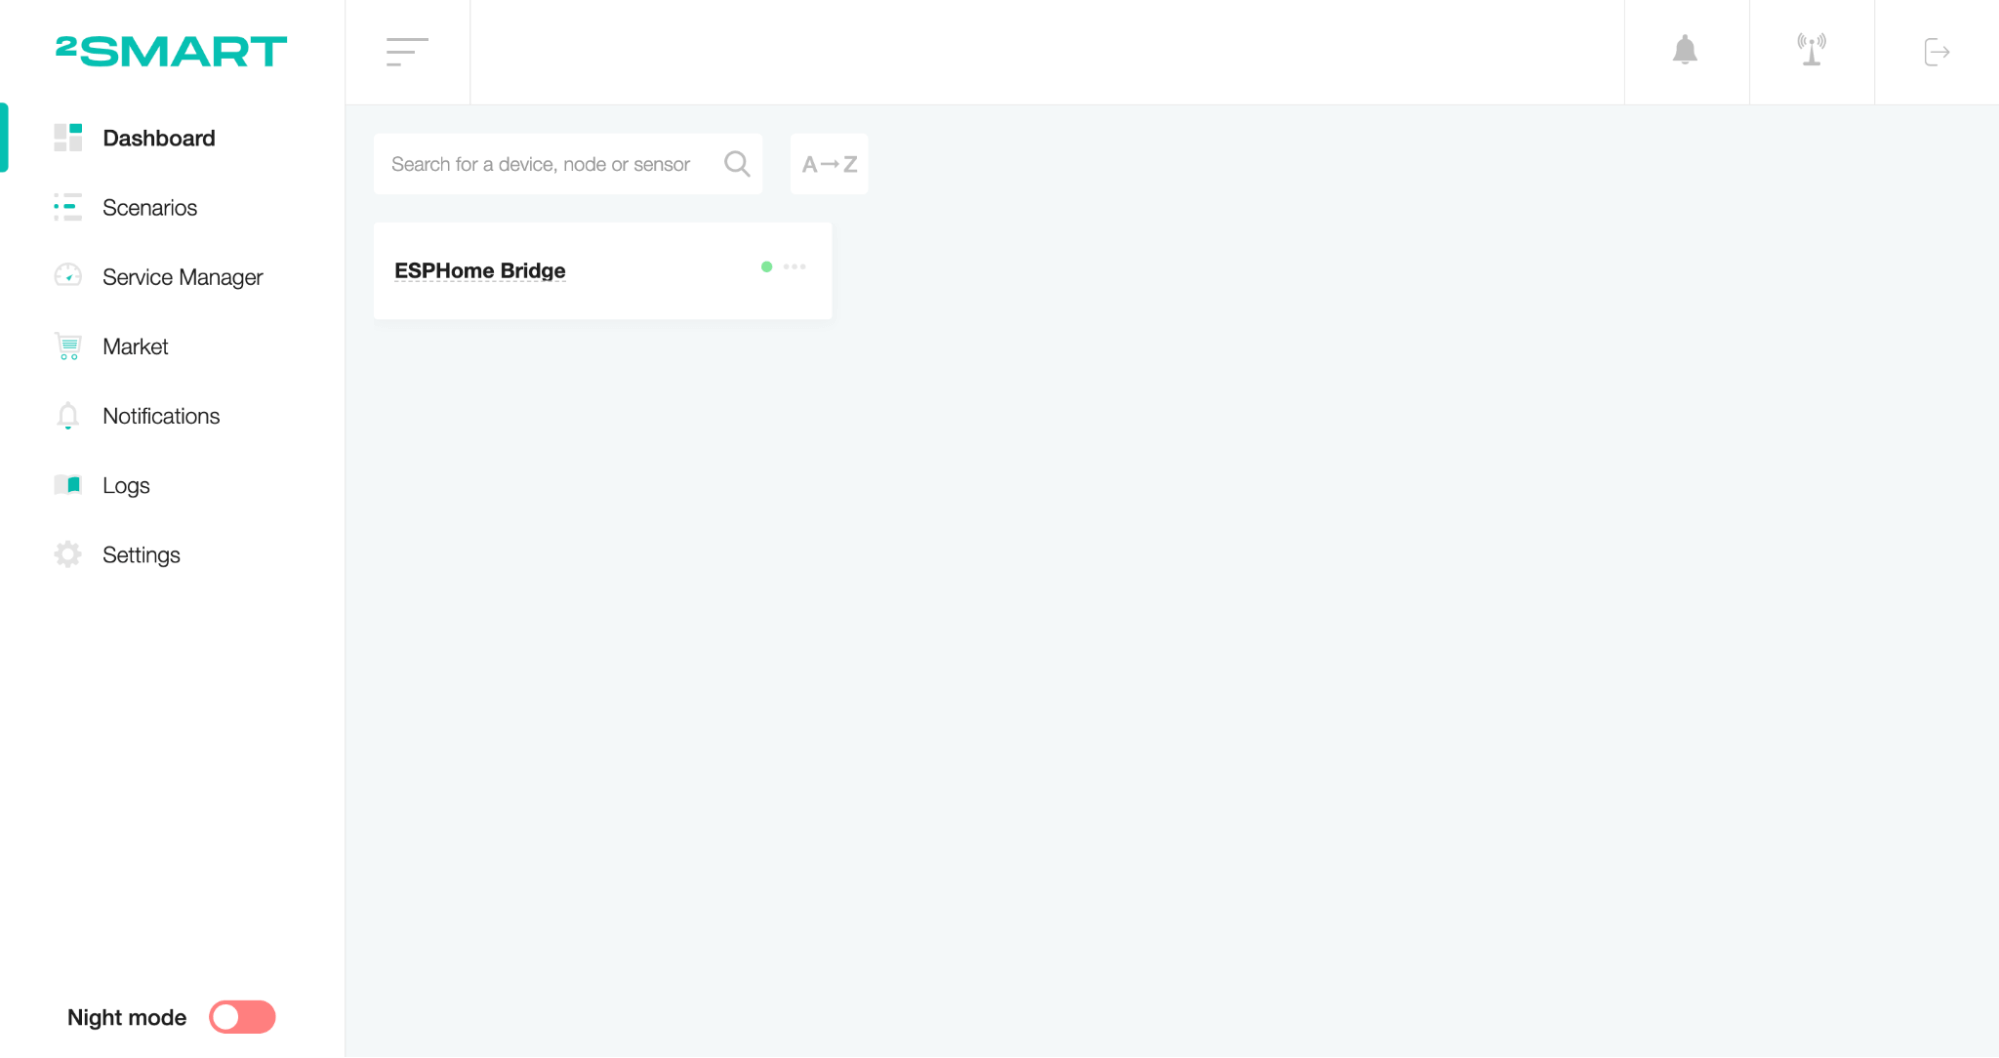
The Dashboard screen will display the newly created device.
How to connect ESPHome device
Open the ESPHome documentation. Follow this link: https://esphome.io/guides/getting_started_command_line.html.
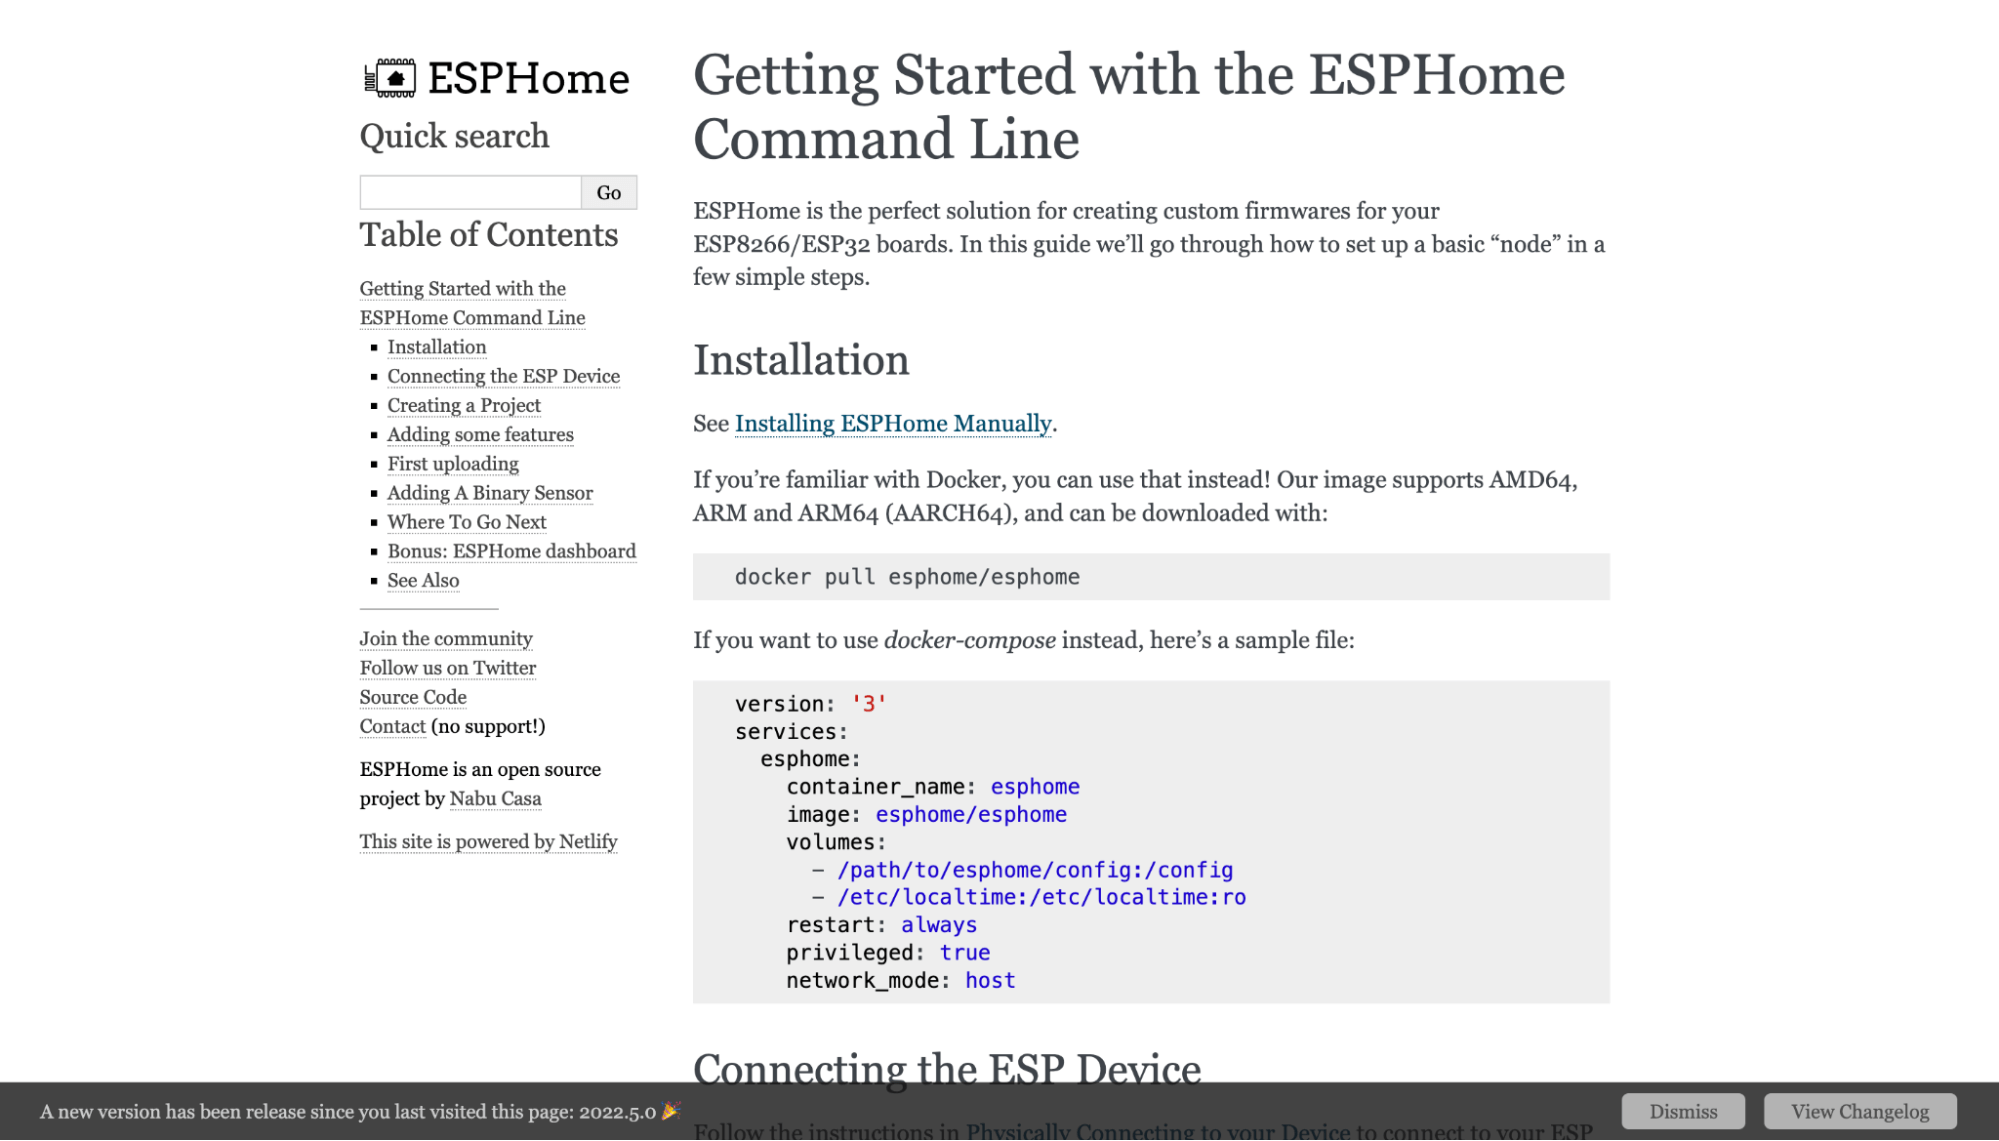
Install the ESPHome on your system manually or using Docker. If you want to use docker-compose instead, look at the documentation sample.
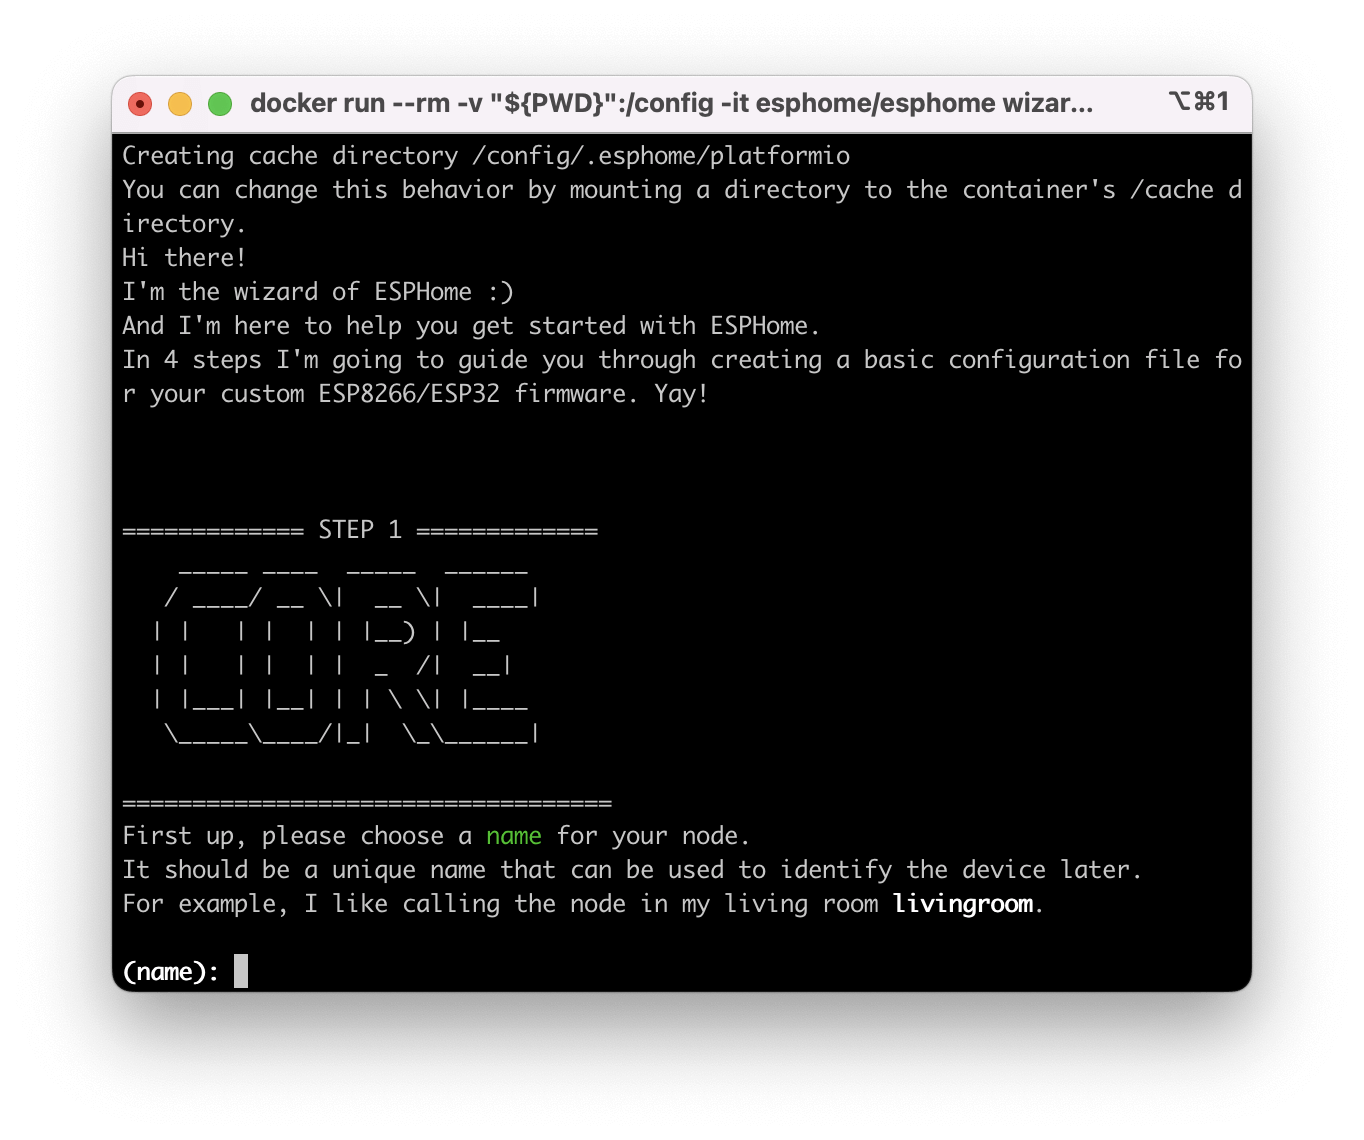
Create your config for the device according to the ESPHome documentation. You can use the ESPHome-friendly setup wizard to guide you through creating your first configuration file.
Don’t forget to add MQTT settings and set the IP port and credentials that are specified in your bridge.
 mqtt:
   id: mqtt_bridge
   broker: 192.168.1.48
   port: 1884
   username: admin
   password: admin
Here is an example configuration file with a simple GPIO switch.
 esphome:
   name: example
   platform: ESP32
   board: nodemcu-32s

 wifi:
   ssid: YOUR_WIFI
   password: PASSWORD

 captive_portal:

 # Enable logging
 logger:

 # Enable Home Assistant API
 api:
   password: "admin"

 ota:
   password: "admin"
 mqtt:
   id: mqtt_bridge
   broker: 192.168.1.101
   port: 1884
   username: admin
   password: admin

 switch:
   - platform: gpio
     name: "Living Room Dehumidifier"
     pin: 5

The Dashboard screen will display the newly created device.