Scenarios
Scenarios are the primary tool for flexible configuration and automation of device operation.
An example of using scenarios is greenhouse automation. When the air temperature in the greenhouse drops below the set level, the heating system will automatically turn on. The irrigation system will automatically turn on according to a schedule or soil moisture sensor values.
Ready-made scenarios are available to users; they can also create new ones.
Installation
There are two types of scenarios: simple and professional.
Simple scenarios are pre-installed extensions available to users out of the box.
Professional scenarios are those that the users create.
Go to the Market section and select the Extensions tab to see the available scenarios.
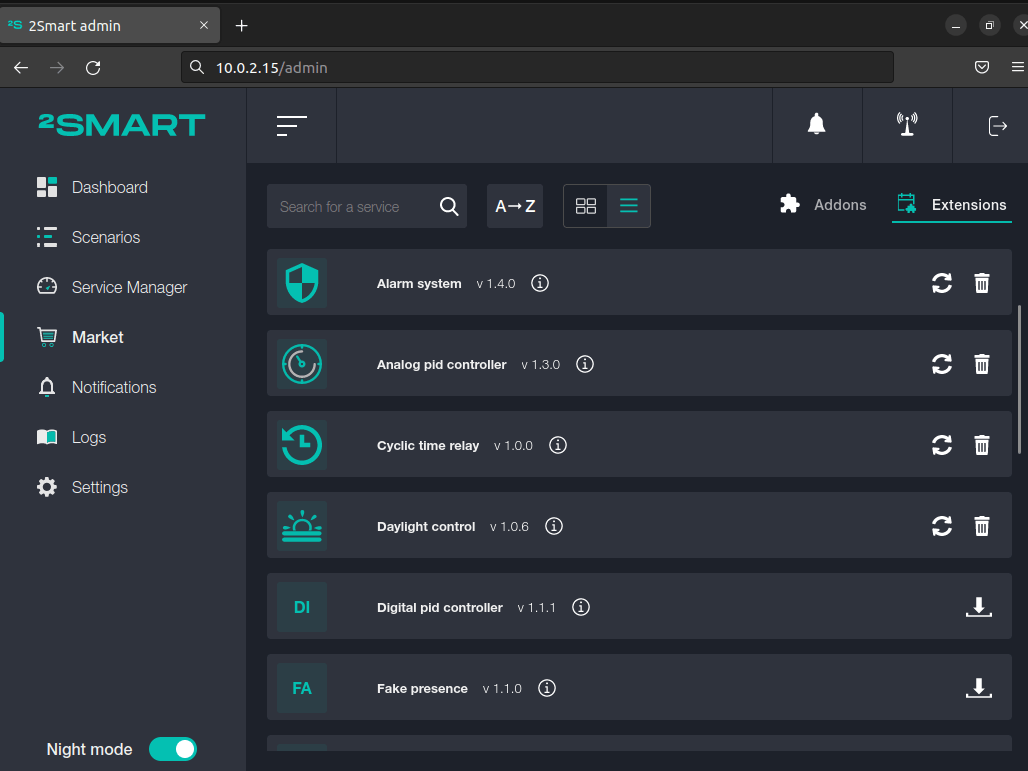
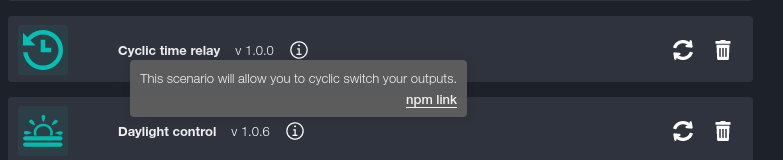
To read the scenario description, click on the information icon to the right of its name. 
To install a scenario, click on the download icon next to its name.
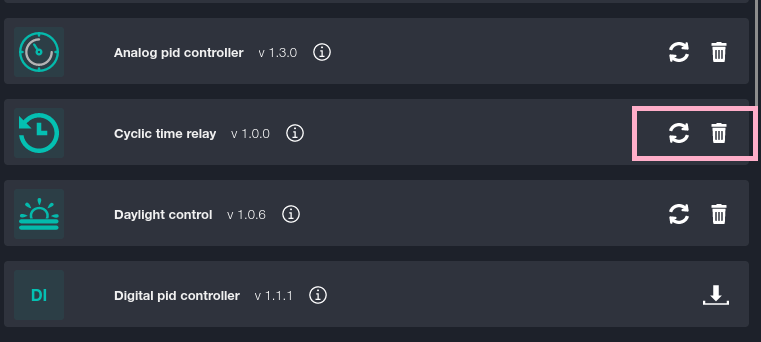
To update an installed scenario, click on the reload icon next to its name.
To delete a scenario, click on the trash icon next to its name.
Сreating and configuring the scenario
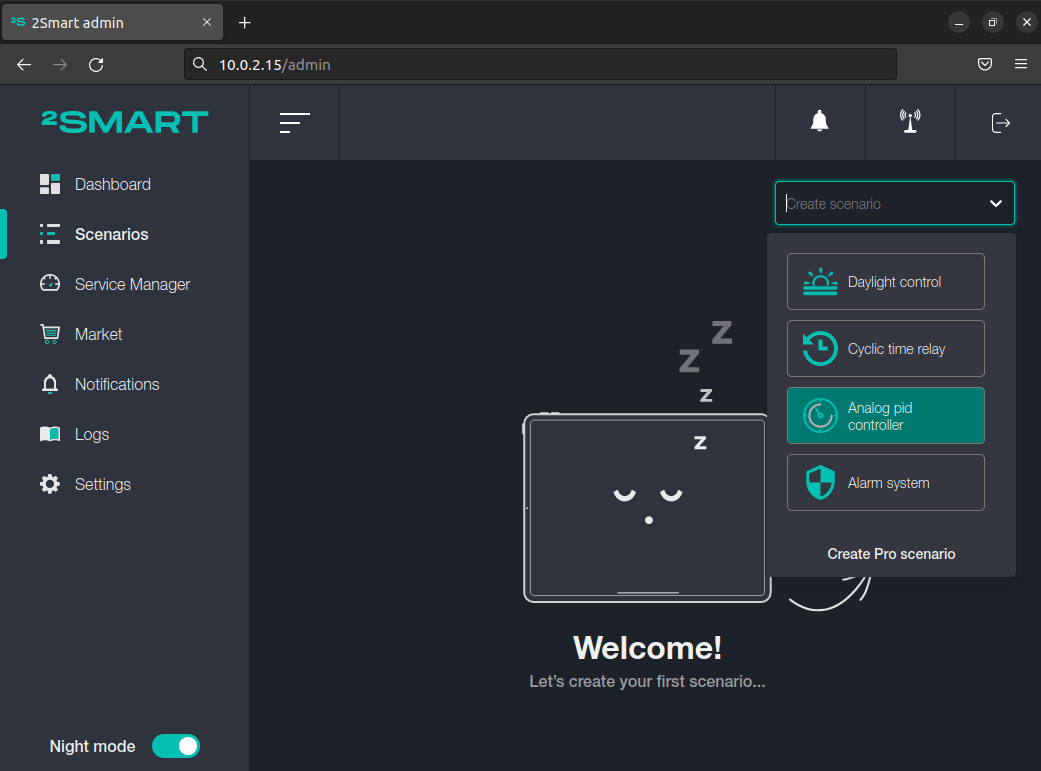
To create a new scenario, go to the Scenarios screen. The “Create scenario” field and a drop-down list with downloaded extensions from the market are available in the upper right corner of the screen. Select the required extension.
Consider configuring a scenario using the “Daylight control” extension as an example.
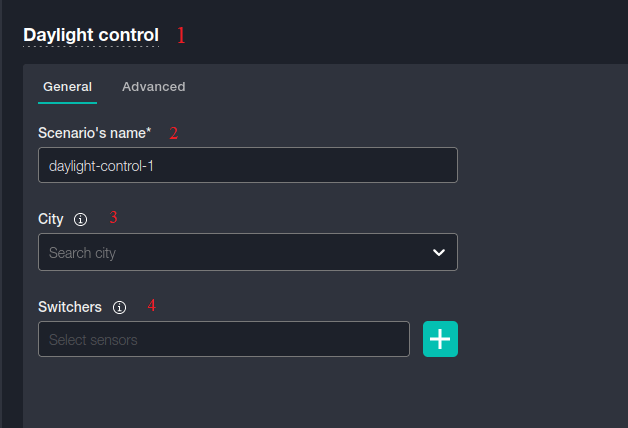
The General tab of a scenario setup window consists of the following fields:
- The scenario's title is displayed on the scenario page in the platform interface. This title is for the user only and does not have to be unique.
- Scenario's name - the unique name under which the scenario is used in the system.
- City - select the locality to use the scenario. This information is necessary to determine the exact time of sunrise and sunset based on geographic coordinates.
- Switchers - selection of devices and sensors involved in the scenario. You can select multiple items.
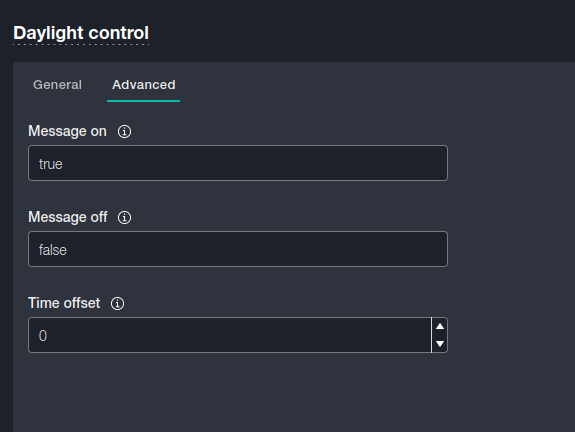
On the Advanced tab, you can configure additional items:
- messages that are sent to the user when switching the state to true and false,
- setting a time offset to turn on the sensor for a certain number of minutes before sunset.
Click the “Save” button after completing all settings.
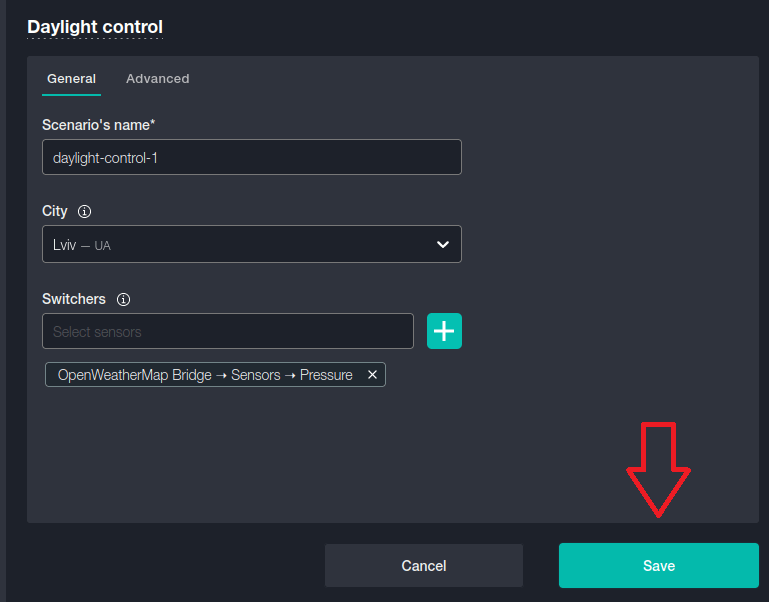
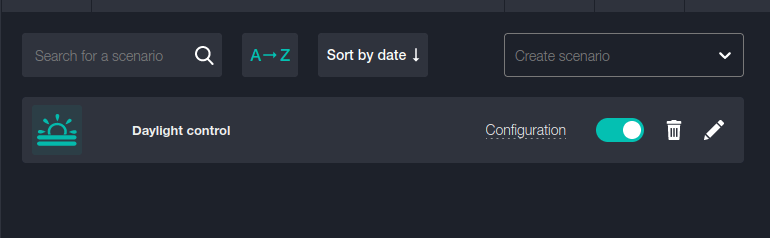
After running the scenario, you will have access to a configuration line with the sensor on/off thresholds.
Thresholds
Thresholds differ depending on the type of simple scenario.
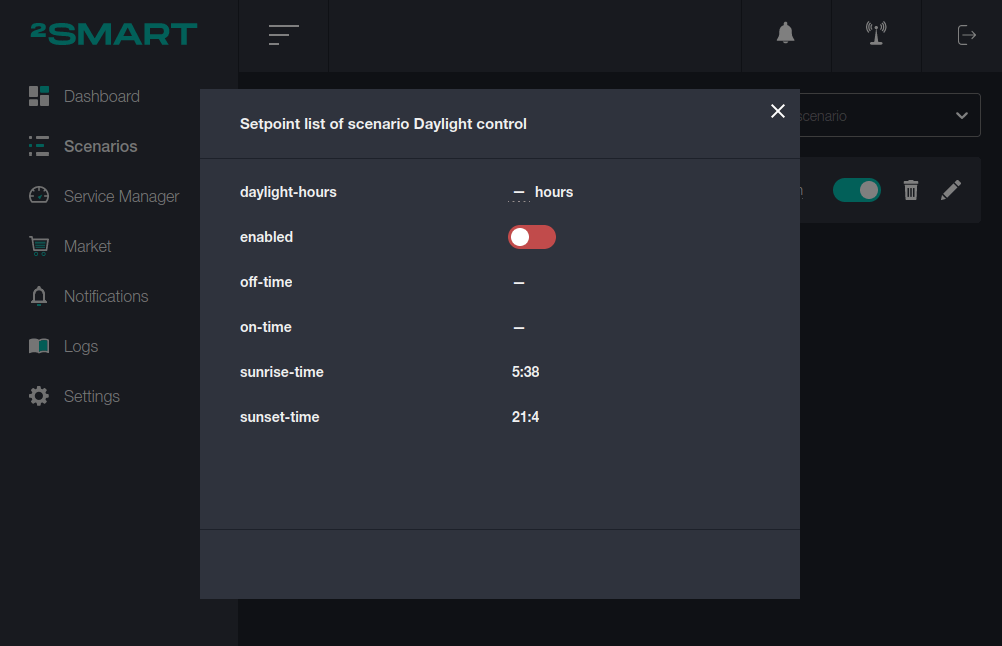
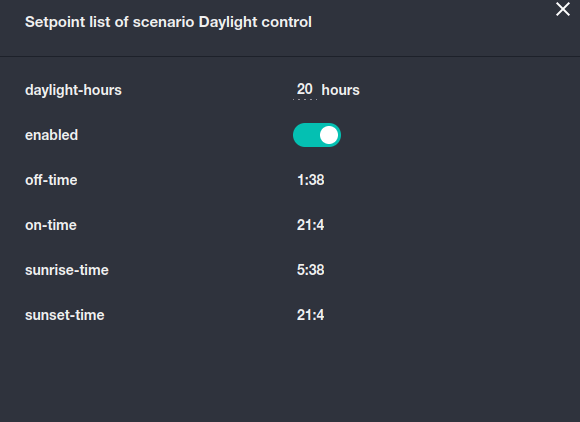
For the Daylight control scenario, the threshold is the total number of hours per day when the premises should be illuminated. For example, if it is recommended that the plants in the greenhouse be illuminated for 20 hours a day, the user needs to specify this period as a threshold value. The scenario will consider the time of sunrise and sunset and provide additional artificial lighting so that this recommendation is implemented throughout the year.
Scenario control in the user interface
In the user interface, go to the “Add widget” field and select the “Toggle” widget to manually enable and disable the created scenario.

Specify the name and background color in the settings.
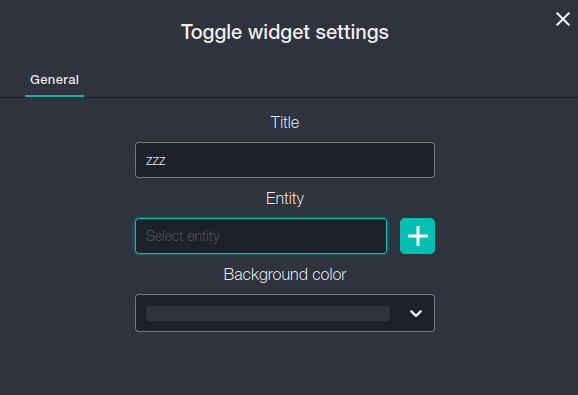
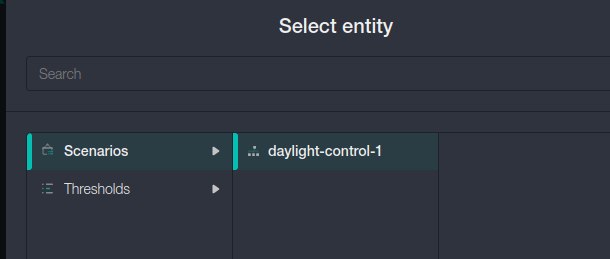
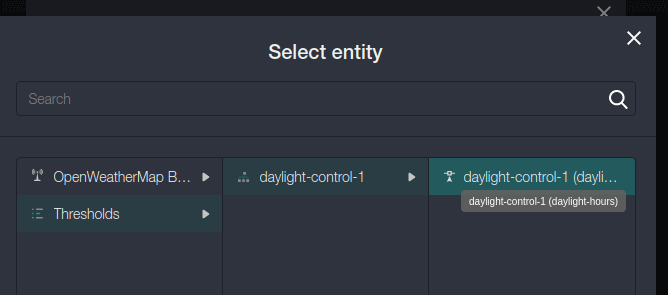
Click on the “Entity” item.
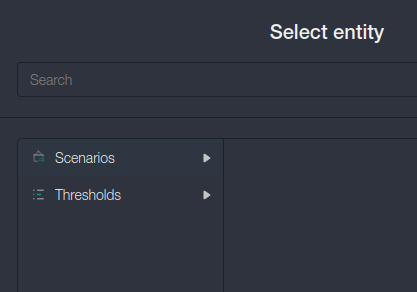
Select one of the available options for the widget. This could either be starting/canceling a scenario or enabling/disabling a threshold in this example.
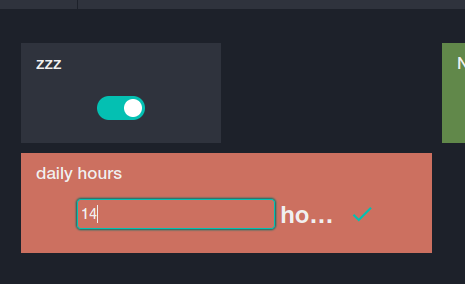
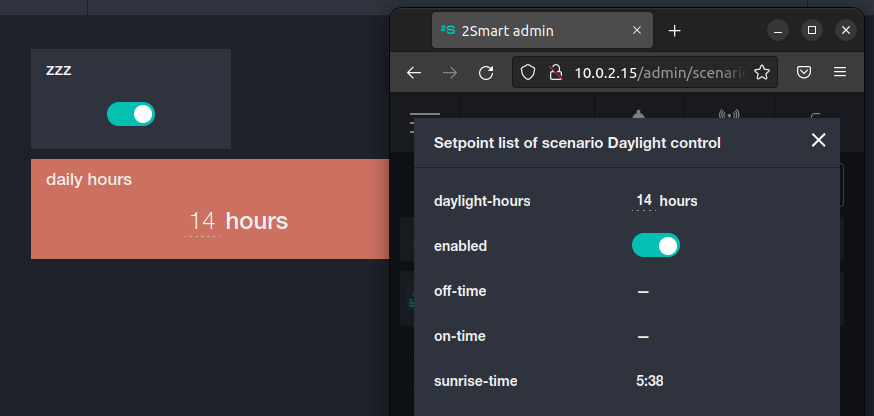
The scenario control widget will be displayed in the user interface. You can manage the scenario without going to the admin panel.

Similarly, by selecting and configuring the “Input” widget, you can add scenario threshold control to the user interface. This example shows the number of hours the room is illuminated.
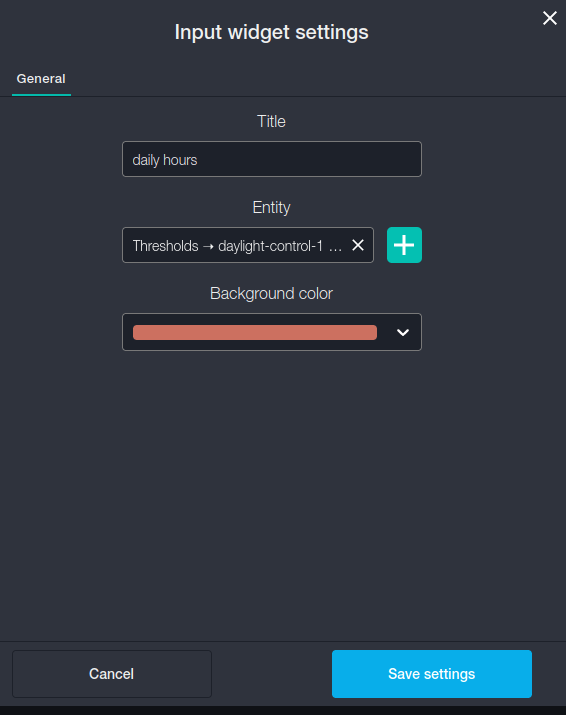
After configuring the widget, you can use it to configure thresholds in the user interface.
The user's changes to the scenario settings will also be automatically displayed in the admin panel.
Pro scenarios
You can create your scenarios using the JavaScript programming language. All the simple scenarios available in the system are written similarly.
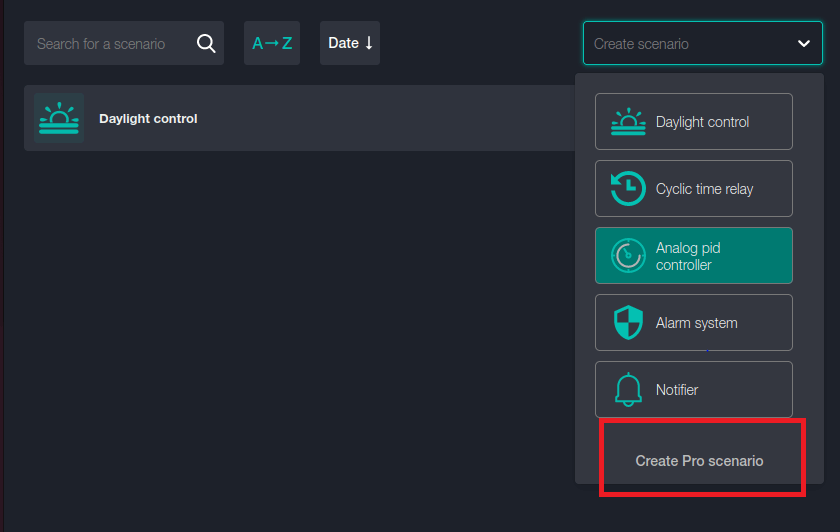
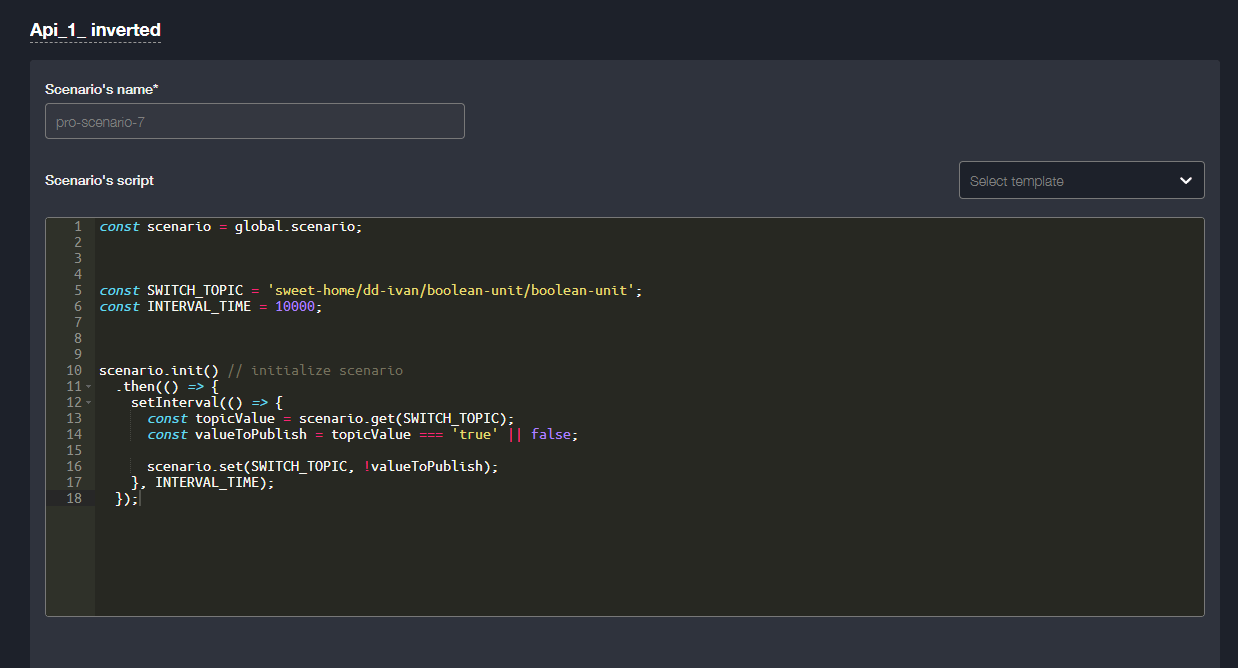
To create a professional scenario, go to the Scenario screen, and in the “Create scenario” drop-down list, click “Create Pro Scenario”.
In the editor that appears, specify the name of the new scenario.
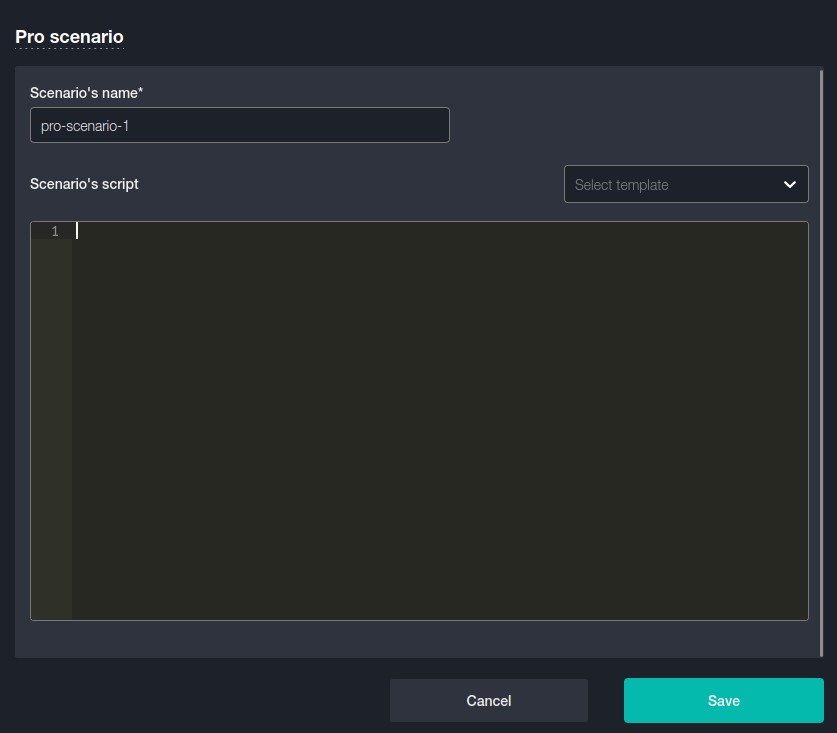
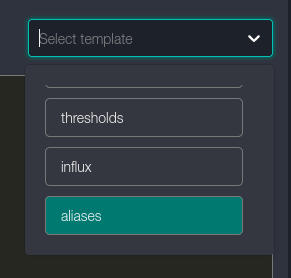
Pay attention to ready-made templates - you can use one of them when creating a scenario.
Write the code of the new scenario.
Use the 2Smart documentation when creating professional scenarios: