Zigbee Bridge
This bridge will allow you to use devices controlled with the Zigbee protocol.
Precondition
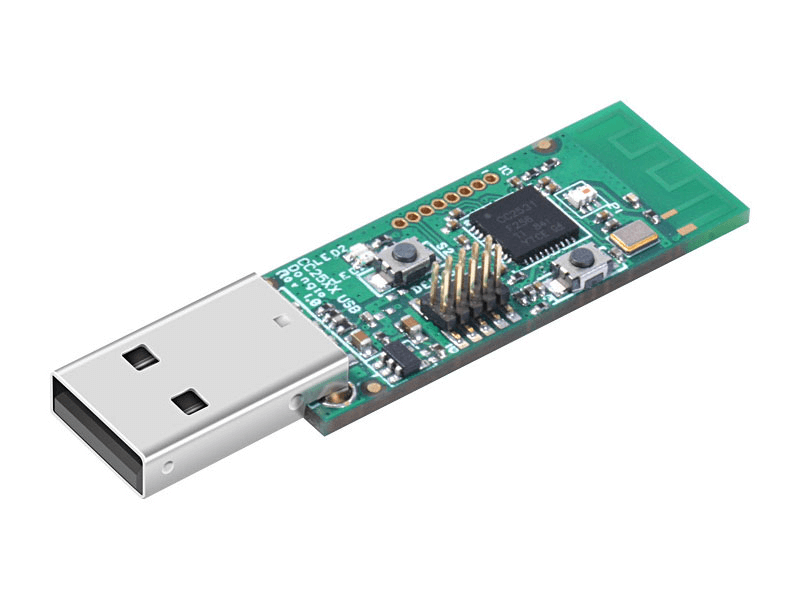
In addition to the server with 2Smart Standalone deployed, you will need a Zigbee coordinator (stick). The example below uses a Zigbee CC2531 USB stick.
You can find a list of recommended adapters with detailed info at the following link: https://www.zigbee2mqtt.io/guide/adapters/#recommended.
Installation
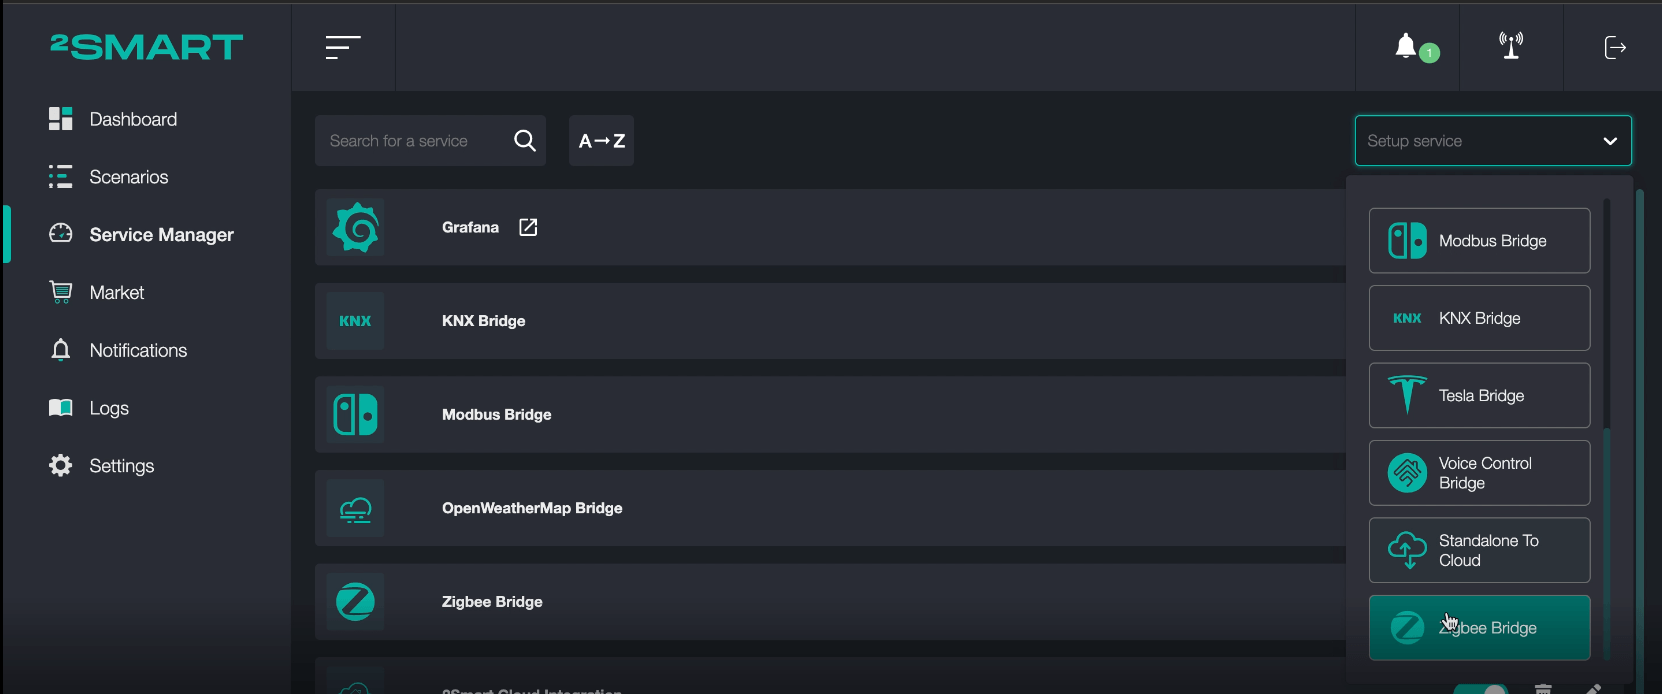
On the Market page, open the Addons tab and click on the download icon near the selected item.
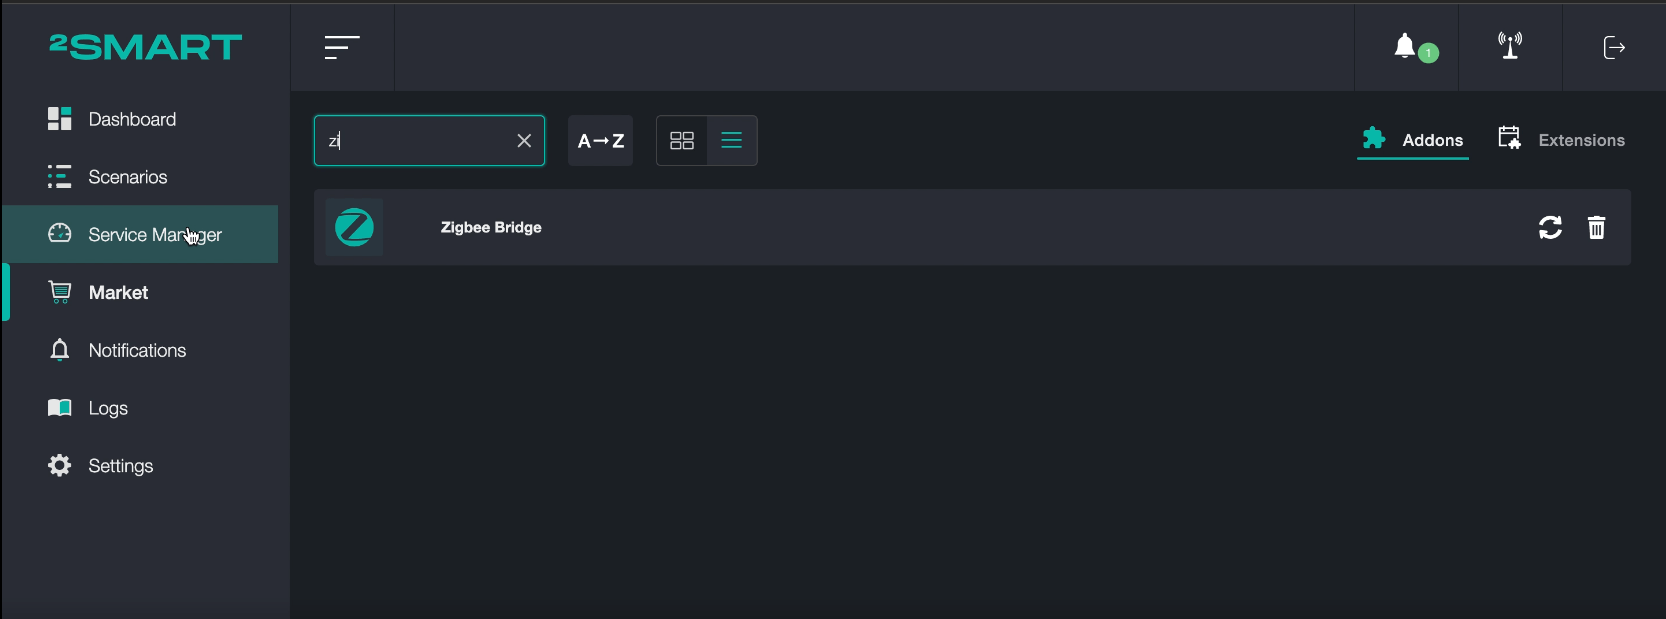
Go to the Service Manager page, click the “Setup Service” list and select the downloaded addon.
Setup
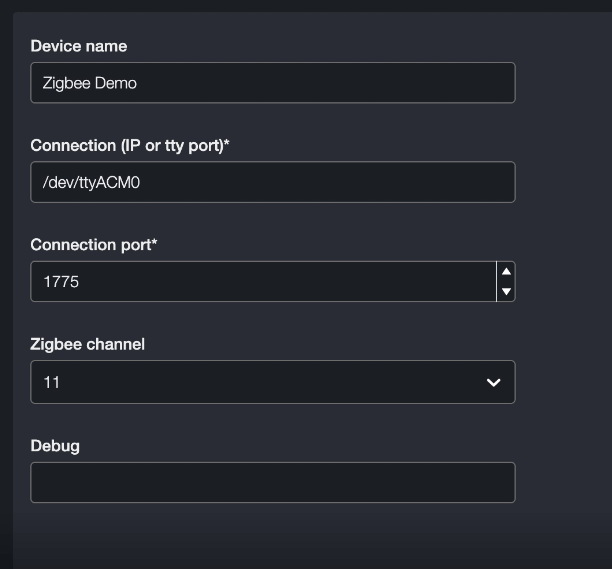
In the addon settings, fill in all required fields.
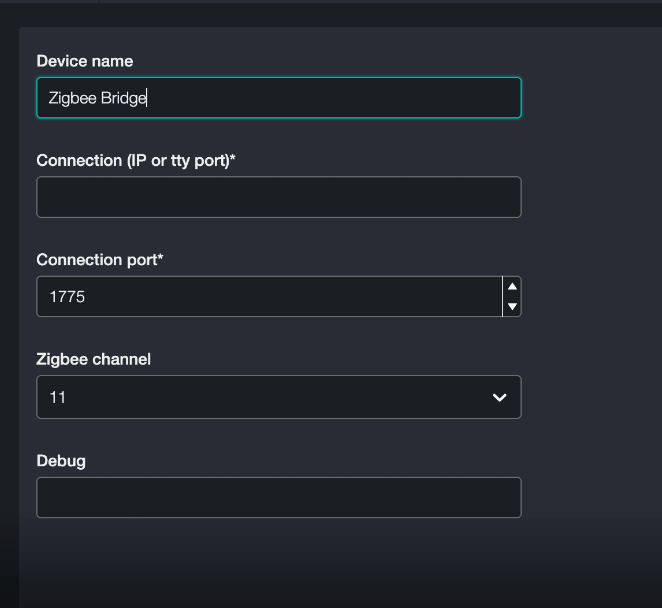
Enter any text in the "Device Name" field. The bridge will be displayed in the 2Smart Standalone device panel with the title specified here.
“Connection”: Depending on the type of your Zigbee adapter (USB, network, hybrid, etc.), enter the tty port or IP address of the device.
Note: When using a USB stick, check it through the tty port connected to the device.

"Connection port": This setting is unnecessary if you use an adapter with a USB connection. The port must be specified when connecting by IP address.
"Zigbee Channel": Select the channel the Zigbee network will operate (default is 11). If you plan to use several Zigbee adapters, run each on another channel. For correct network operation, we recommend choosing channels with a small division - for example, 11 and 13, 15 and 17.
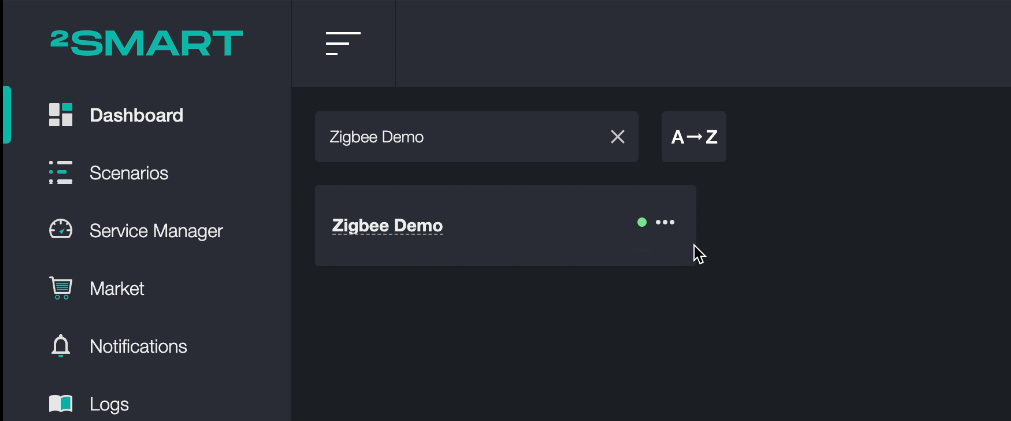
Save your settings and go to the Dashboard section. An empty bridge appeared with the ready status.
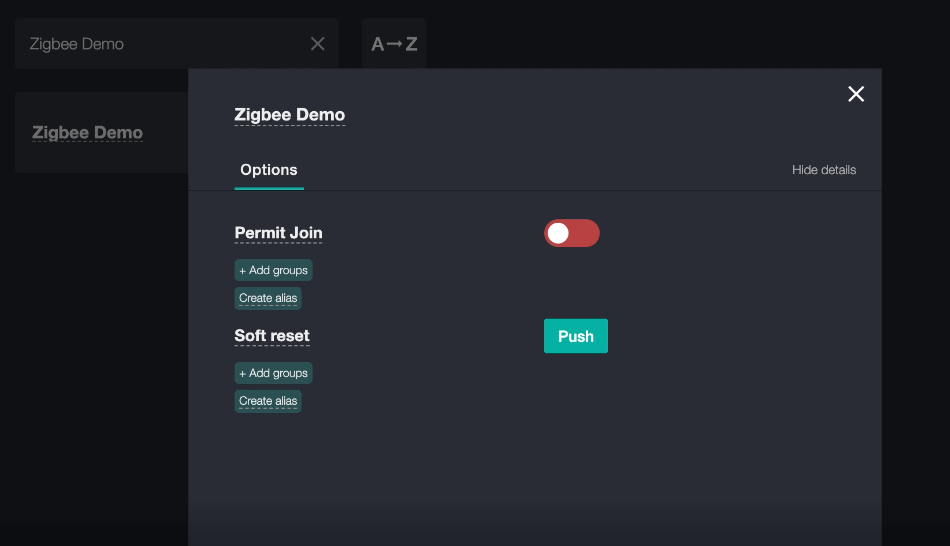
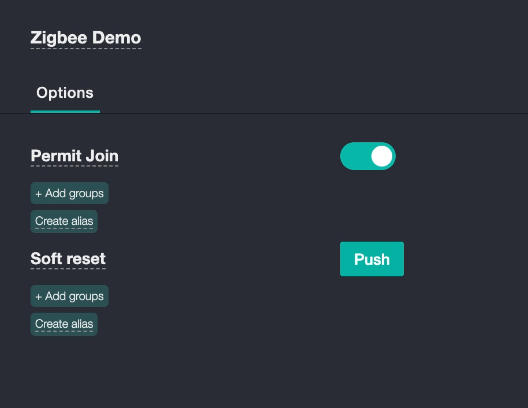
The available actions at this stage are a Soft reset (reboot) and the "Permit Join" mode launch for device pairing.
Turn on the "Permit Join" toggle to start connecting devices that use the Zigbee Protocol.
Devices and pairing
The bridge uses the zigbee2mqtt implementation. You can find the list of supported devices at the following link: https://www.zigbee2mqtt.io/supported-devices/.
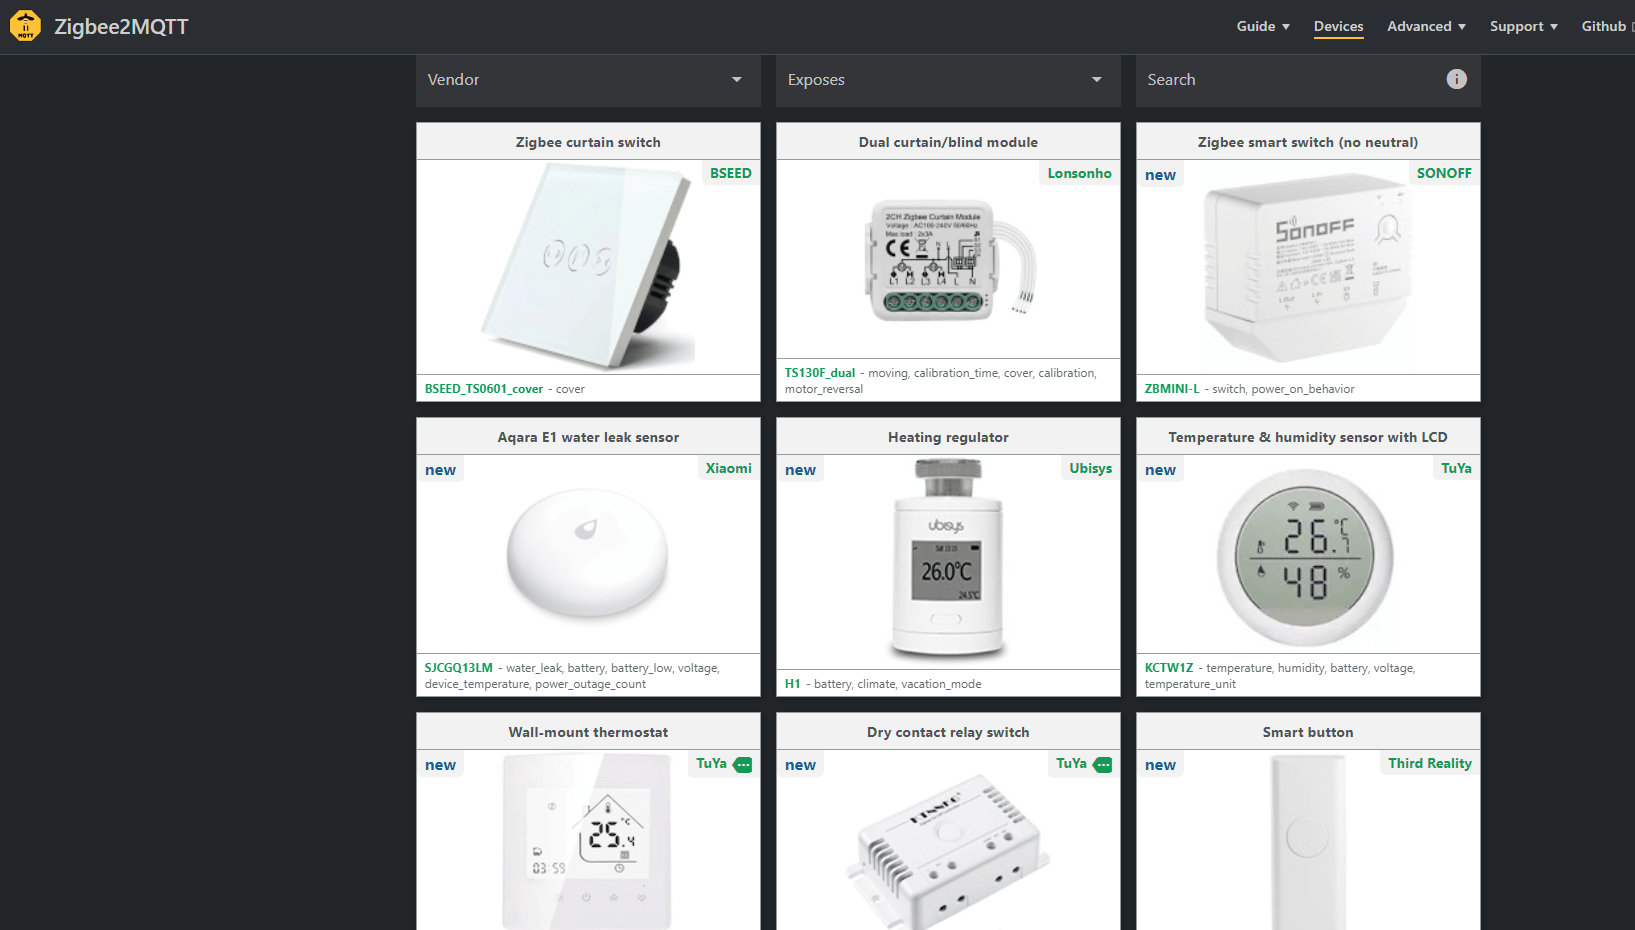
The catalog contains a wide variety of devices. Below we will consider the connection of several sensors.
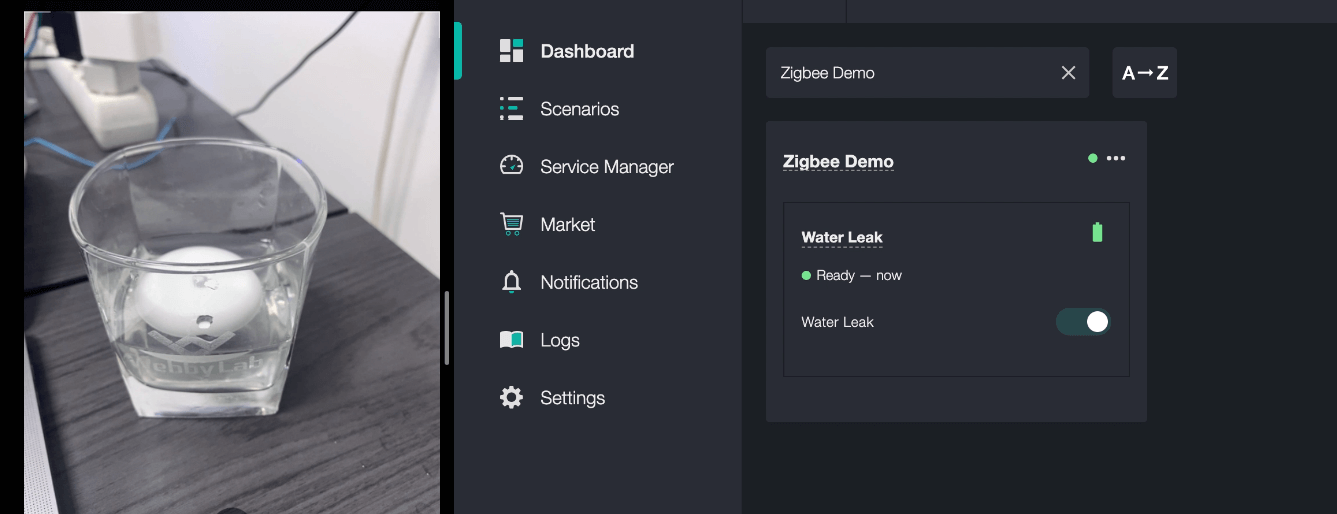
The first device that will be connected as an example is a water leak sensor.
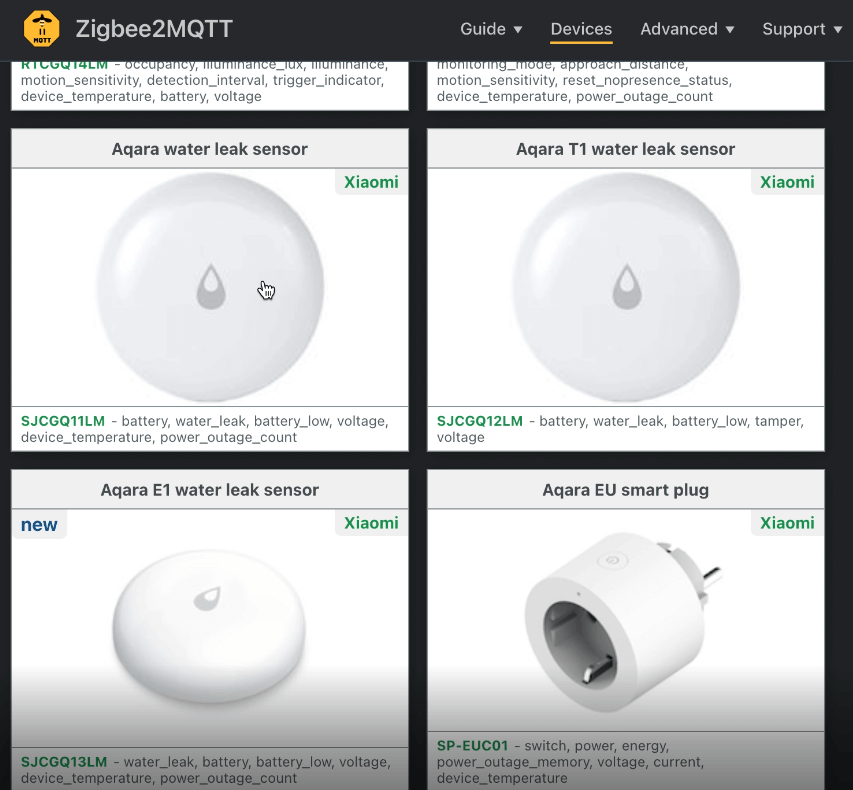
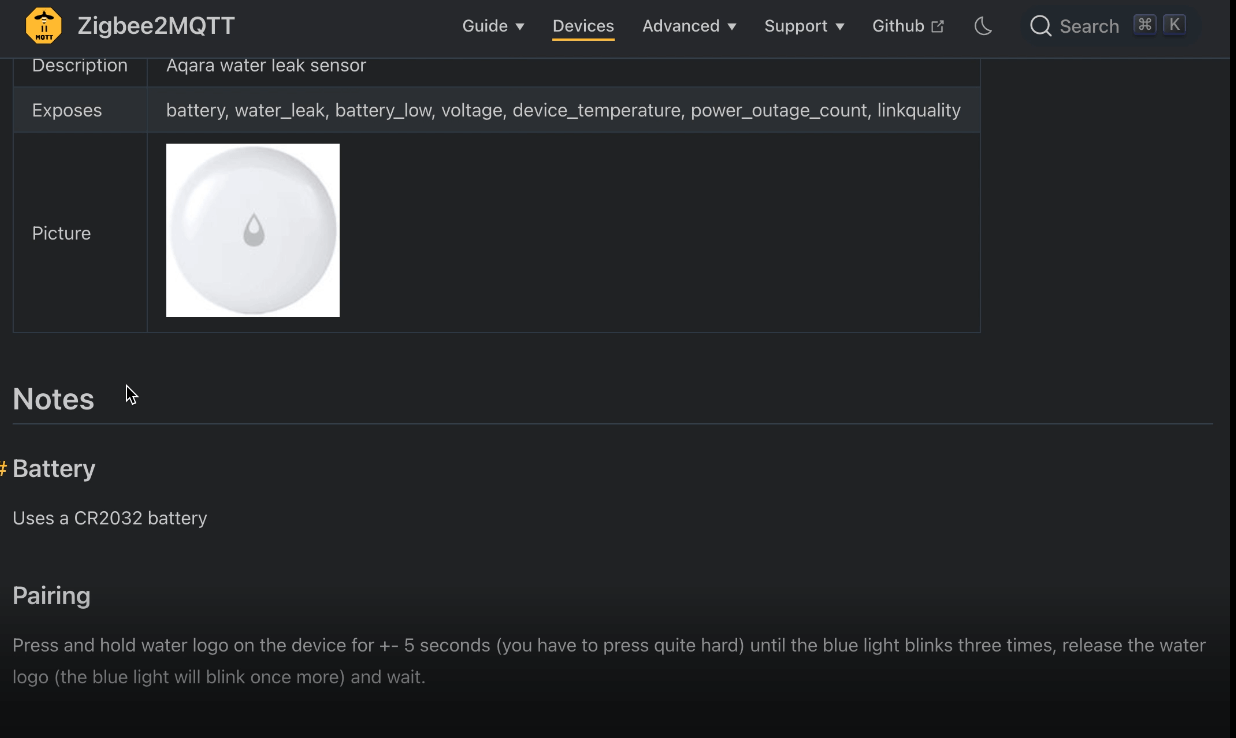
Open the device page in the catalog, read the pairing instructions and follow it.
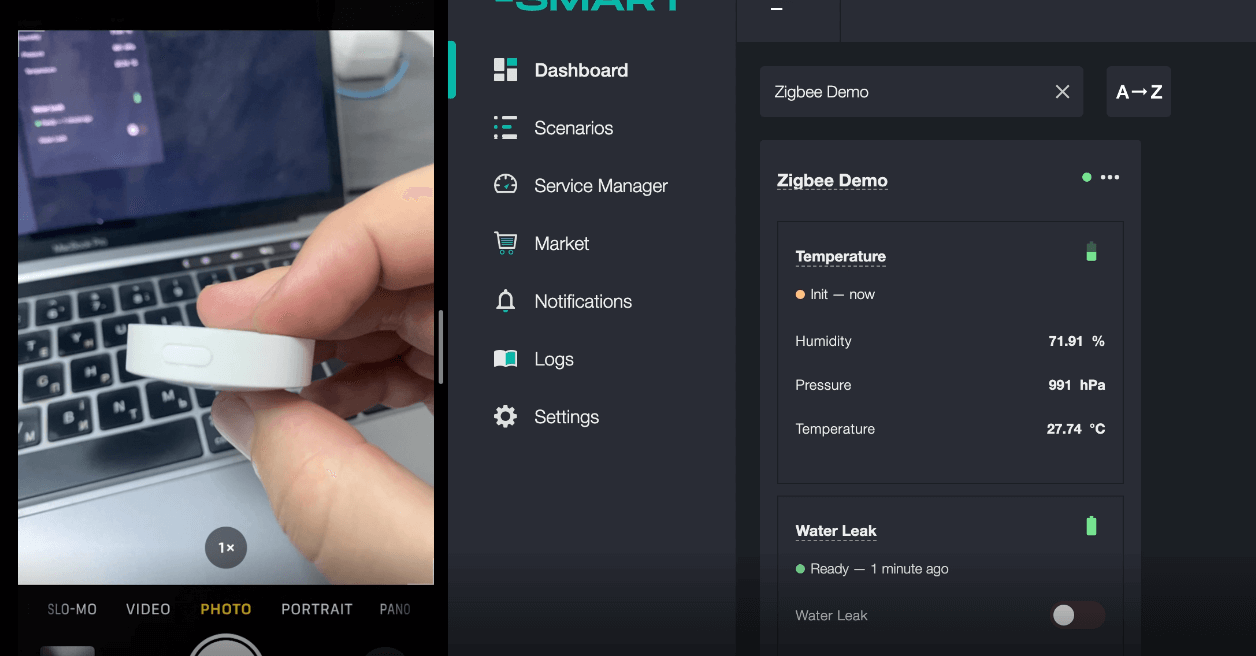
After successful pairing with the Zigbee adapter, the sensor is displayed in the 2Smart Standalone admin panel.
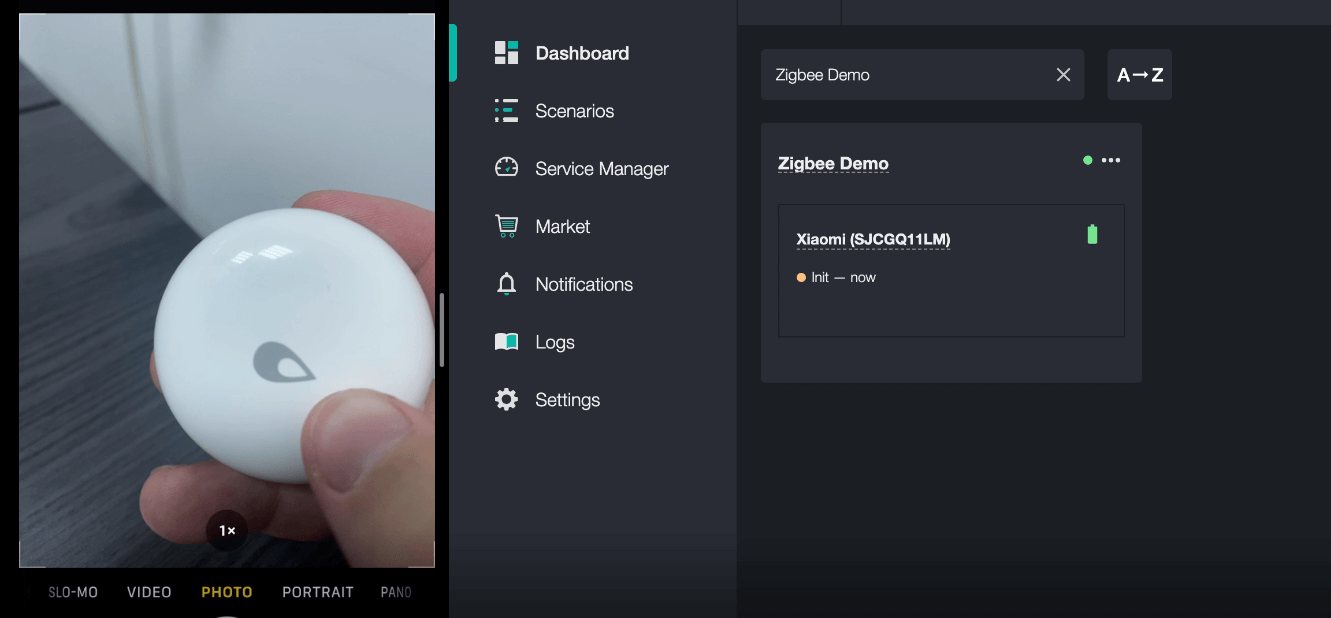
Wait for the device status to change from “init” to “ready” and check if it works.
We immersed the sensor in water, and its state in the admin changed accordingly.
Connect any other supported sensors in the same way.
If you are having difficulty connecting your device
- Read the zigbee2mqtt forum.
- Make sure the sensor has a new battery installed.
- If the device has previously connected to a Zigbee adapter, it will take several attempts to start the pairing.
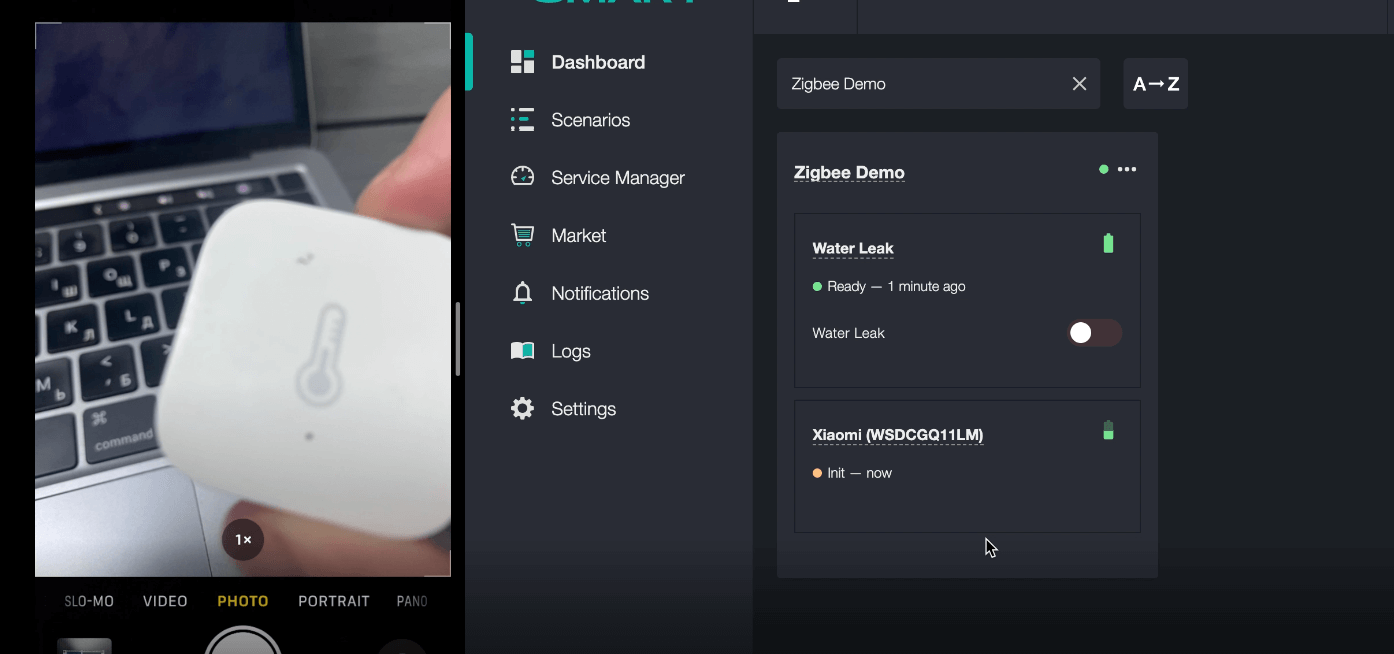
Connect the second device, namely the temperature sensor.
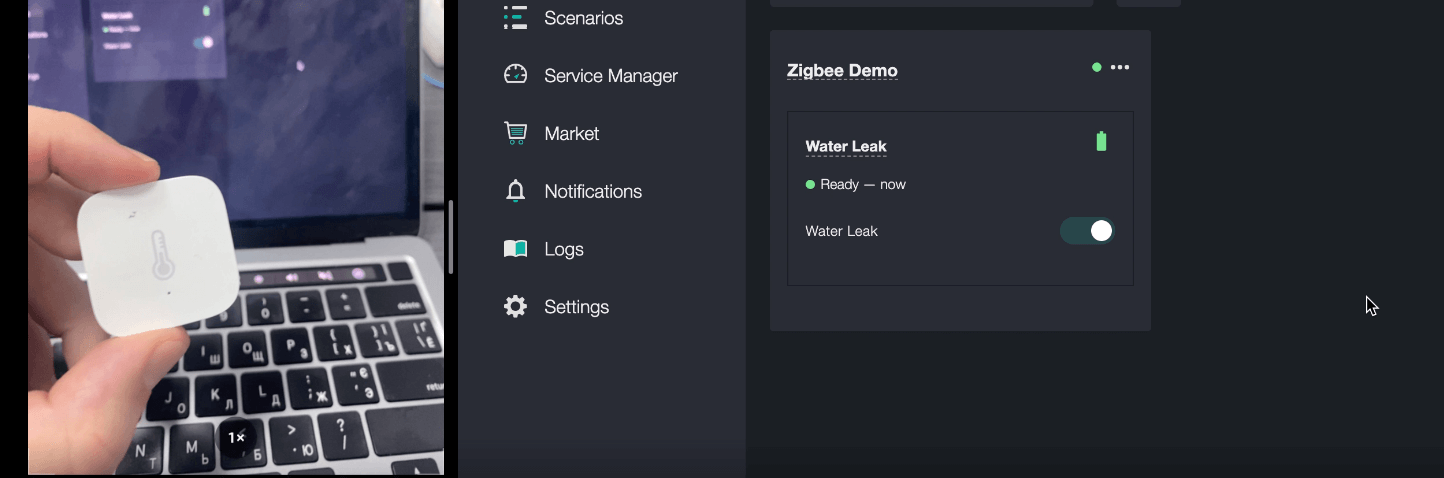
After successful pairing, the sensor will also appear in the 2Smart Standalone admin panel and transmit up-to-date information about the current air temperature.
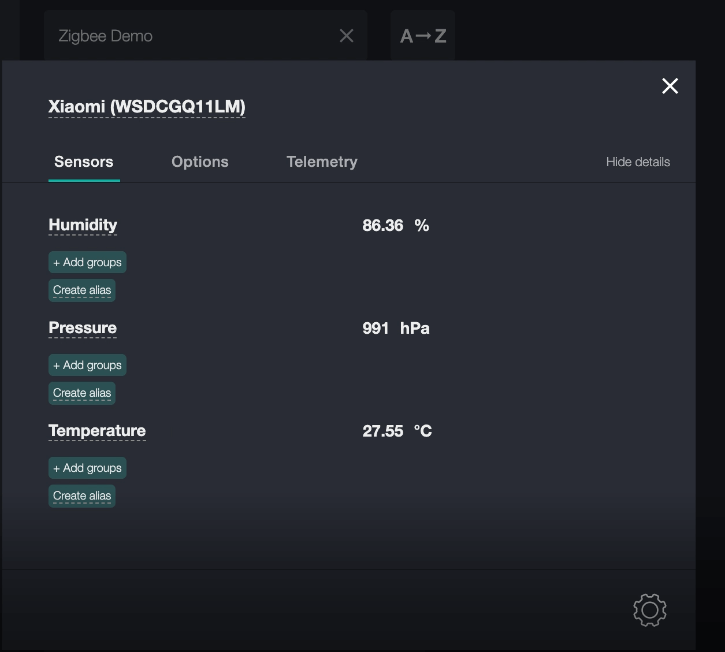
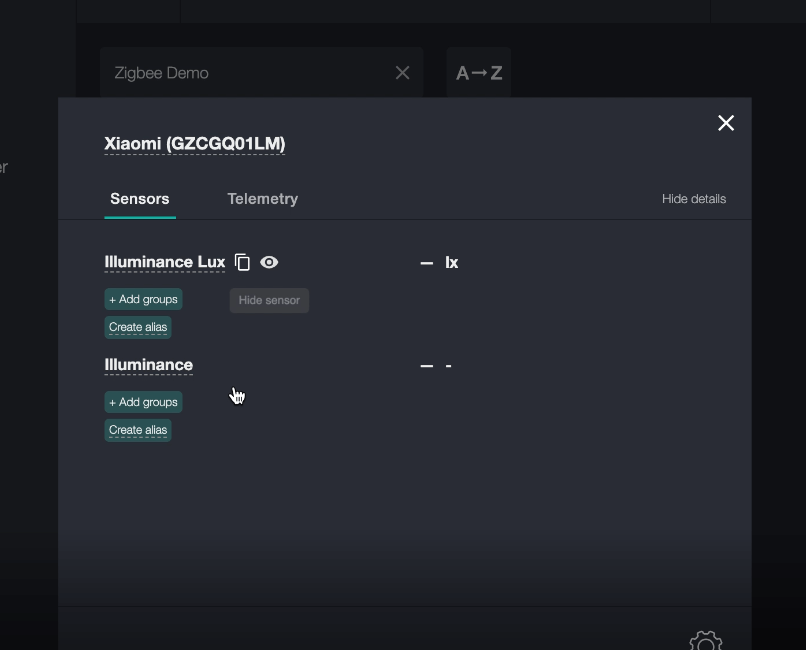
Connect the light sensor in the same way.
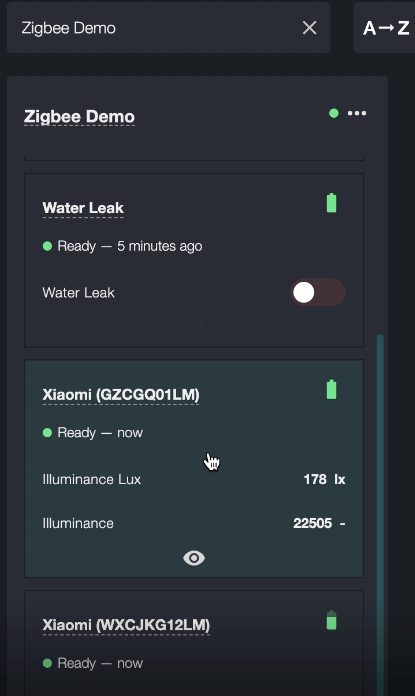
After pairing all devices, disable the “Permit Join” toggle. Now you can control Zigbee devices using 2Smart Standalone automation scenarios or use Zigbee sensor readings in these scenarios.
Note: The USB adapter to which the ZigBee devices are connected works only in the Linux OS family.