Dashboard
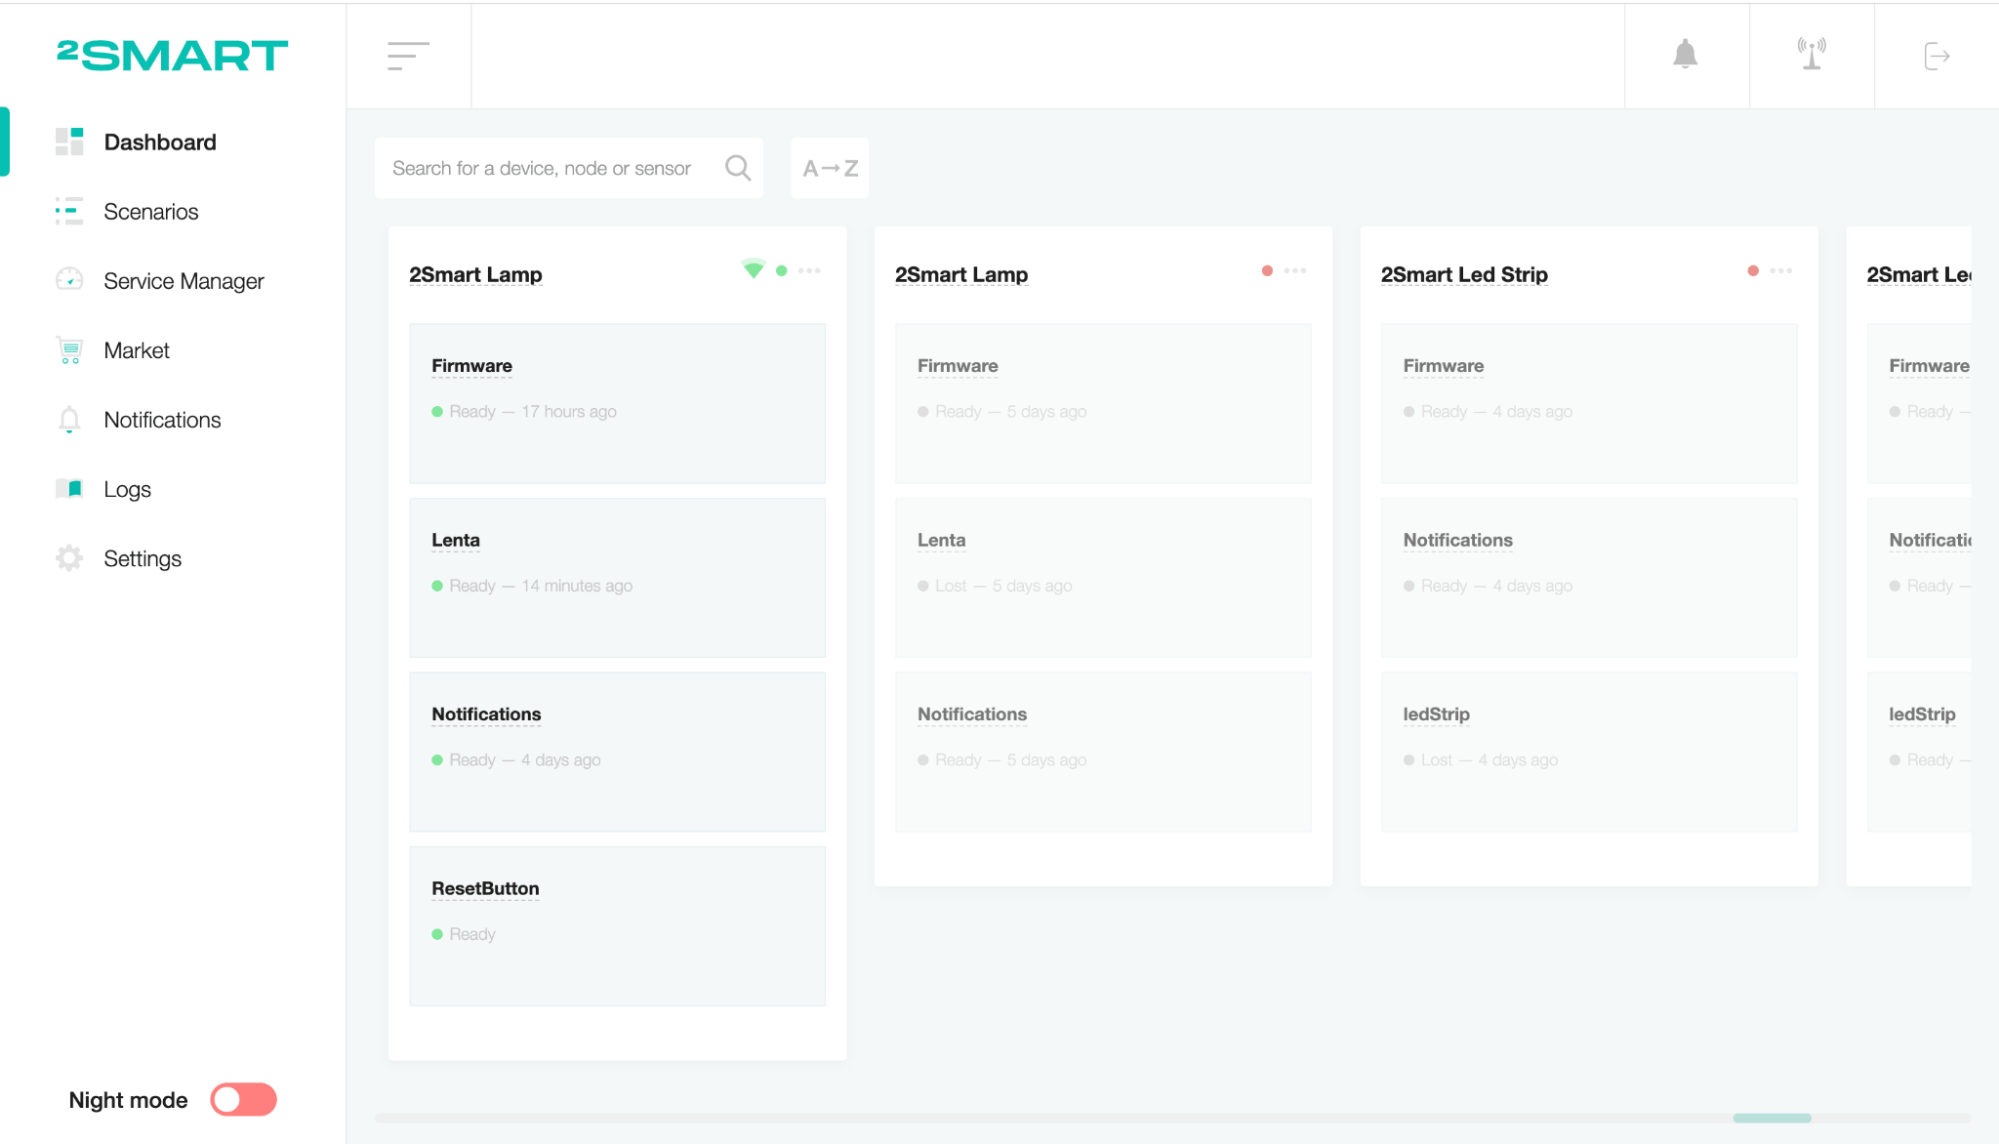
The admin panel dashboard is a screen displaying the status of all system devices. Device cards are placed one after another in horizontal order. Many devices manage browsing by scrolling to the right or left.
Reactive interface
The system interface makes all changes visible without reloading the page.
If new nodes, sensors, or telemetry have been added to the device, they are instantly displayed on the device card. The same logic works when removing the components of the device.
The device card immediately pulls up new values after the user changes the sensor values. The status of the device is also displayed in real-time. By physically changing the device sensor's value, the user can see the changes on the device card.
Device structure
A device is a physical or virtual machine that supports the 2Smart protocol and can connect to a server or cloud. It acts as a hub for sensors. The device announces its set of nodes and sensors, reports their state, and receives control messages for them.
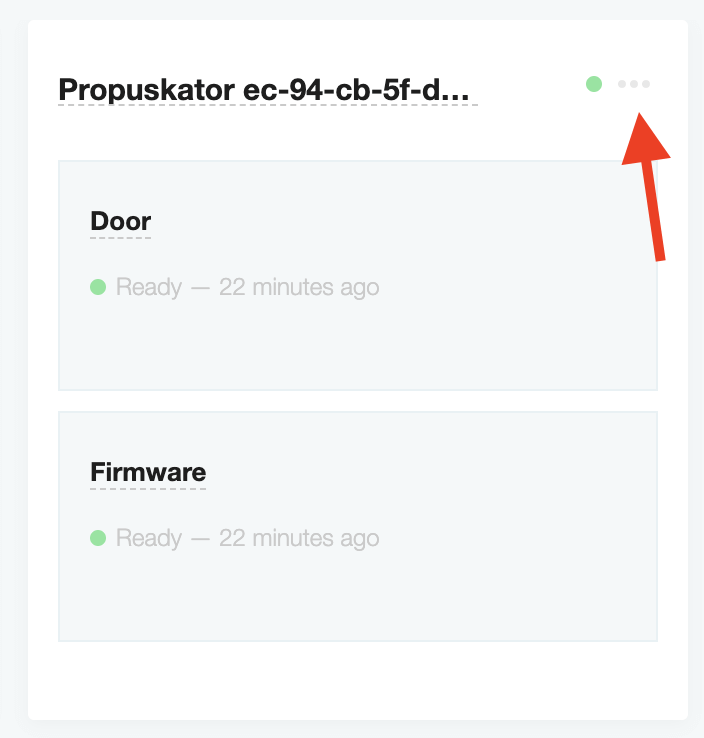
Devices are represented as individual components in a card, consisting of nodes, options, and telemetry. Click on the three dots button to view them.

Nodes are logical combinations of sensors. The device combines its sensors or sensors of child devices into nodes. Sensors cannot be defined outside of a node.
Each node can also contain its sensors, options, and telemetry. To view the node's details, click on its card inside the device.
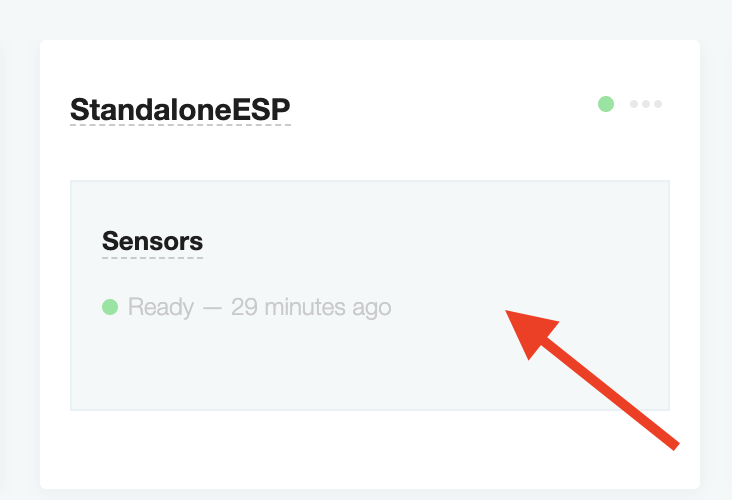
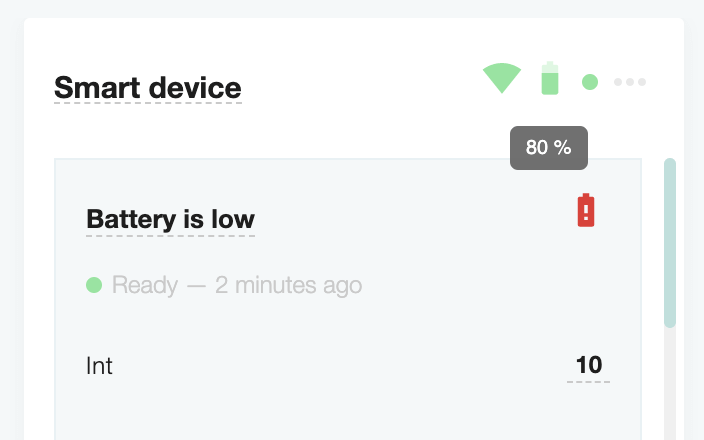
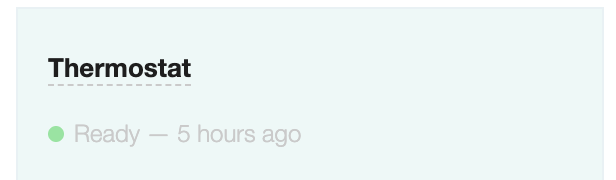
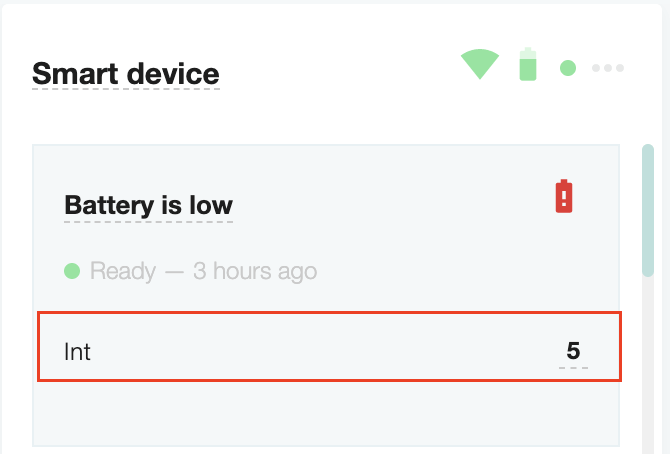
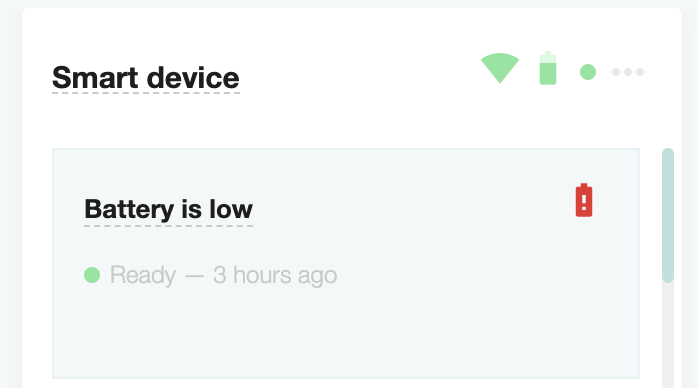
Device status is represented by a circle on the header of the card.
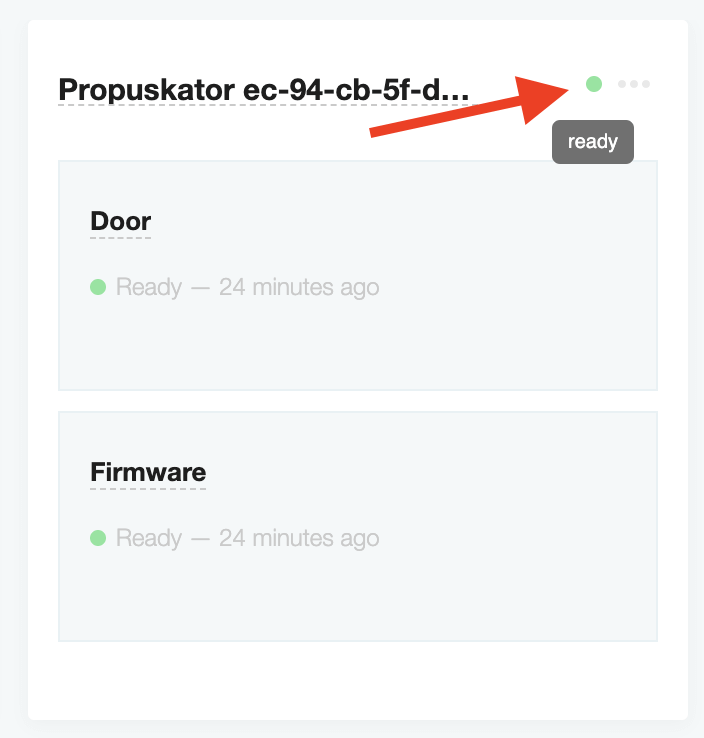
The green color of the circle is responsible for the ready state of the device, the red color for the disconnected state, and the yellow color for the initialization status.
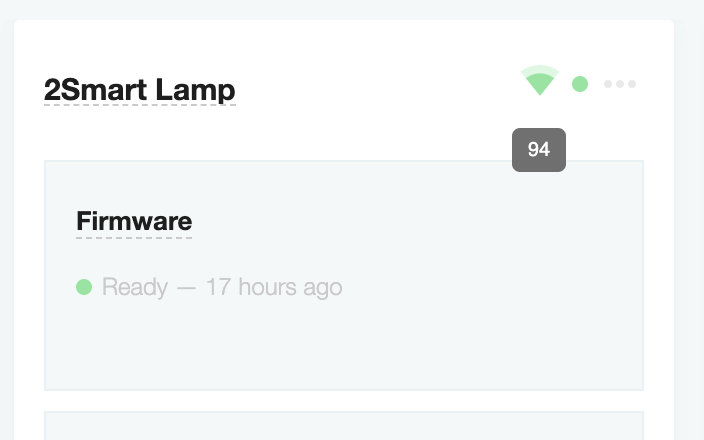
Depending on the product, the device card may also display the signal and battery levels, which show the appropriate sensors' values.
Device components renaming
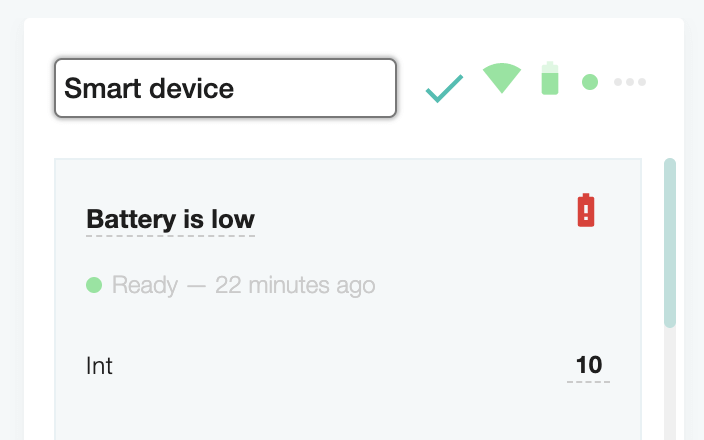
To change the device's name, click on its title on the card header. Enter a new value and click on the check mark to save.
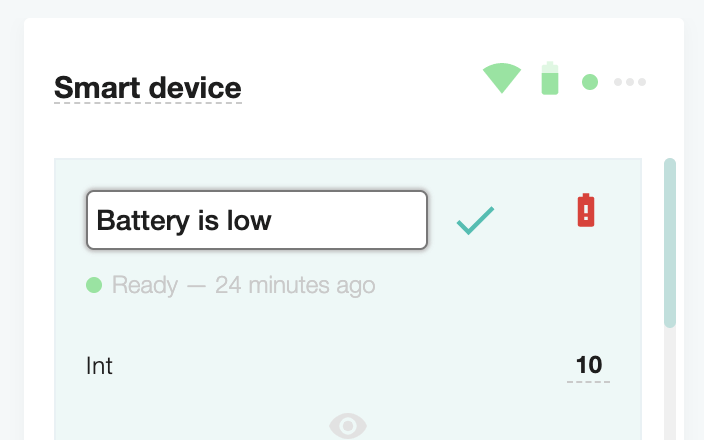
To change the node's name, click on its title on the device card. Enter a new value and click on the check mark to save.
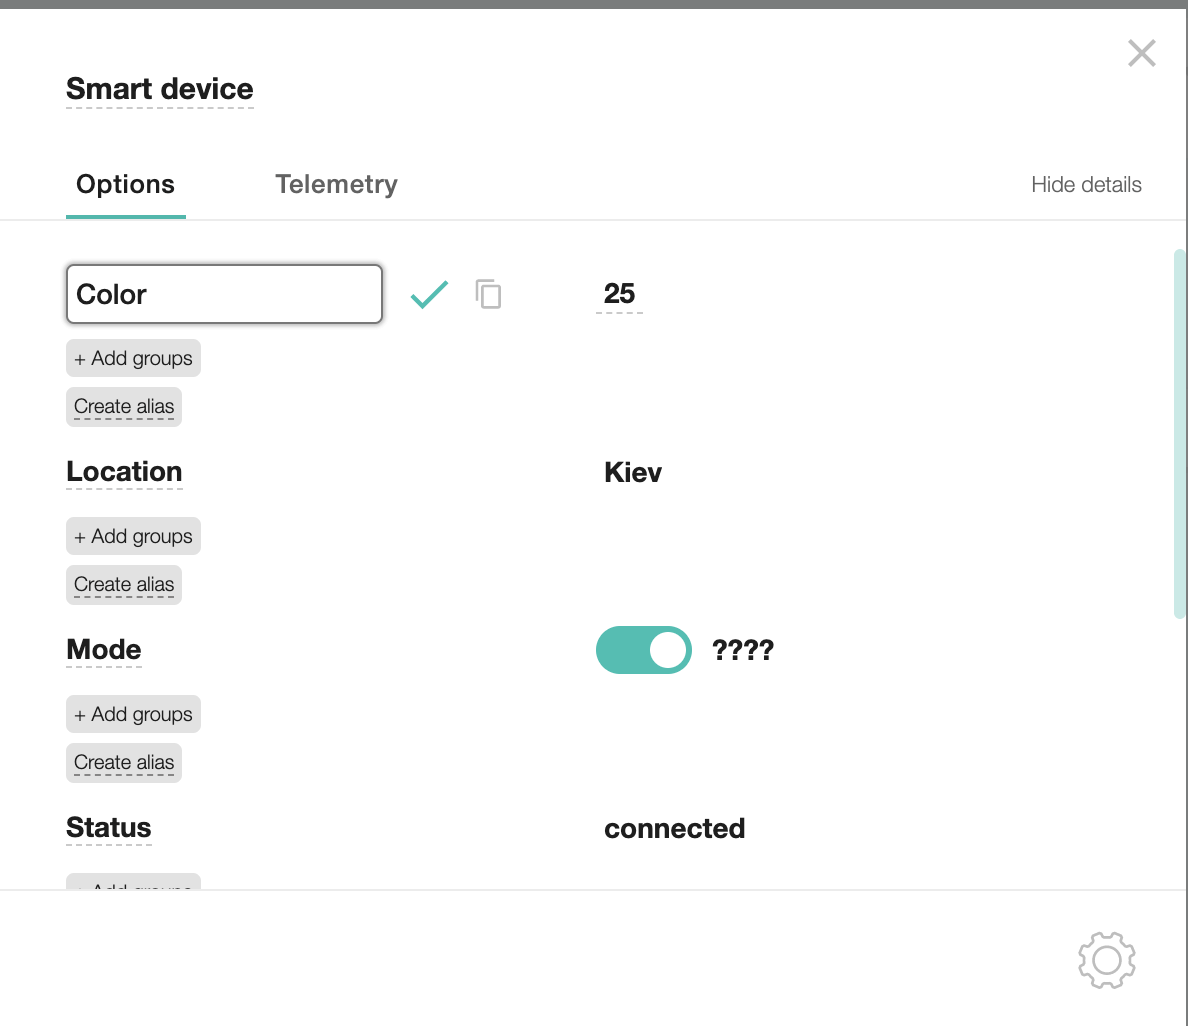
The user can also change the name of the components after opening the window of device options or node options. To do this, they need to click on the title of the modal window, add new values, and click on the check mark to save.

To rename the options and telemetry of the node or device, open the modal settings window. Click on the option's title, add new values and click on the check mark to save.
Device components removing
To delete the device:
Click the gear button on the device settings window.
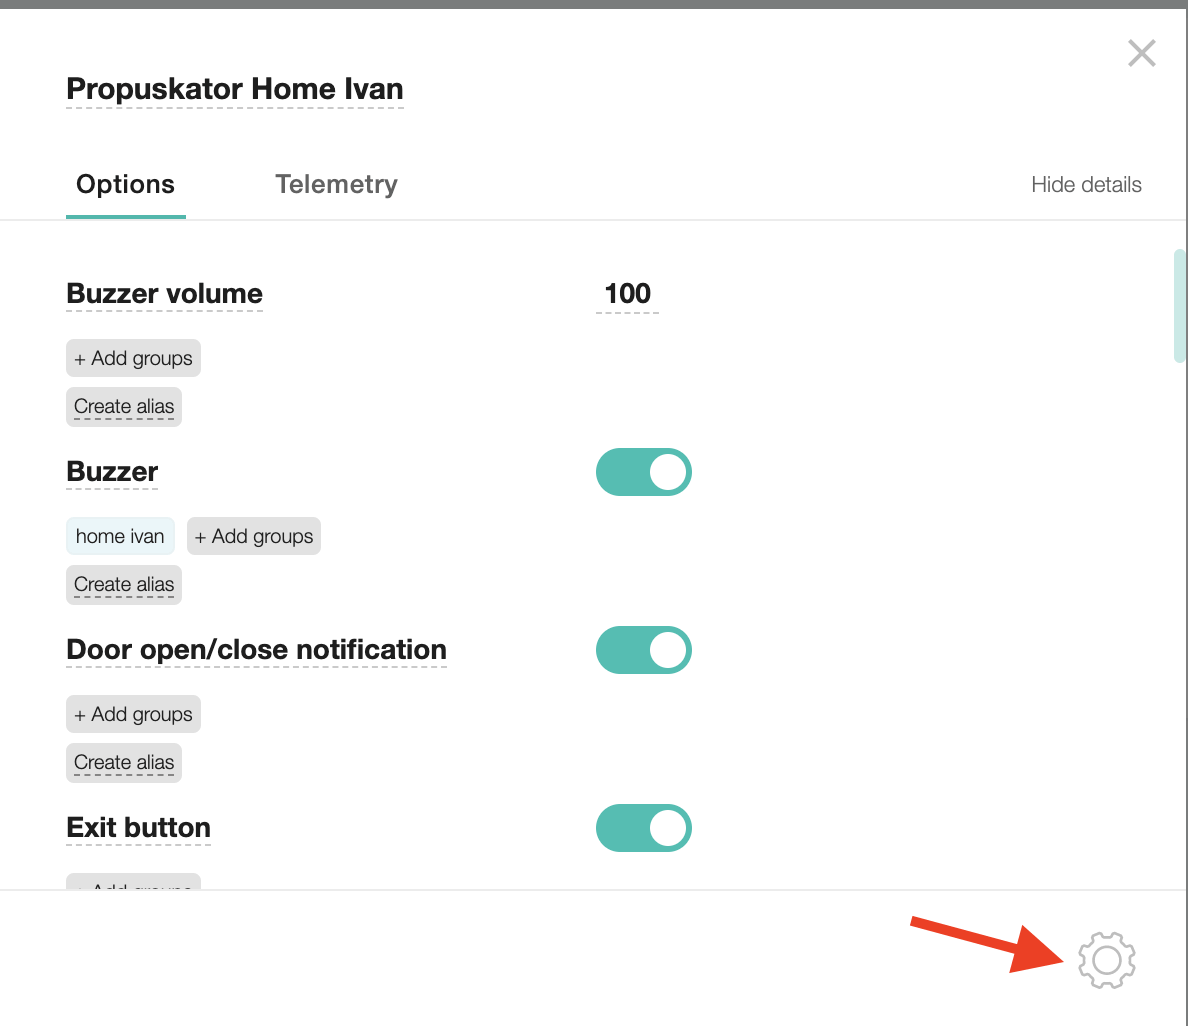
Click on the “Remove device” button.
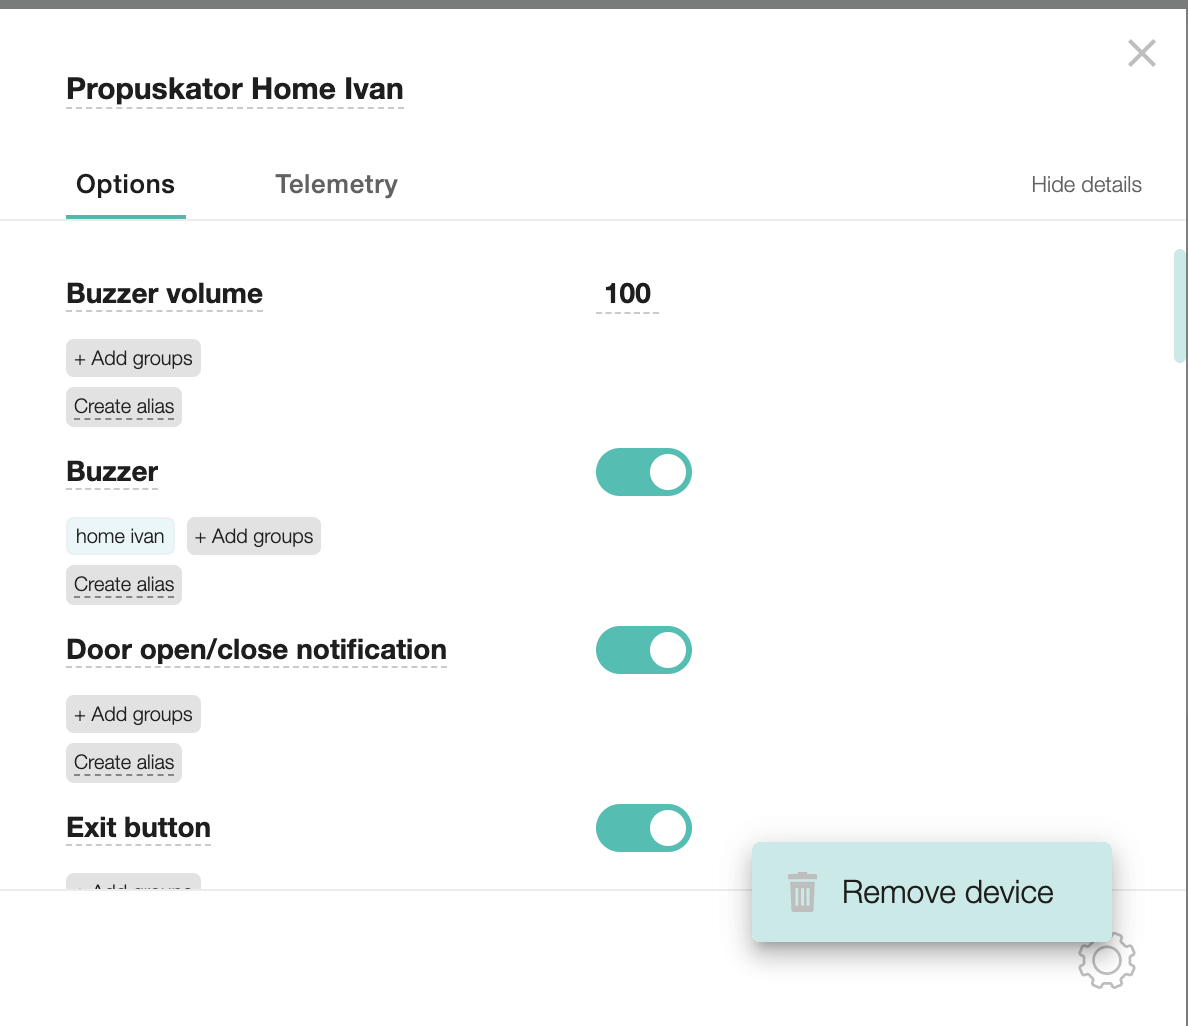
The device card will be deleted from the Dashboard.
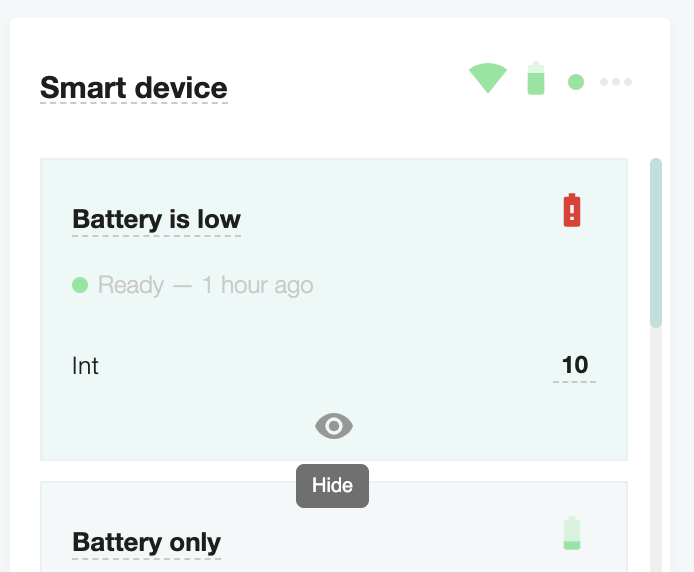
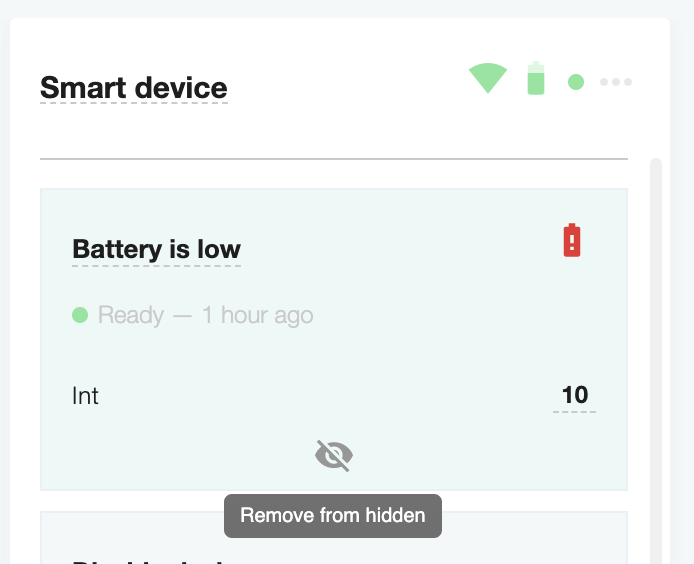
Removal of nodes is carried out by hiding them from the device card. Click on the eye button on the node card, and the node will be deleted from the device.
If the user wants to return the deleted nodes to the device card, they need to press the “Show hidden” button, and the hidden nodes will be displayed.
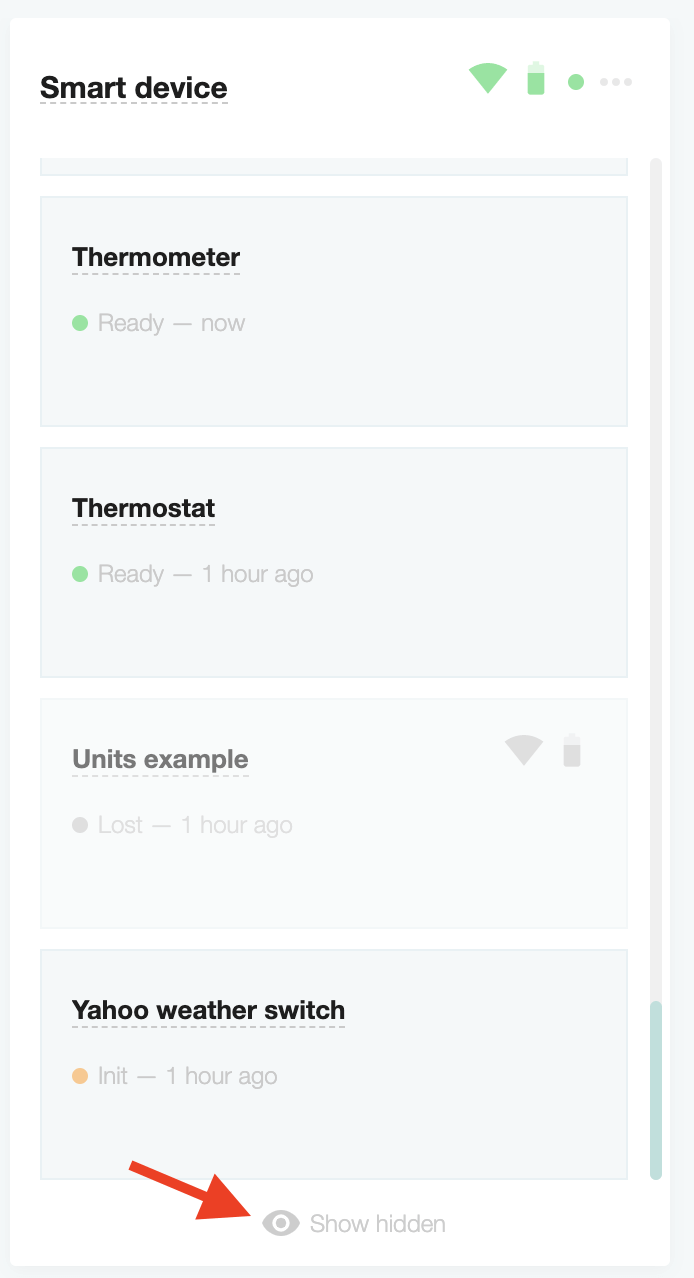
Click the “Remove from hidden” button to return it to the device card.
Groups
Groups are used to combine several sensors and set their values simultaneously. In the client part, just add one widget for the group, and accordingly, when you set the value of this widget, it will be tightened for all group components.
After creating a group for several sensors, you will be able to set the value once for the group, and it will be automatically selected for all sensors to which the group is attached. Groups can be used on widgets or in scenarios where they have a set of specialized methods.
Groups are implemented only in such a vector that the value of the group does not change if the sensor to which it is attached has changed.
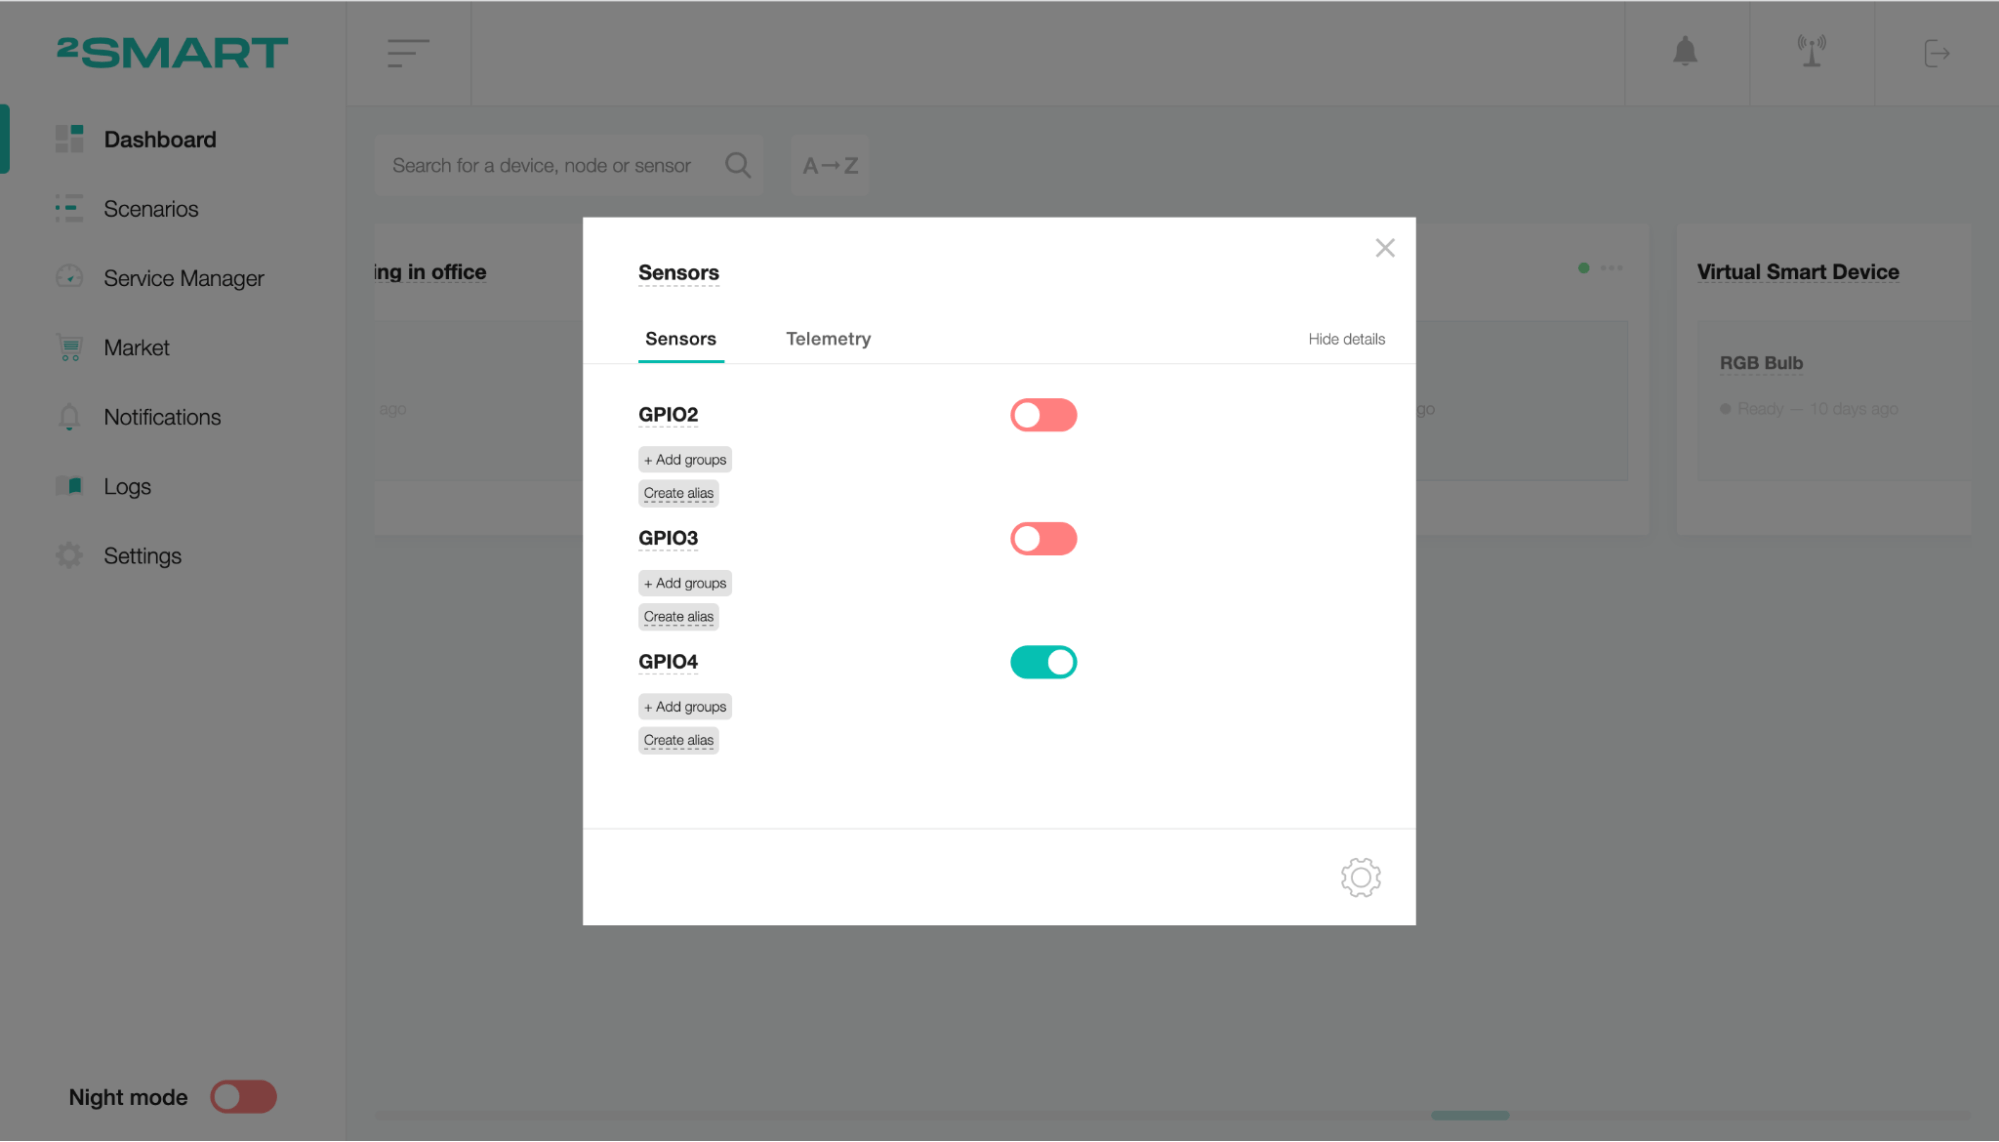
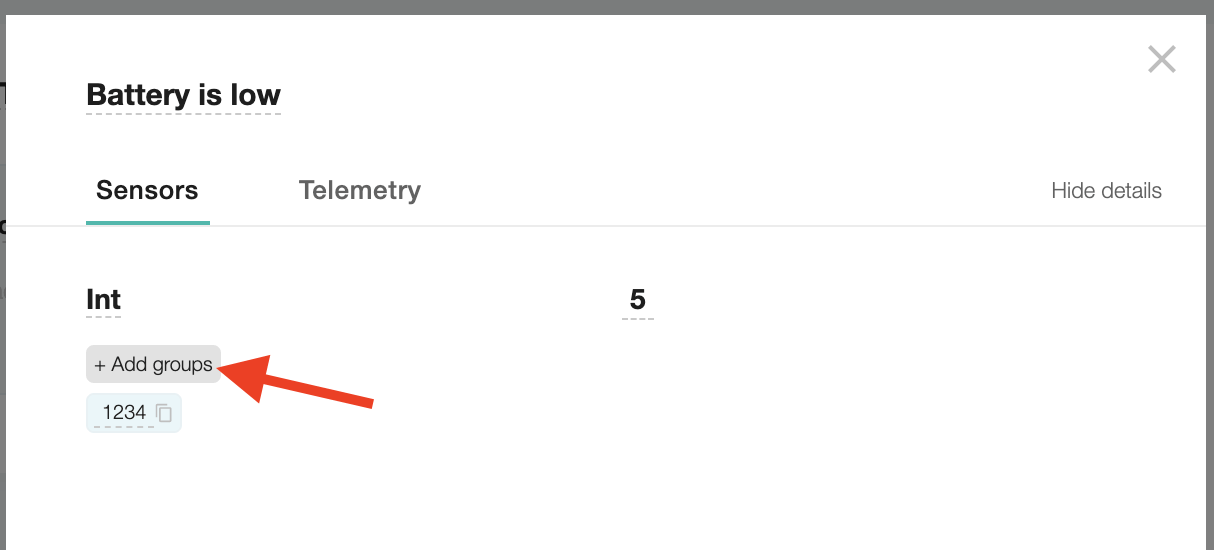
To create a group, open the device settings window and choose the option, node, or telemetry for adding to the group. Click on the “+ Add groups” button.
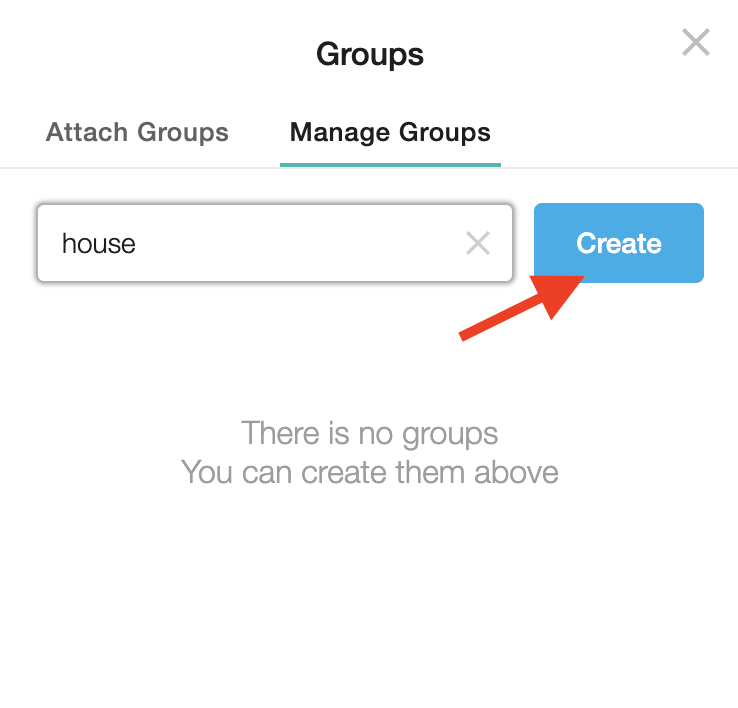
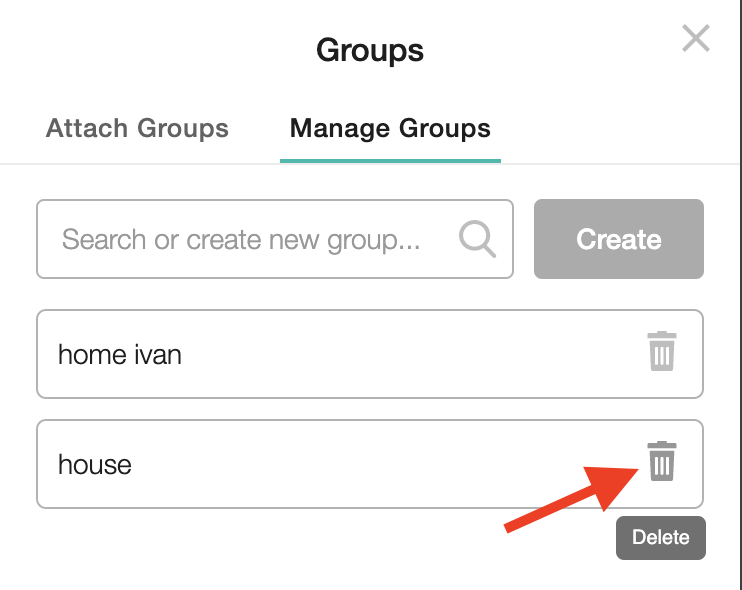
On the “Manage Groups” tab, select an existing group or create a new one. To create a new group, enter the title into the field and click on the “Create” button.
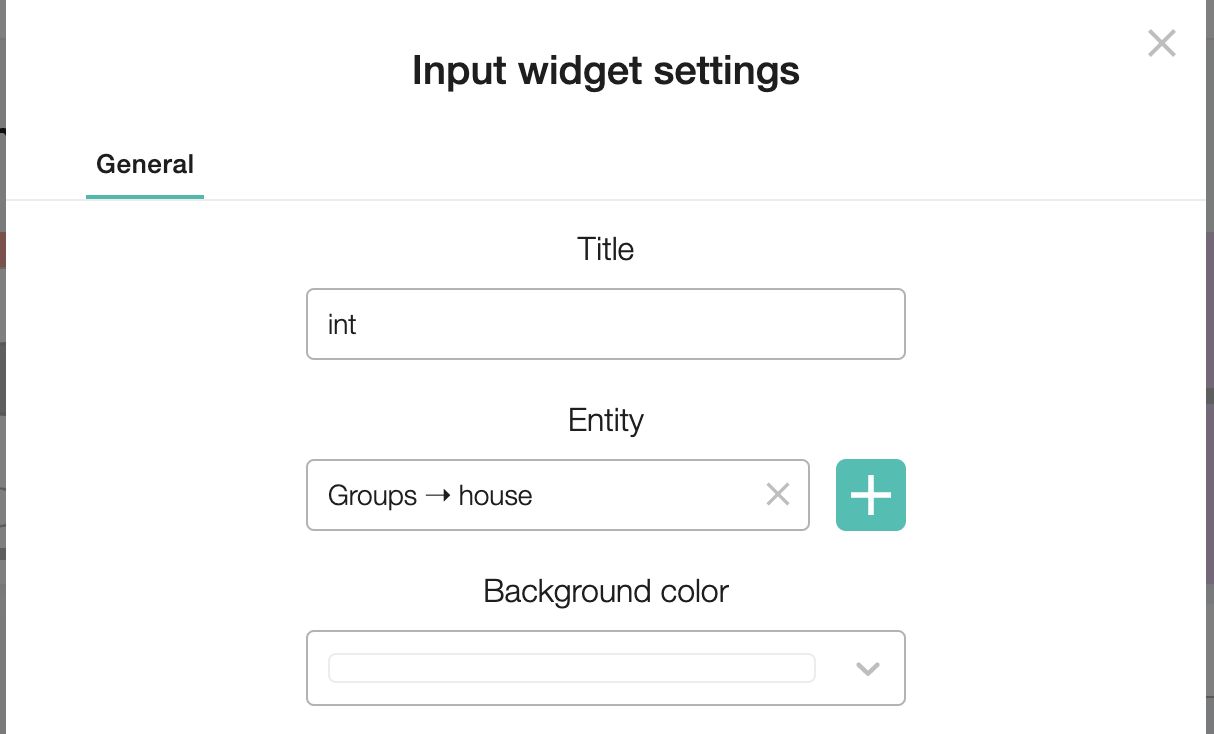
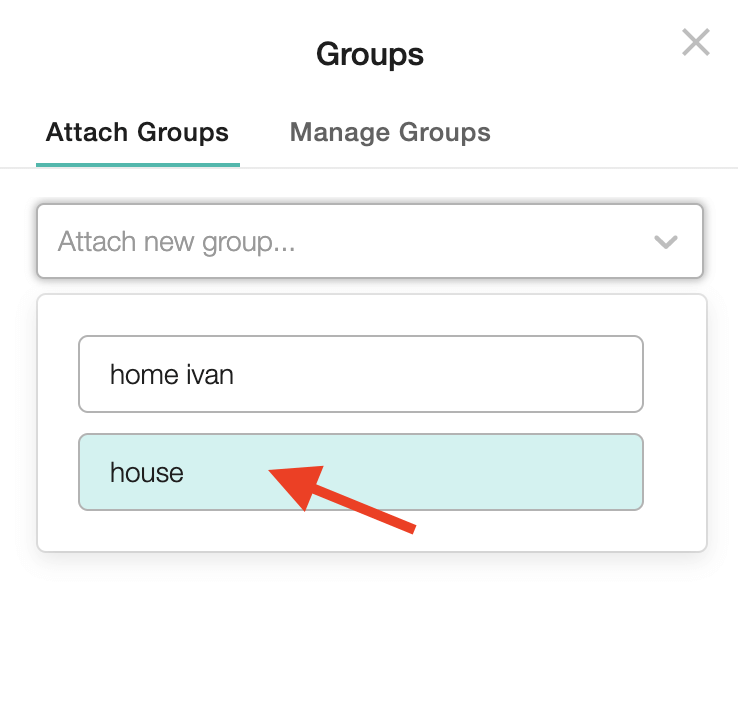
Return to the “Attach groups” tab and select the group from the drop-down list.
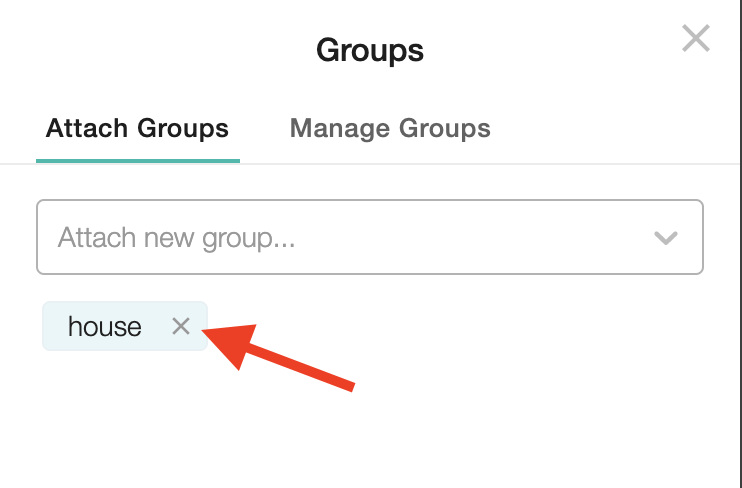
To delete a sensor from the group, click on the cross button on the “Groups” window.
To completely delete a group, click the trash button on the “Manage Groups” tab.
Aliases
It is better to operate with an alias for the convenience of using a sensor in many scenarios. Scenarios have methods for working with aliases, making device management the most efficient and responsive.
In the case of sensor replacement, the user only needs to attach an alias to the new sensor and not modify the scripts.
Aliases allow users to recognize device sensors among a large amount of data. They are displayed in the client part when selecting the entity for the widget.

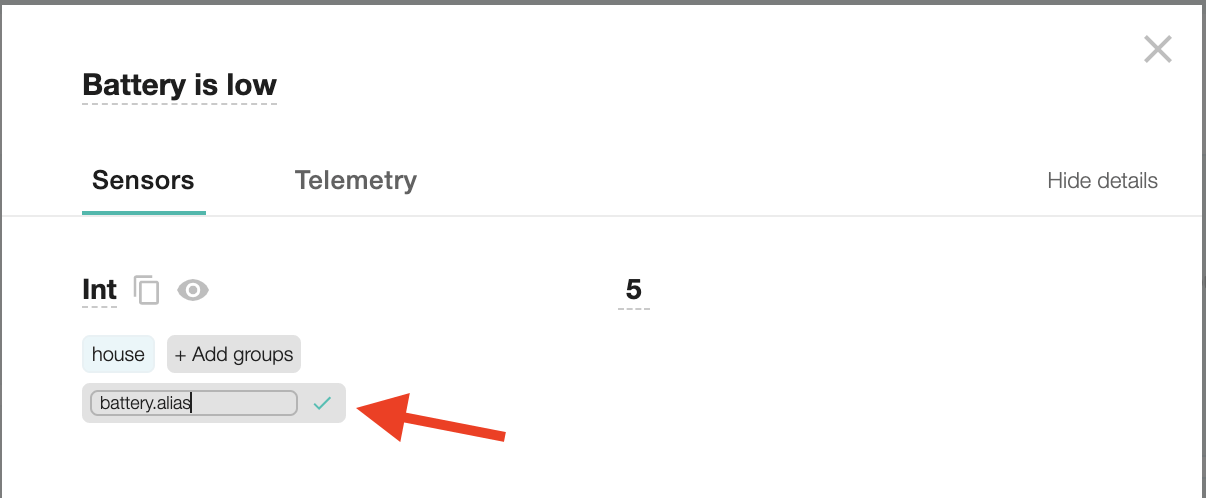
To add a new alias, open the device or node settings modal window. Choose the sensor for the alias and click on the “Create alias” button.
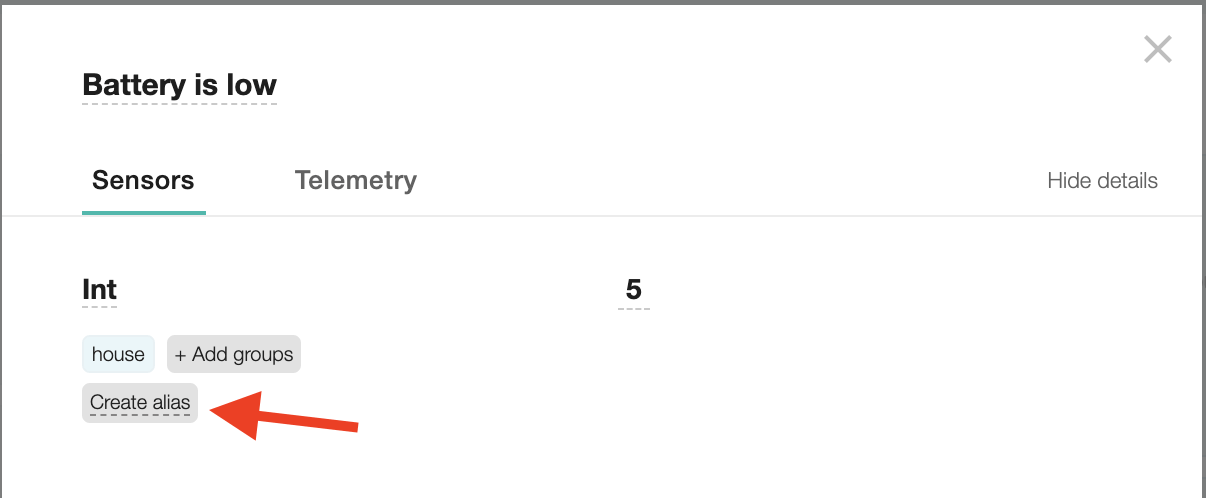
Enter the alias name and click on the check mark to save the data.
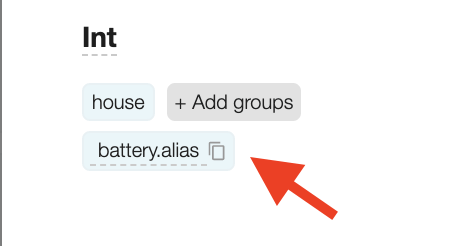
To copy the alias, click on the copy icon on the right.
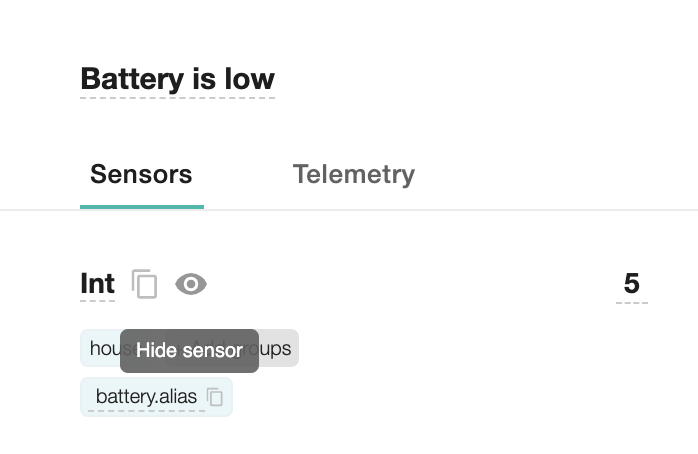
Displaying sensors on the node card
The card of the device includes cards of different nodes. Accordingly, each node contains its title, status, and sensor.
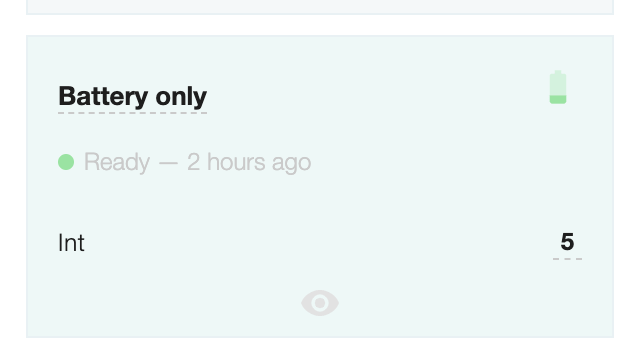
Some nodes may display the signal level and the battery if this telemetry is available.

The status displays information about the device's condition and the time of its last active session.
Sensors are a variety of active and passive sensors that connect to devices. Sensors can be connected in any way and using any protocol supported by the device. The connection of the sensors to the device must be taken care of by the device.
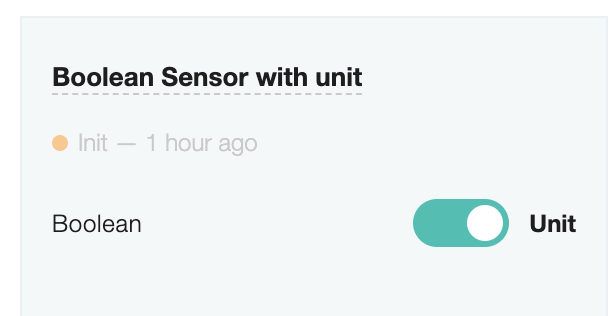
The sensors are directly represented by titles and their values. For some data types, it is possible to change the values using widgets.
To display the sensor on the node card, open the node setting window and click on the closed eye icon.
The sensor will be displayed on the device card according to the selected node.
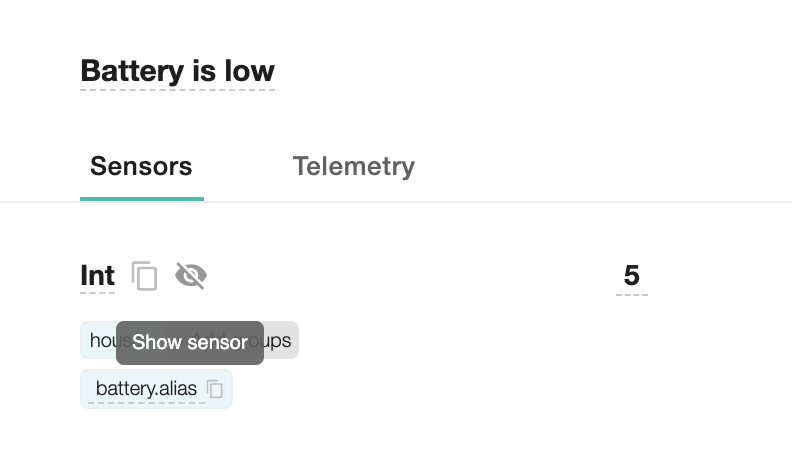
Hiding node sensors
Open the node setting window and click on the eye icon.
The sensor will be hidden on the node card of the device.
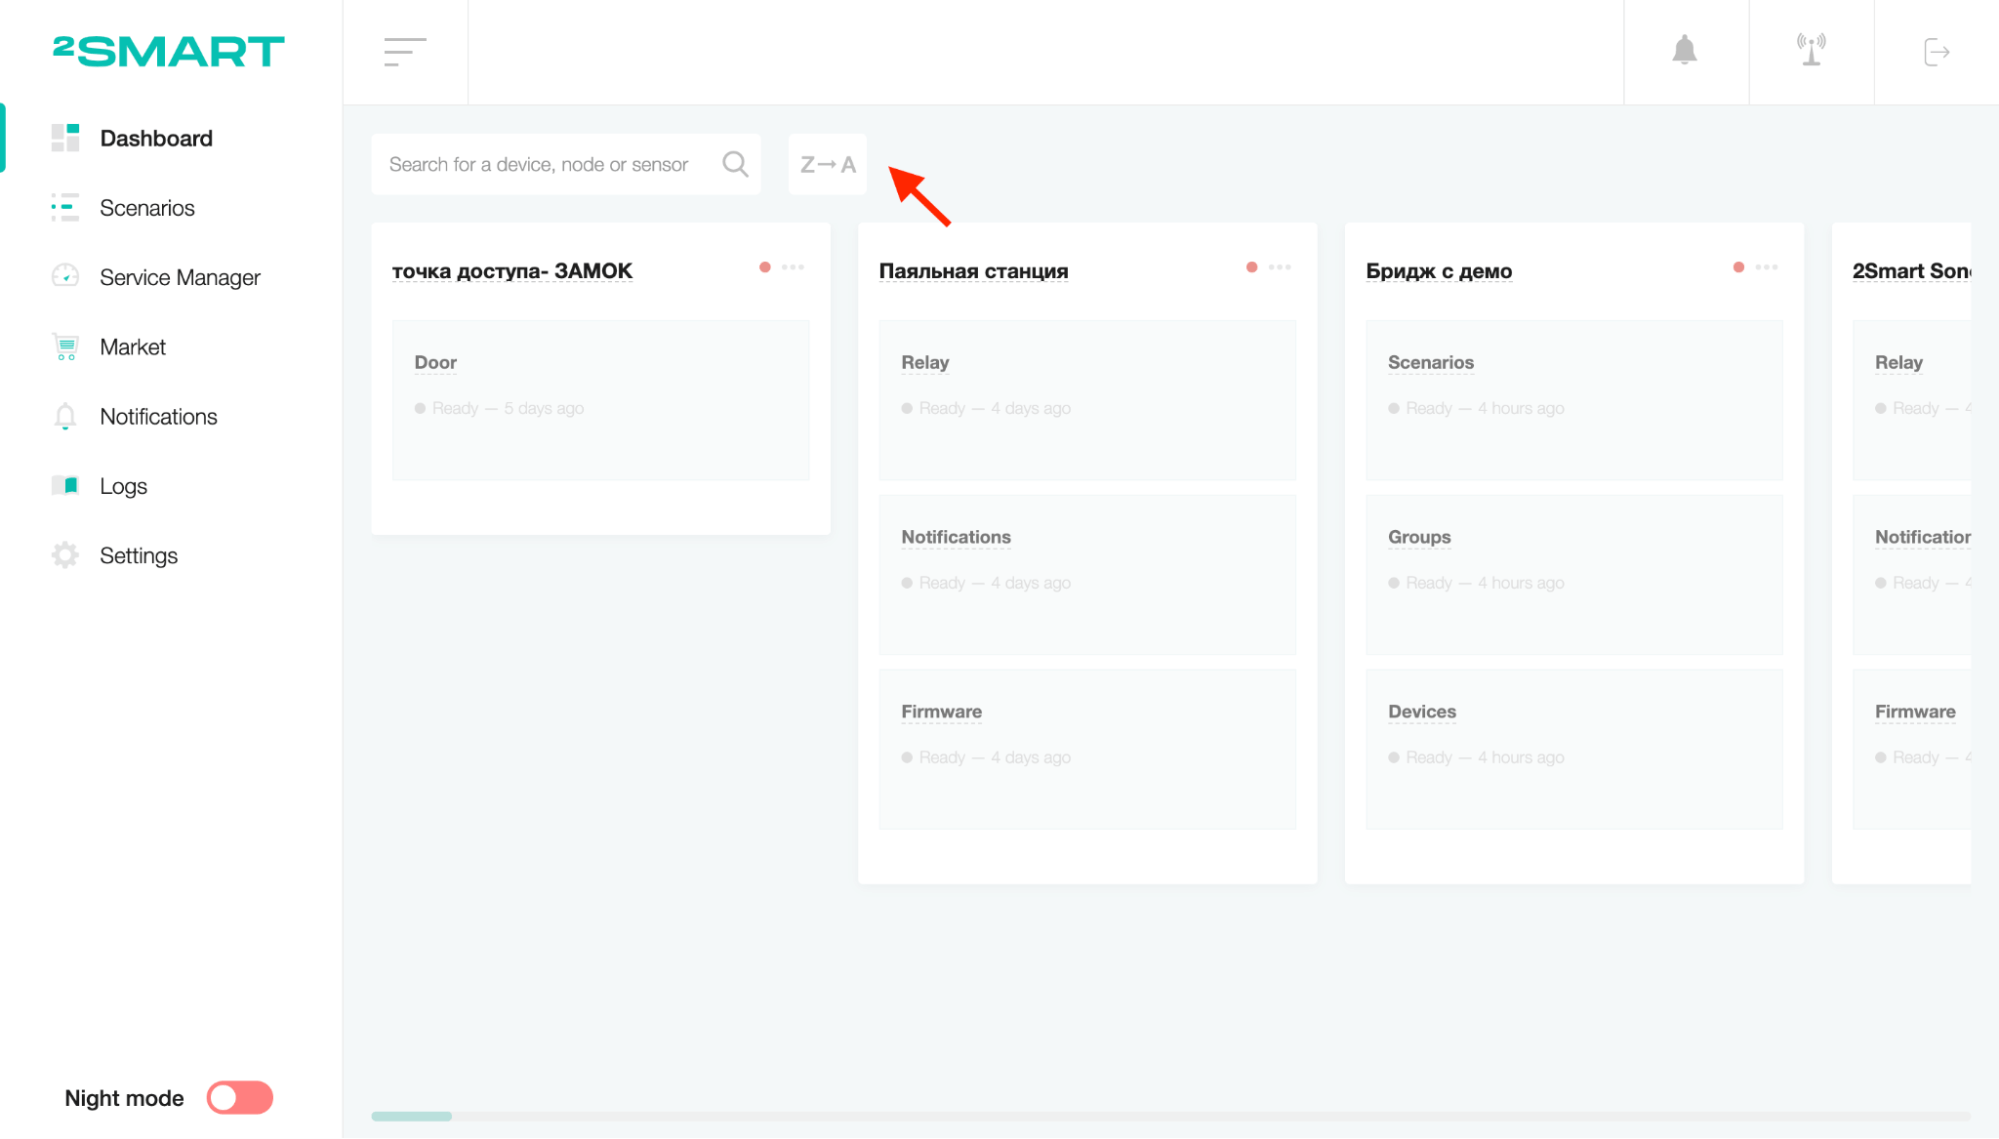
Search and sorting
To search among devices, nodes and sensors, click on the search field and enter a query.
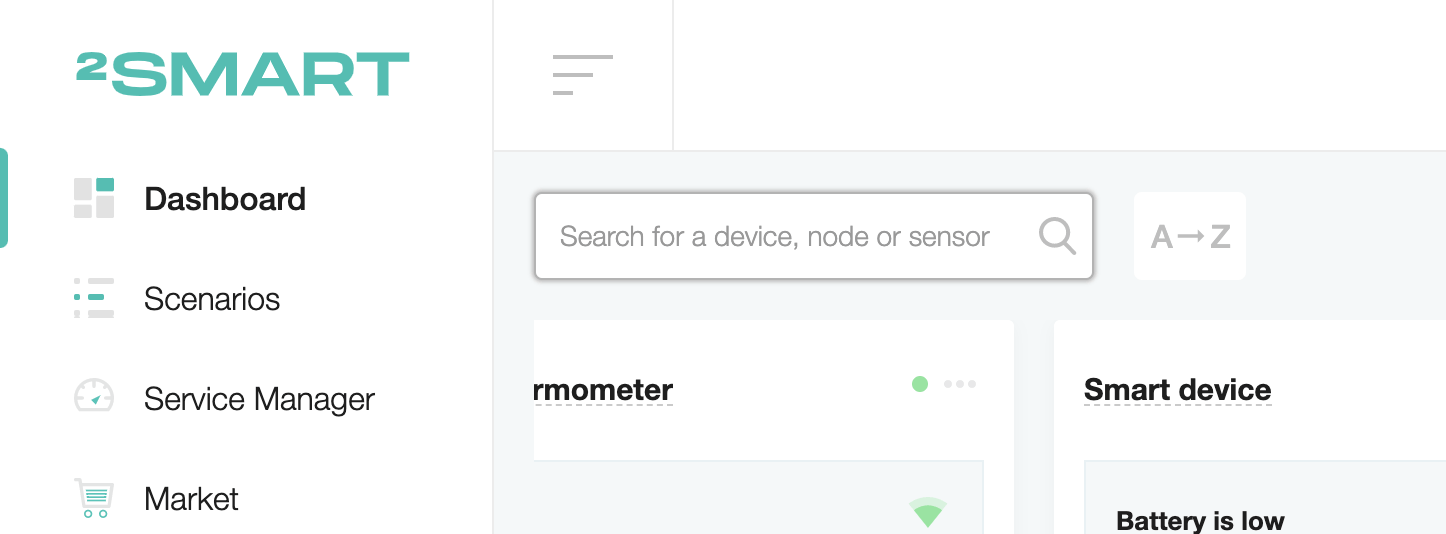
The coincidence is performed when a combination of characters among the search data.
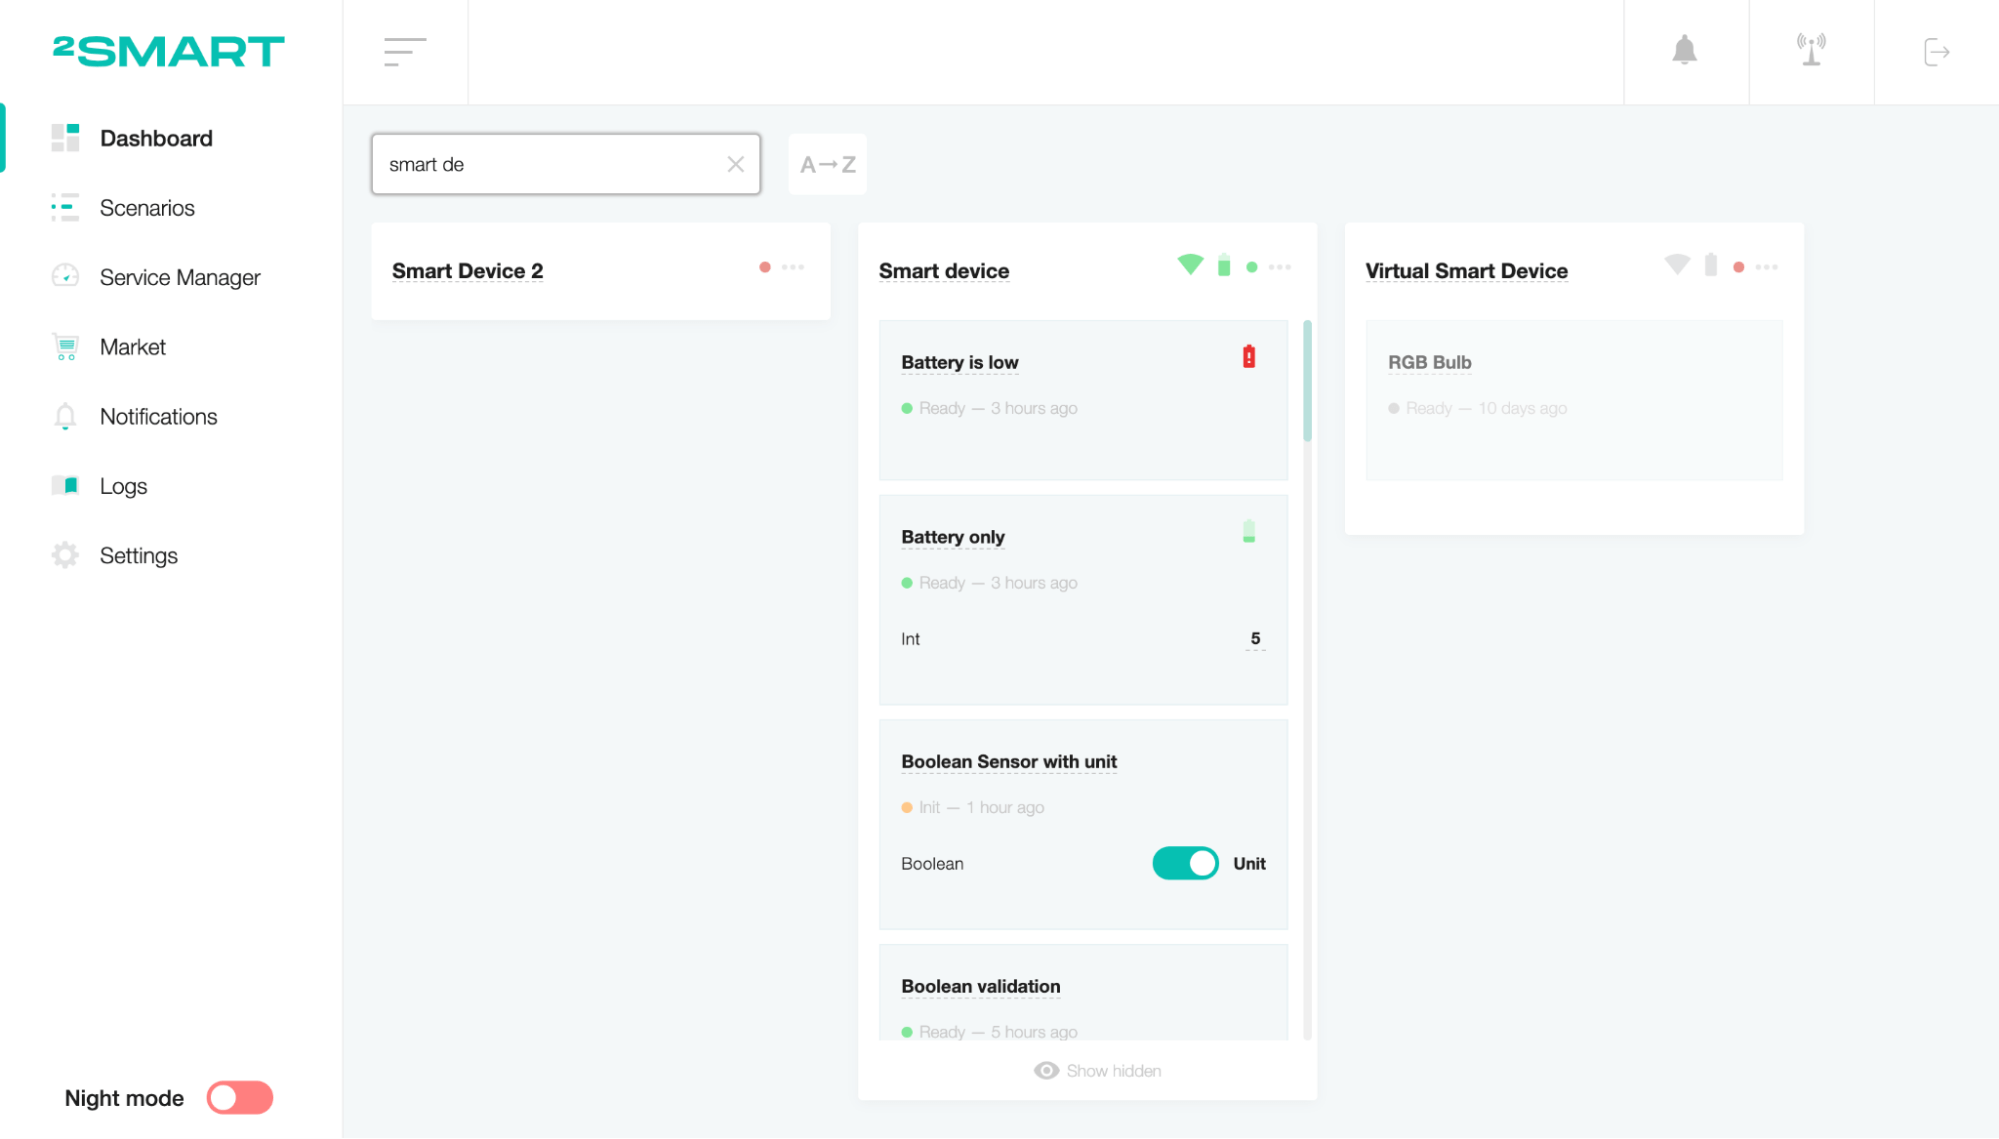
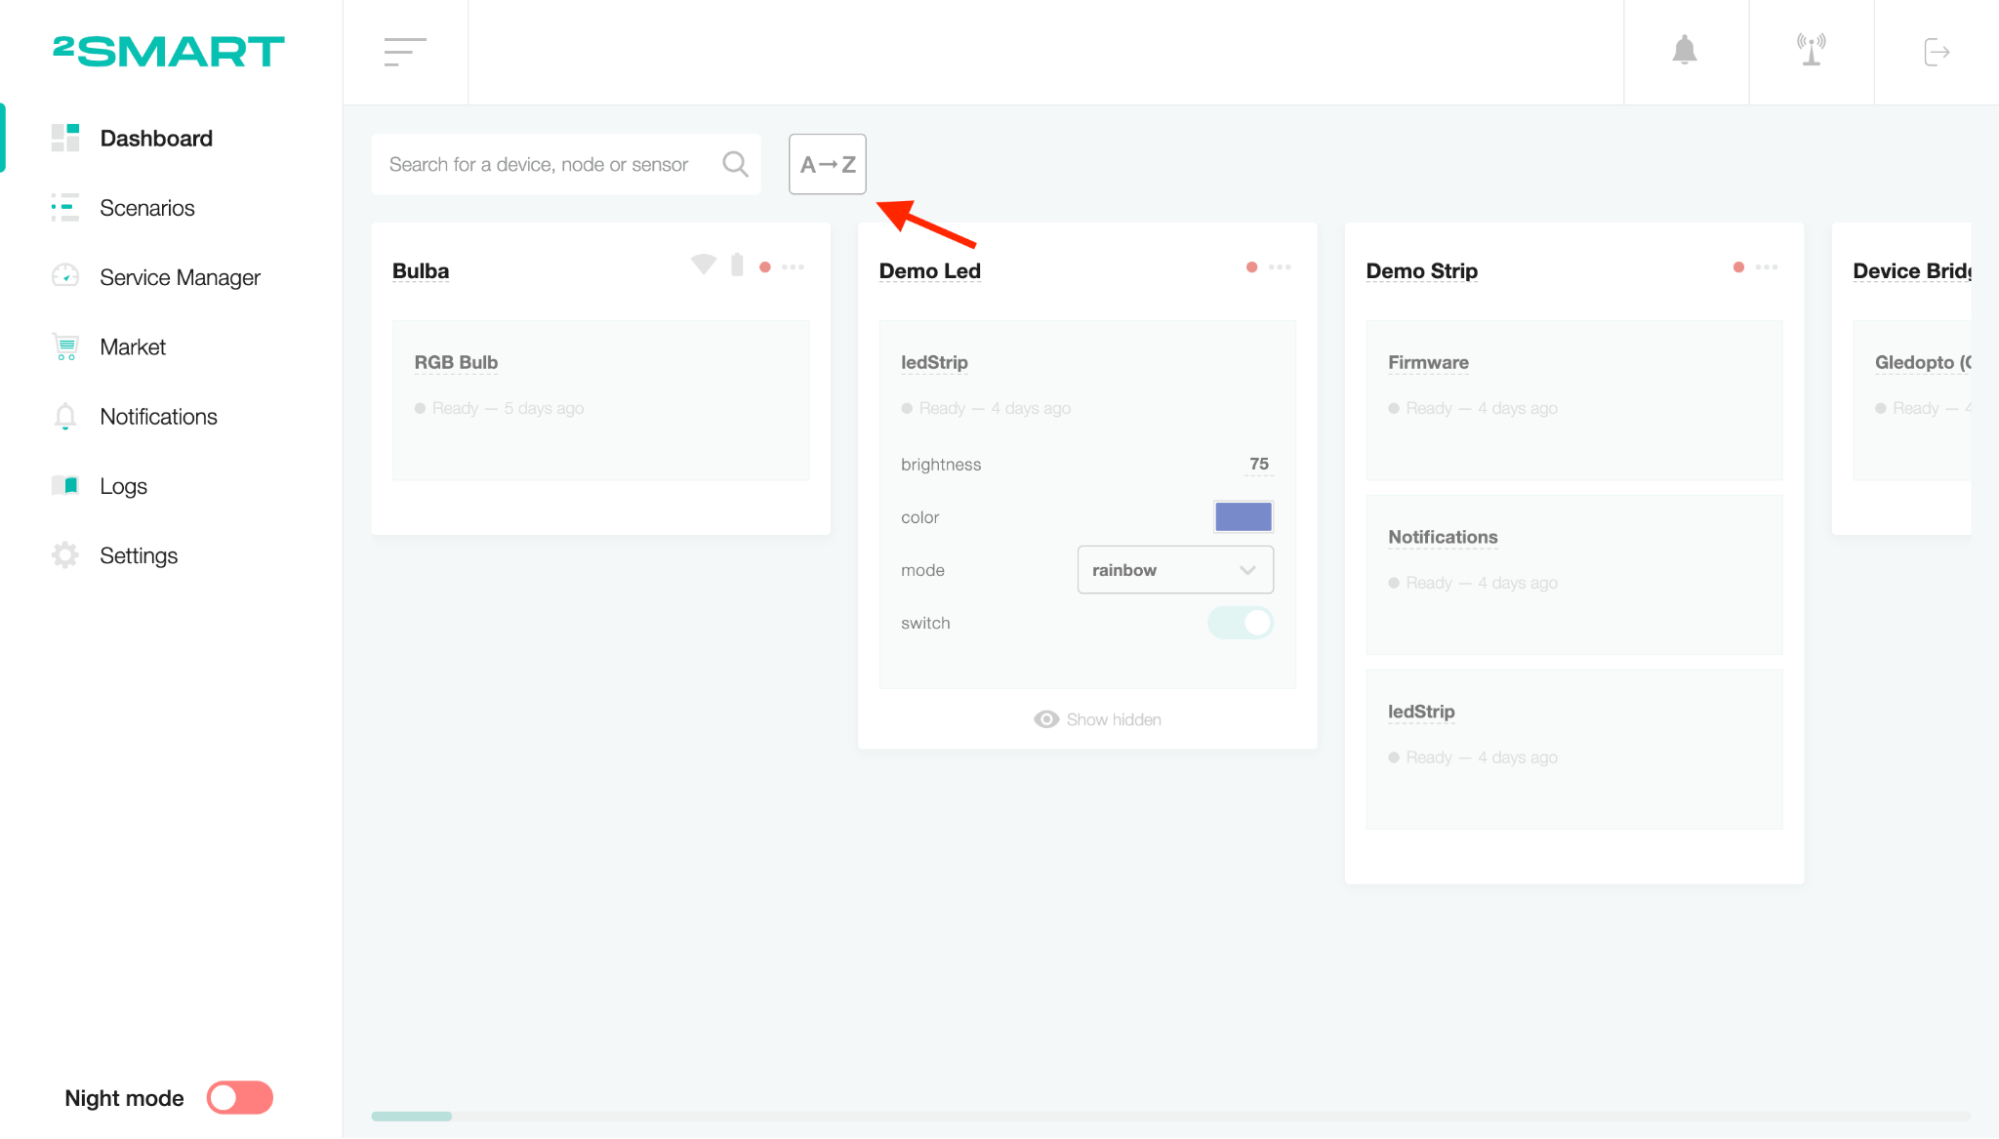
To sort devices on the dashboard, press the “A->Z” or “Z->A” button according to the type of sort.
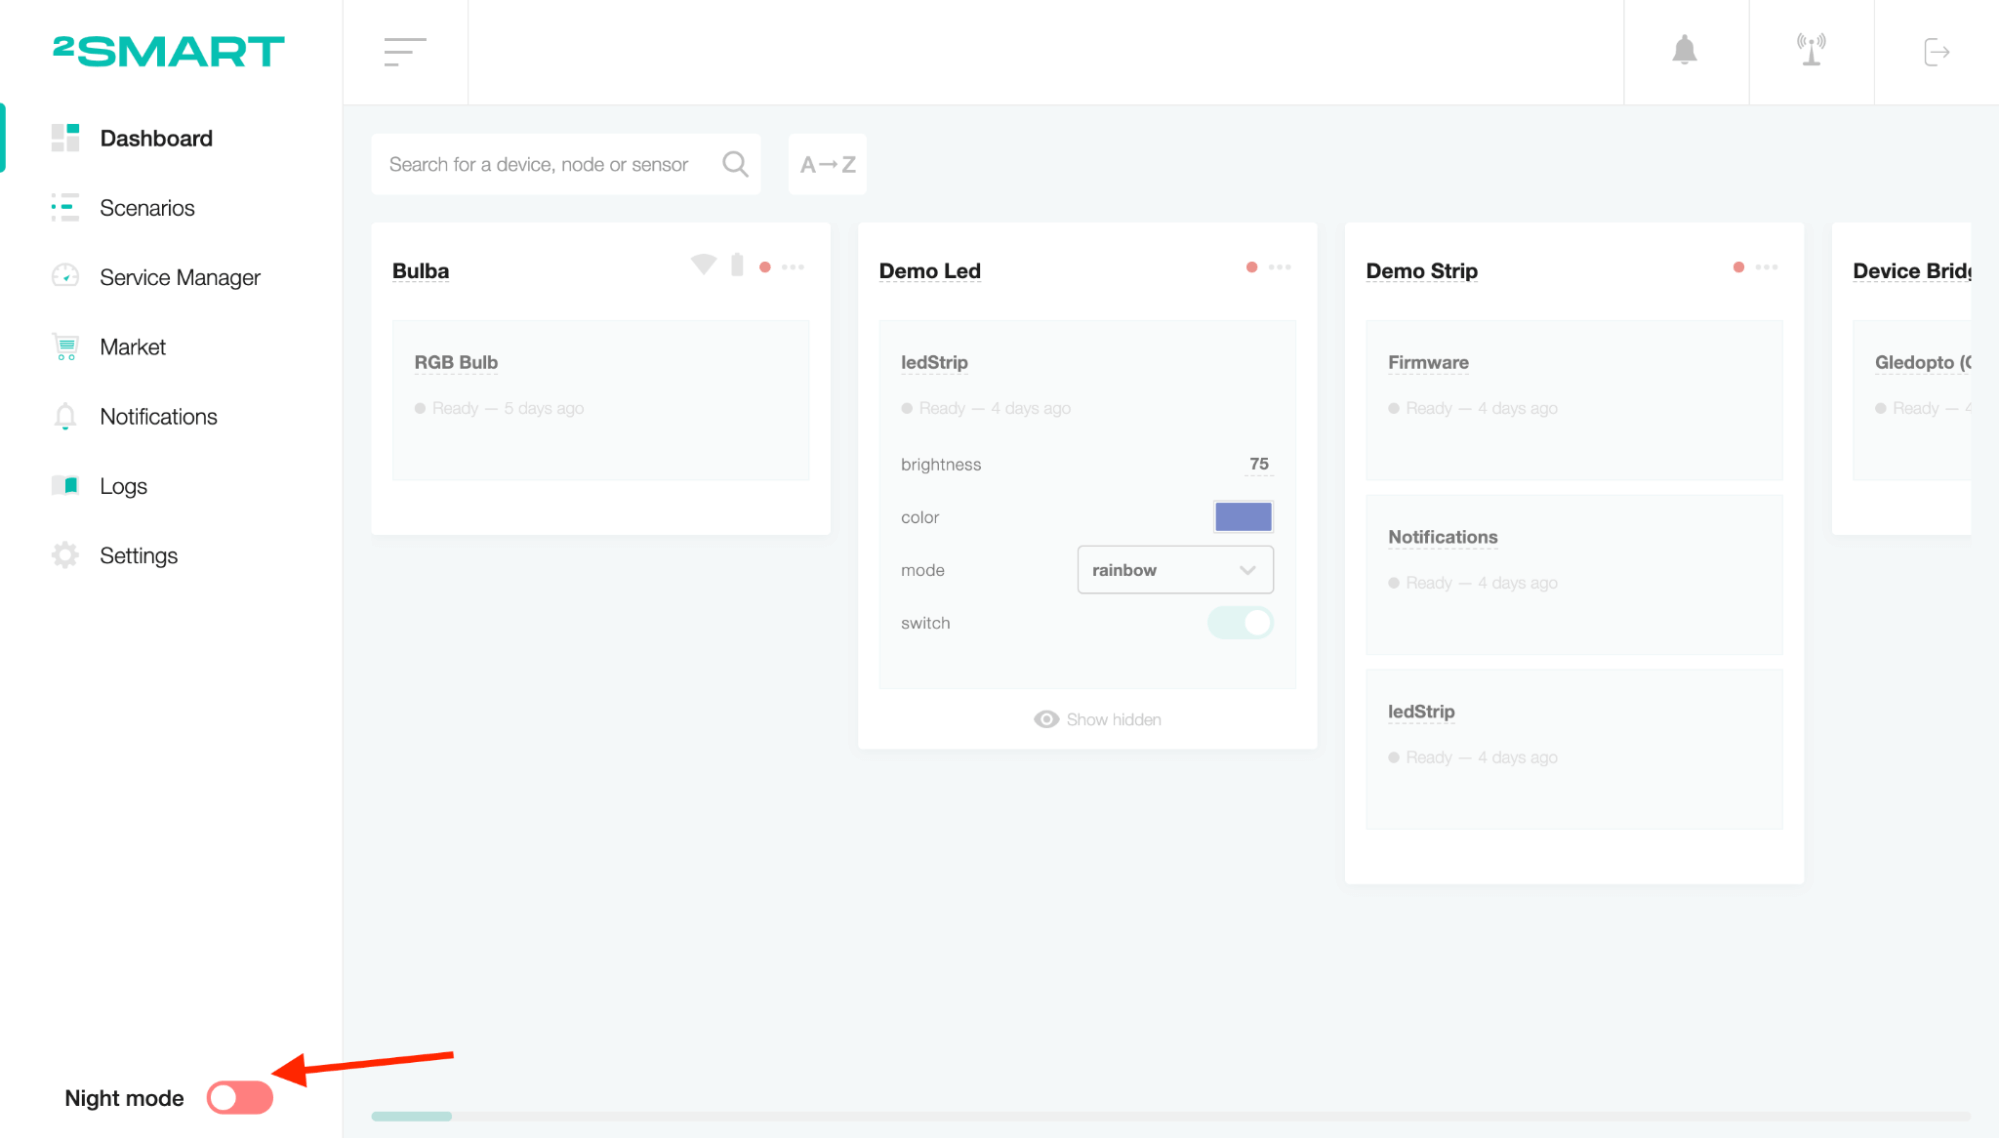
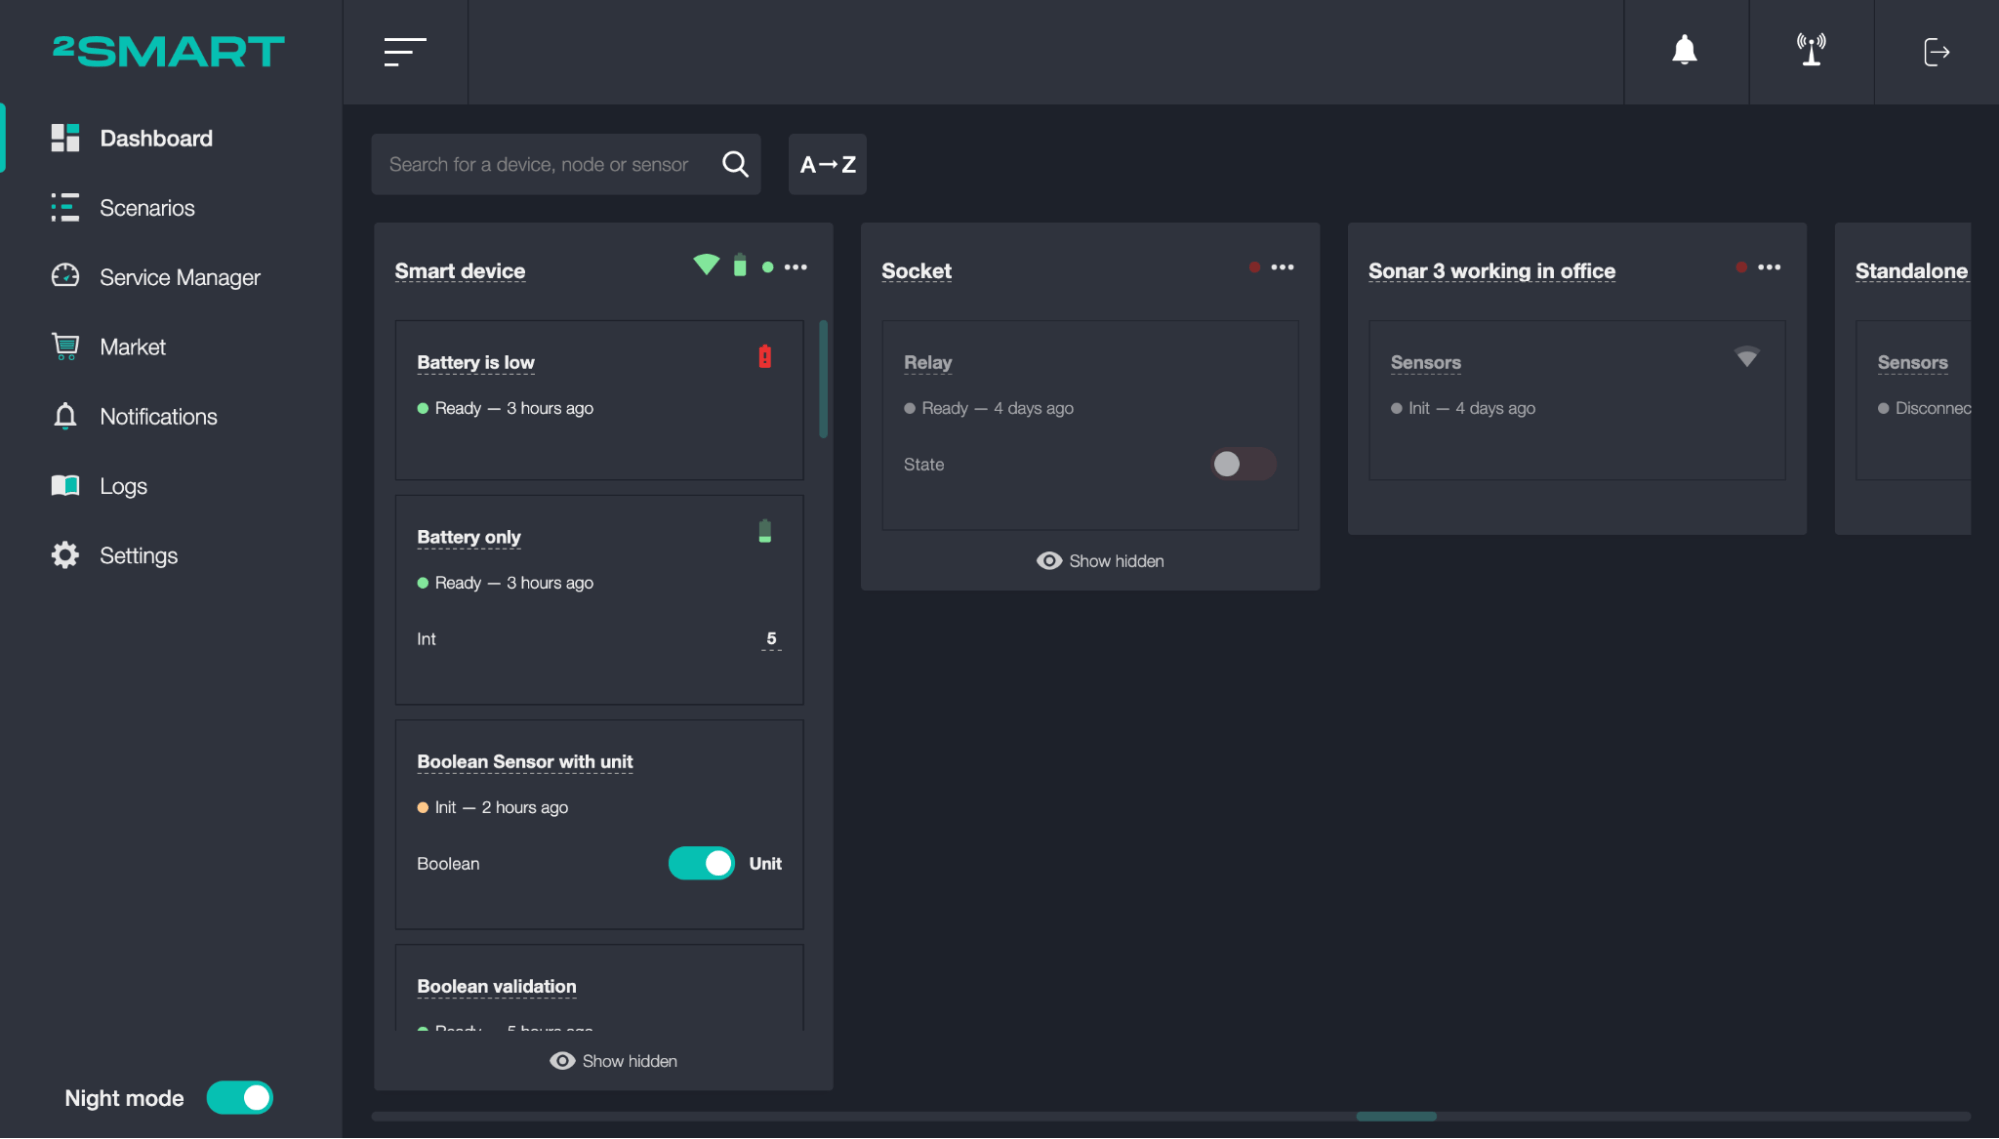
Night mode
Click on the “Night mode” toggle to activate a dark appearance for the design.