2smart Сloud Integration
The bridge will allow you to integrate 2Smart Standalone with the 2smart Сloud platform.
Installation
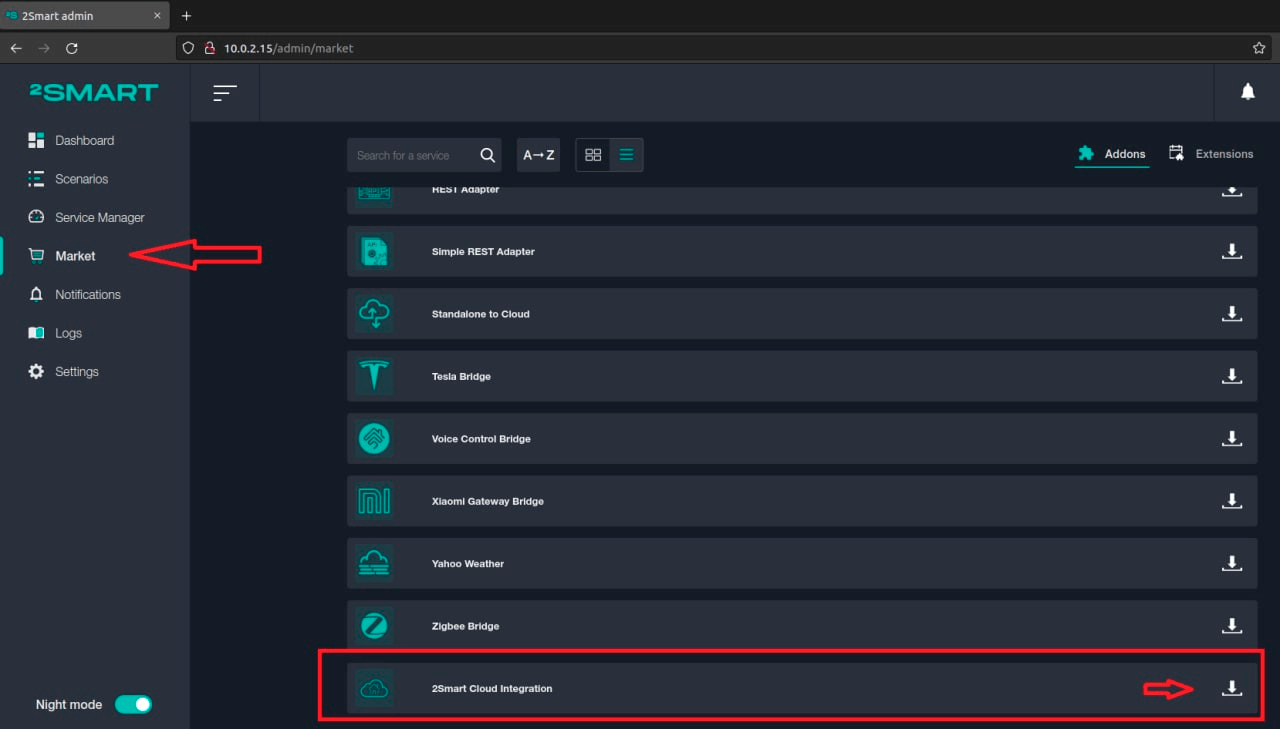
On the Market page, open the Addons tab and click on the download icon near the selected item.
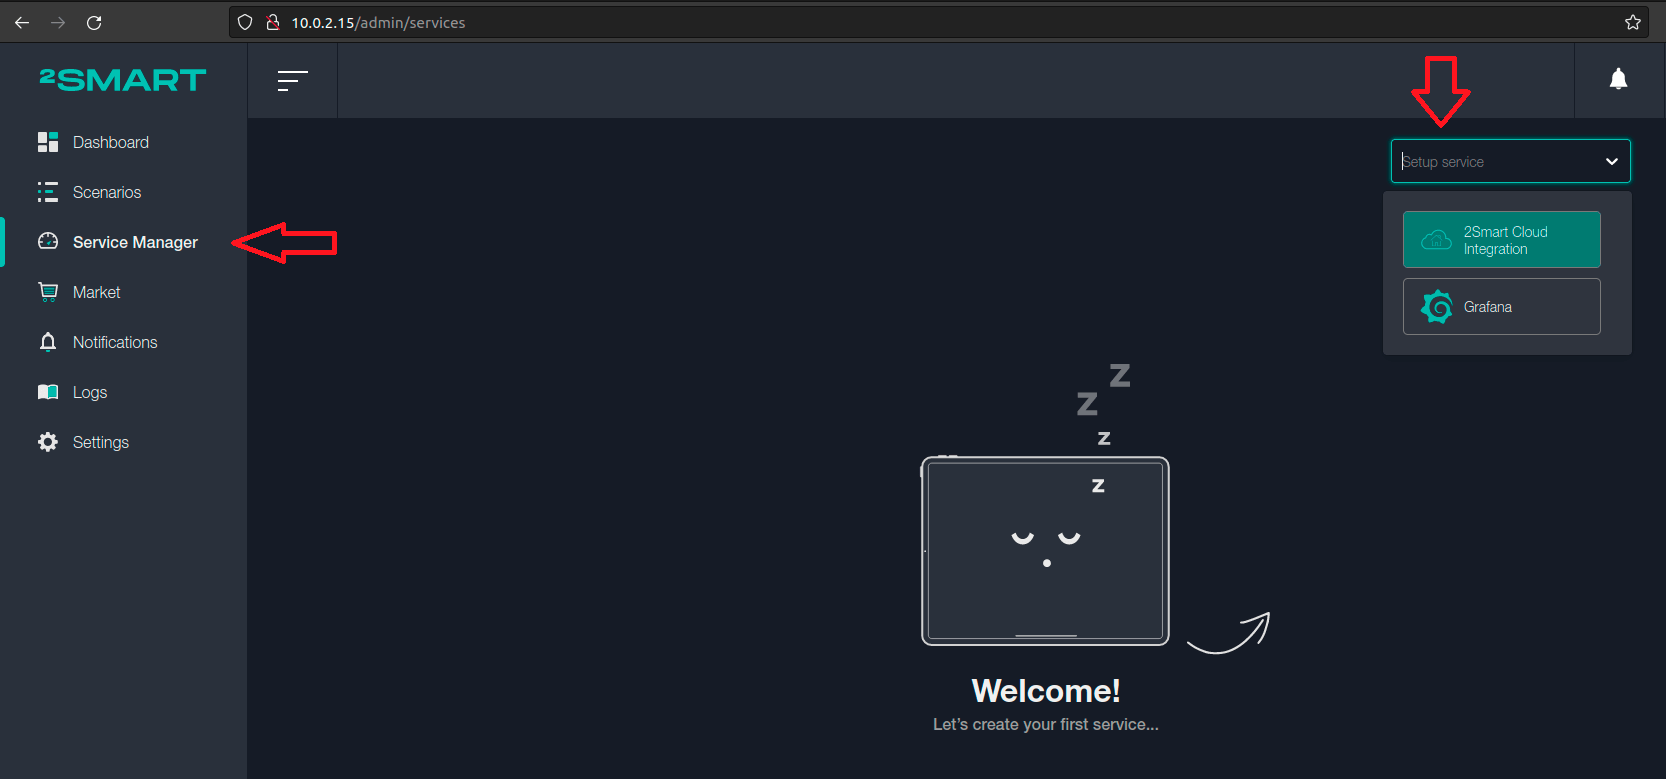
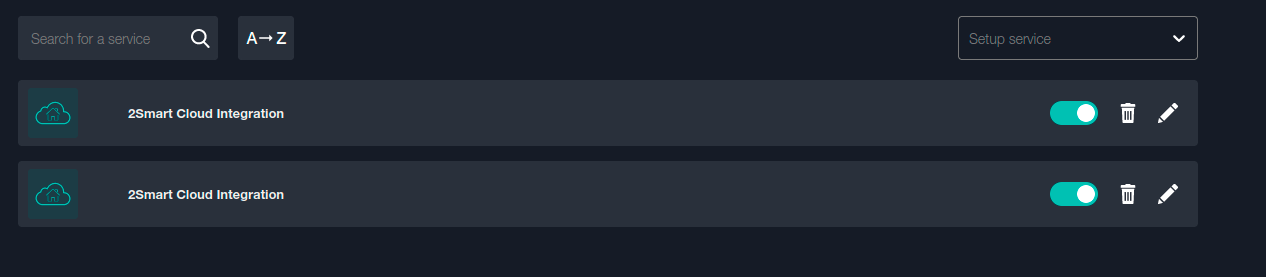
Go to the Service Manager page, click the “Setup Service” list and select the downloaded addon.
Setup
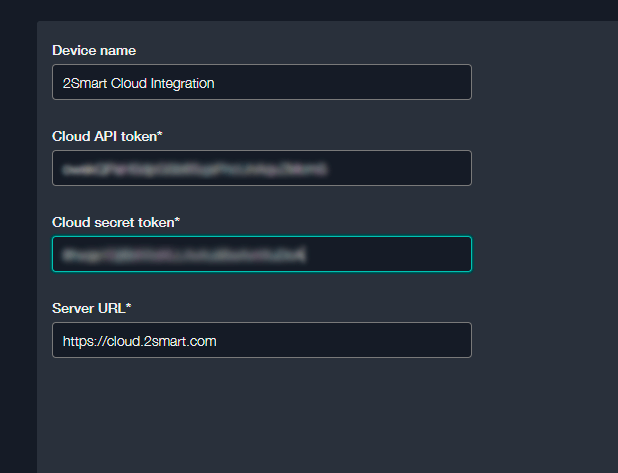
In the addon settings, specify the following fields:
- Device name.
- Cloud API token.
- Cloud secret token.
- Server URL.
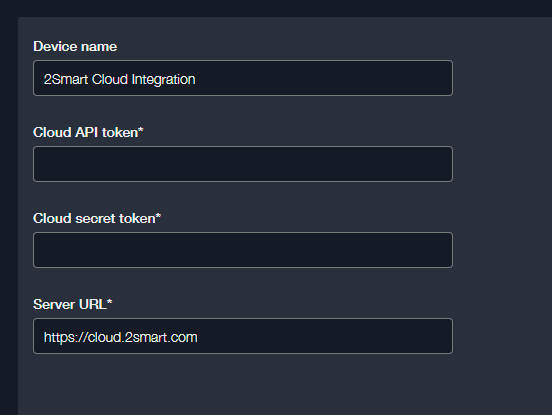
Enter any text in the "Device Name" field. The integration will be displayed in the 2Smart Standalone device panel with the title specified here.
Note that you only need to edit the “Server URL” field when using a local server. You need to specify its IP. When using the standard cloud platform version, leave the default value.
As for tokens, you need to generate them on the 2Smart Cloud side. Below will show how to do this.
Setting from the 2Smart Cloud side
Go to your account on the 2Smart Cloud platform - https://cloud.2smart.com/
Please note! The 2Smart Cloud uses a single account for the developer and the mobile application user. Therefore, device end-users can also use their credentials to log into the platform.
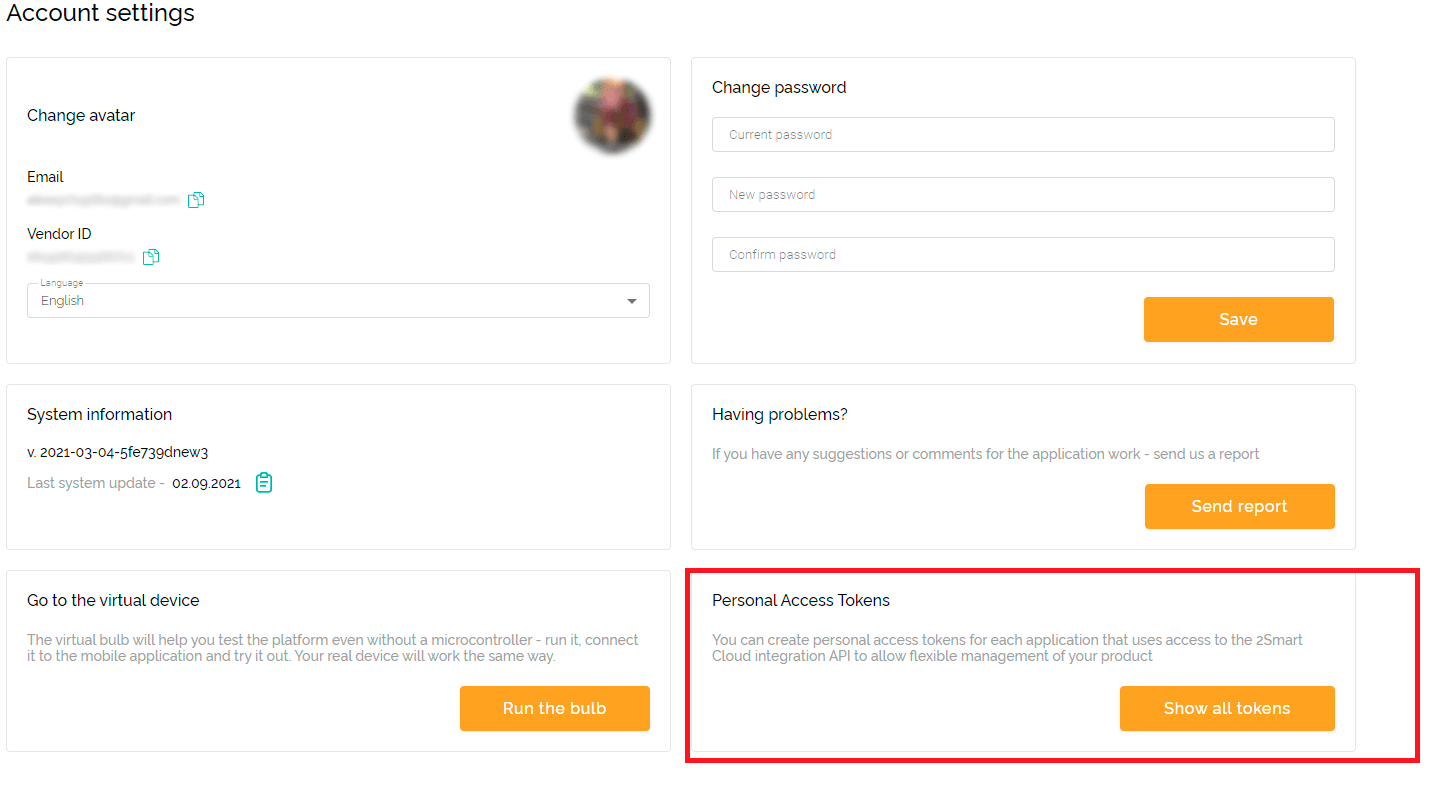
- Go to the Account settings page.
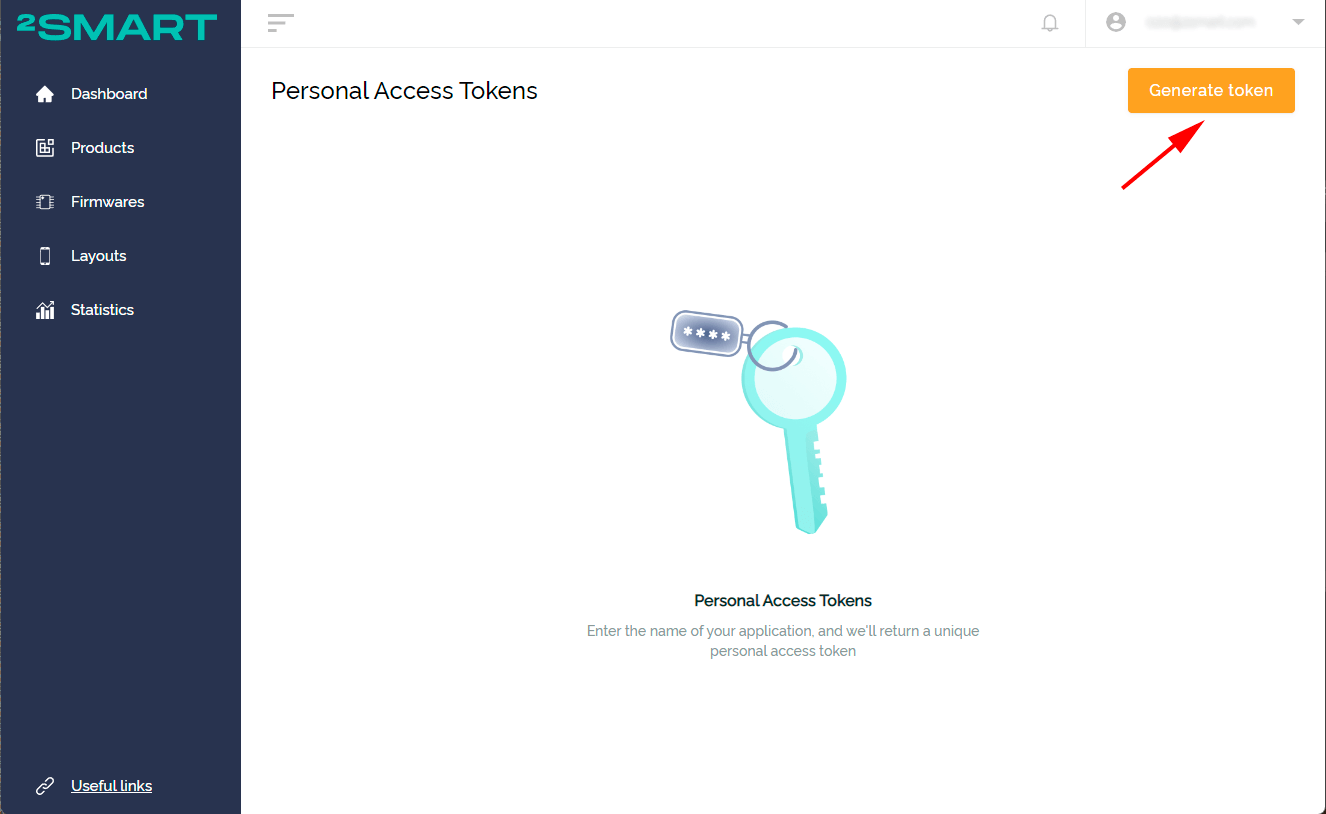
Click the “Show all tokens” button.
In the window that appears, click the “Generate token" button.
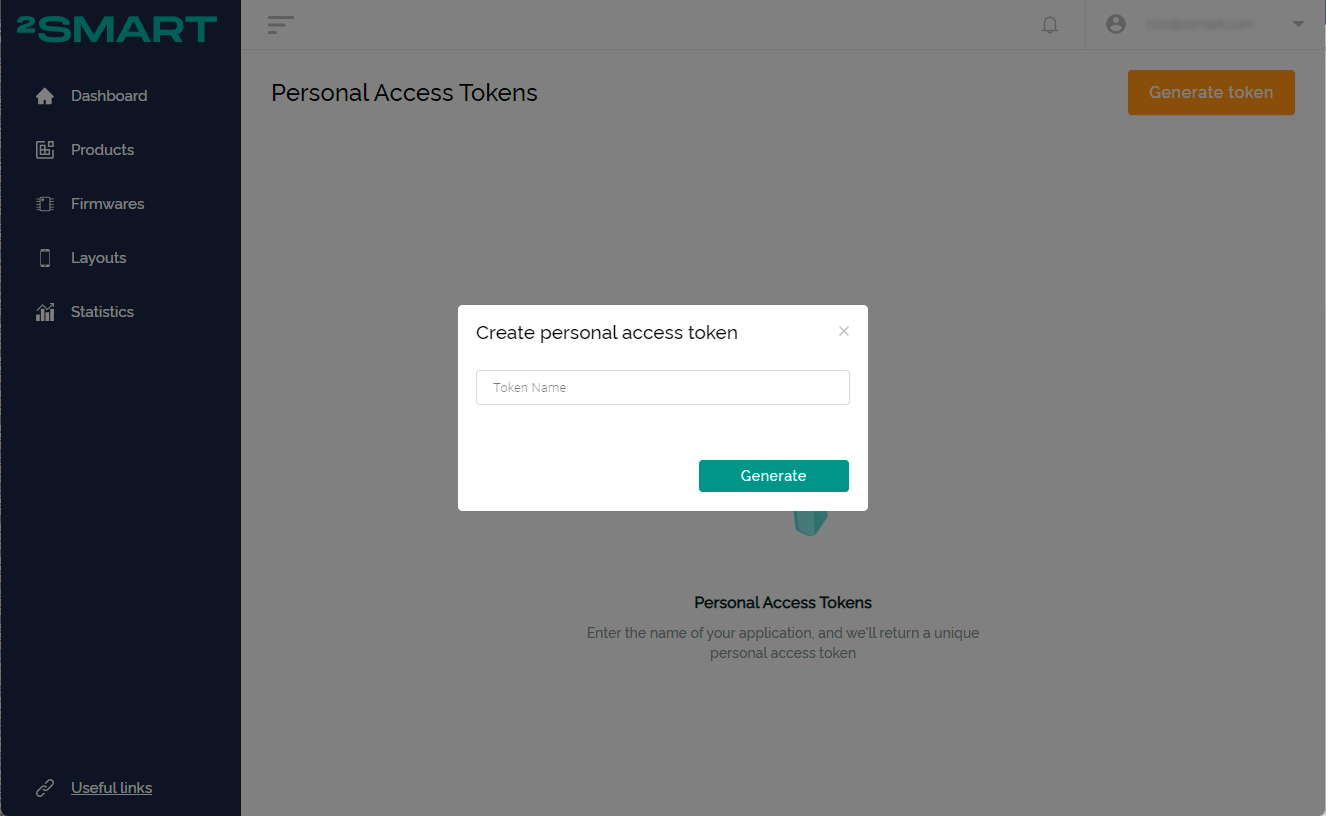
Specify a name for the new token – for example, “Standalone". Click the “Generate” button.
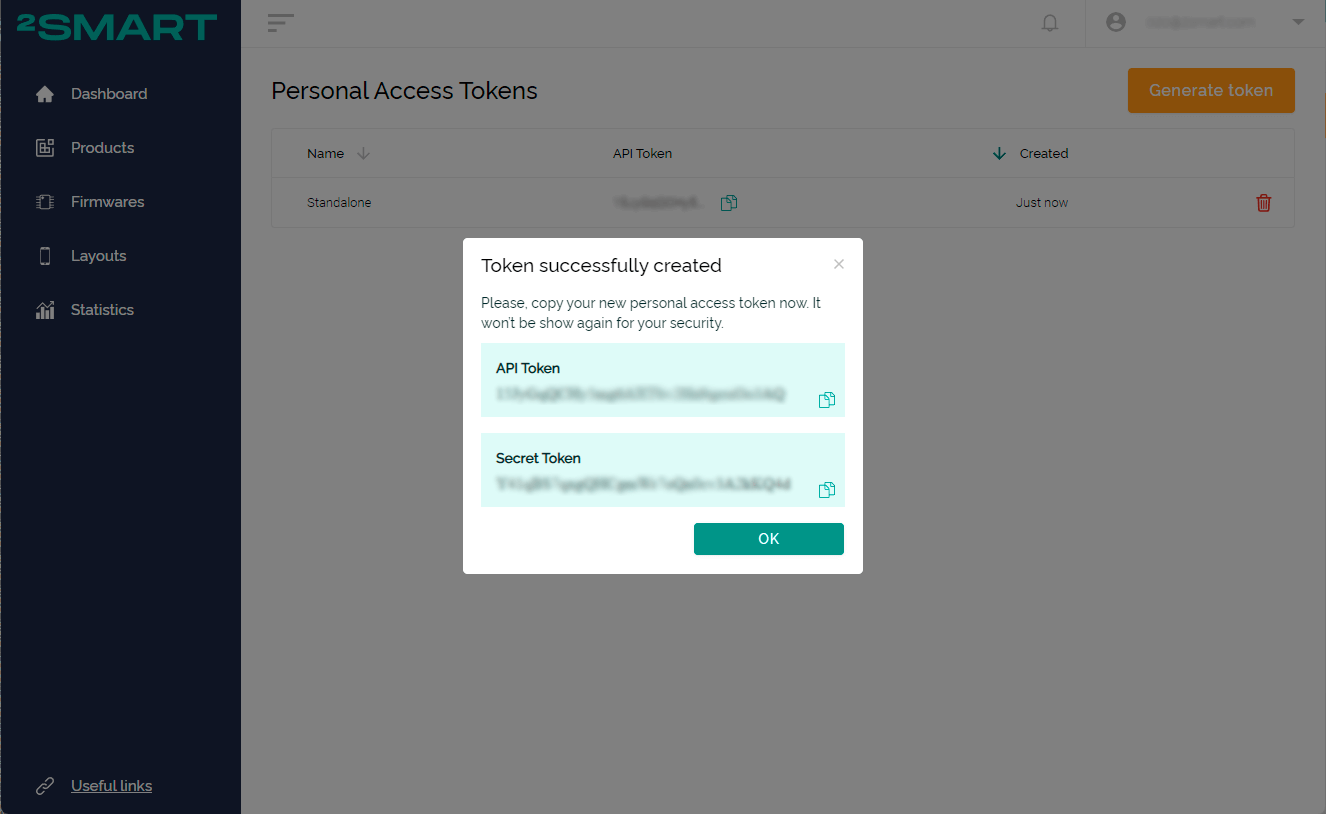
Copy the API Token and Secret Token values to the corresponding fields of the 2Smart Cloud Integration bridge settings window.
Please note! The Secret Token value is displayed only once, right after the token is generated, so you need to copy it immediately.
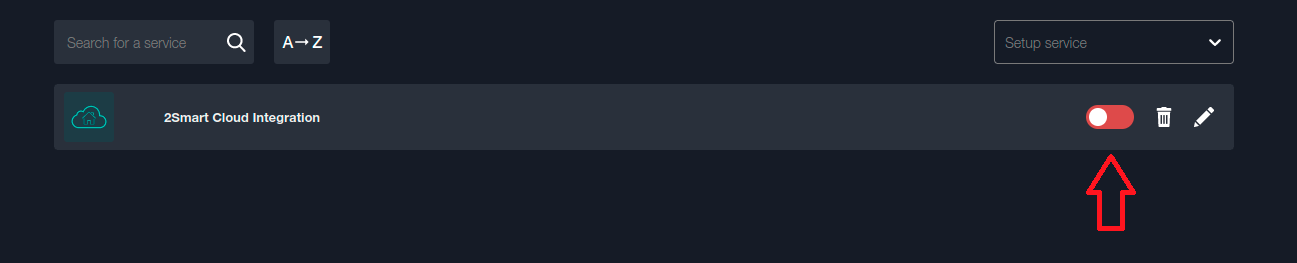
To start the addon, turn on the toggle of the status.

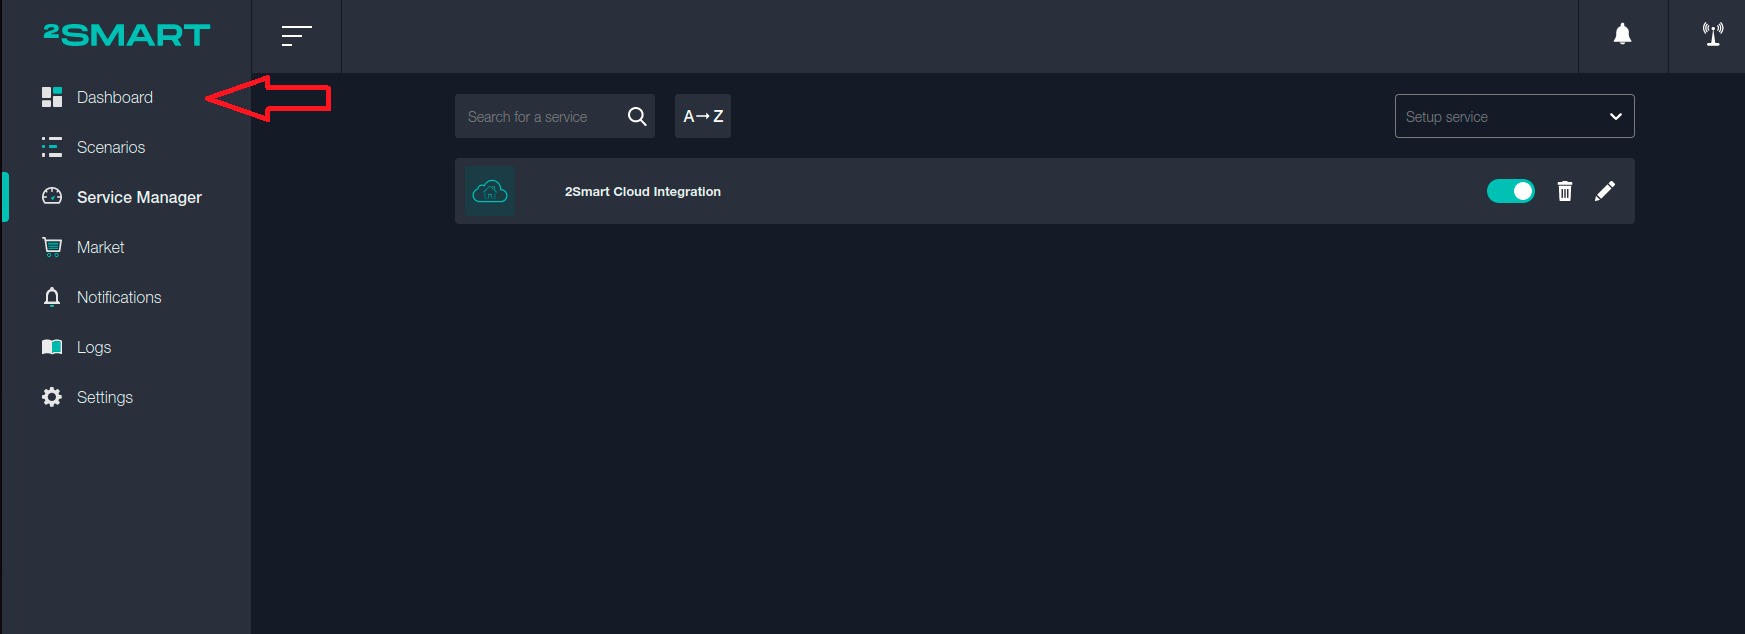
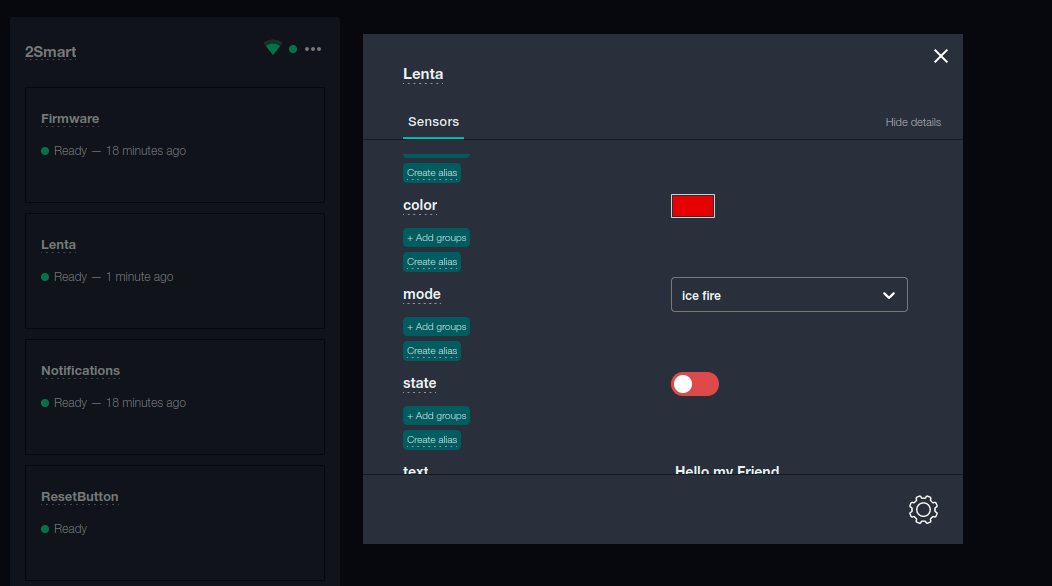
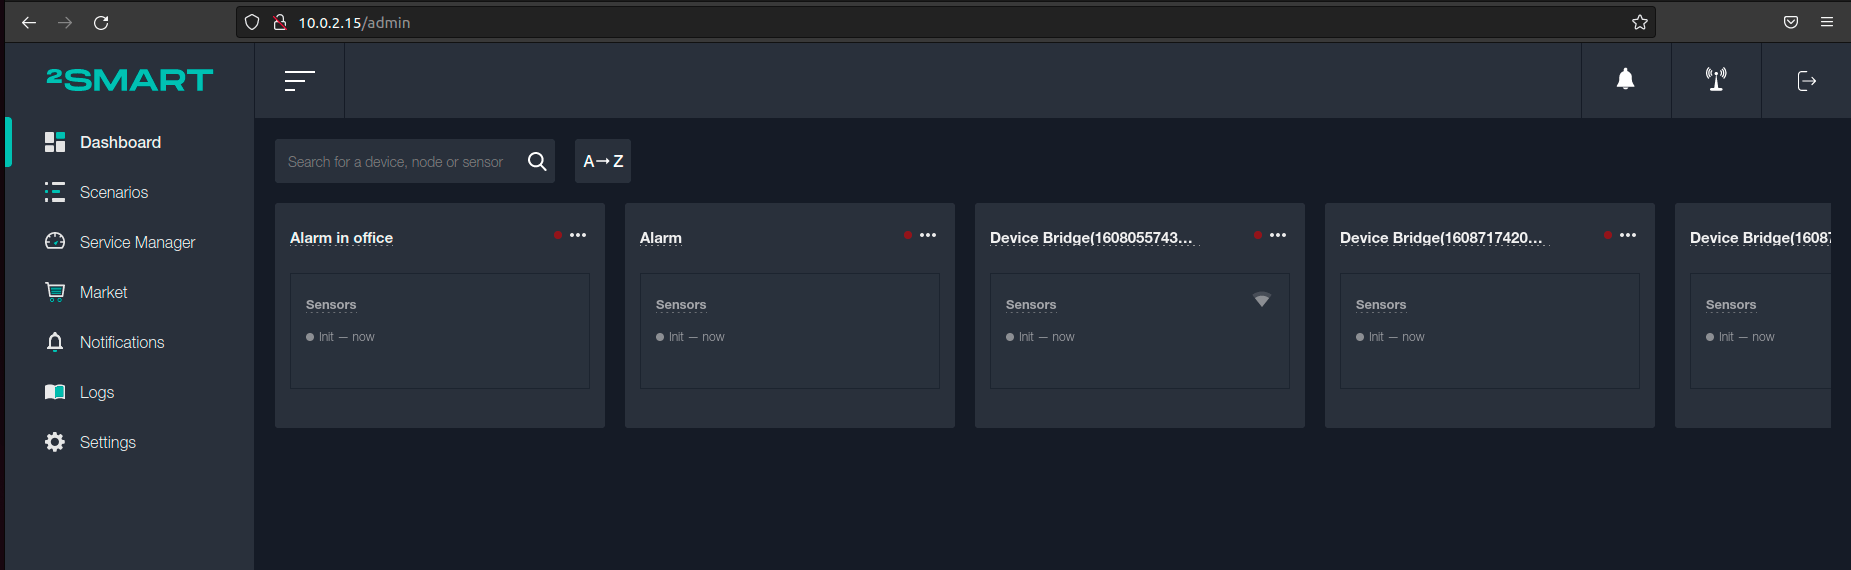
Go to the Dashboard tab.
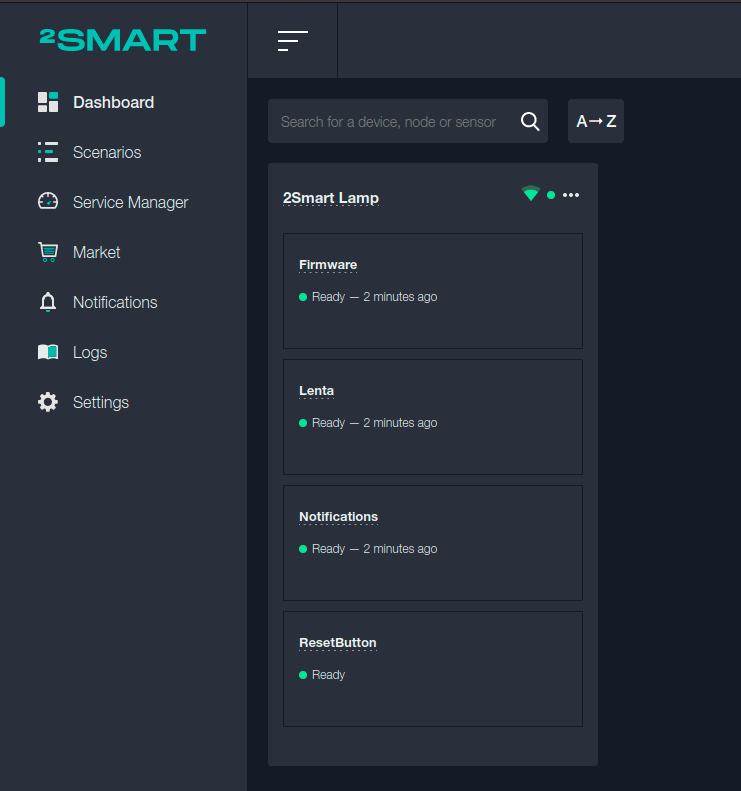
The Standalone application now displays your devices connected to the 2Smart Cloud account. You can control them using the available widgets and scenarios.
For example, edit the TEXT field and ensure that the value is also changed in the cloud app.
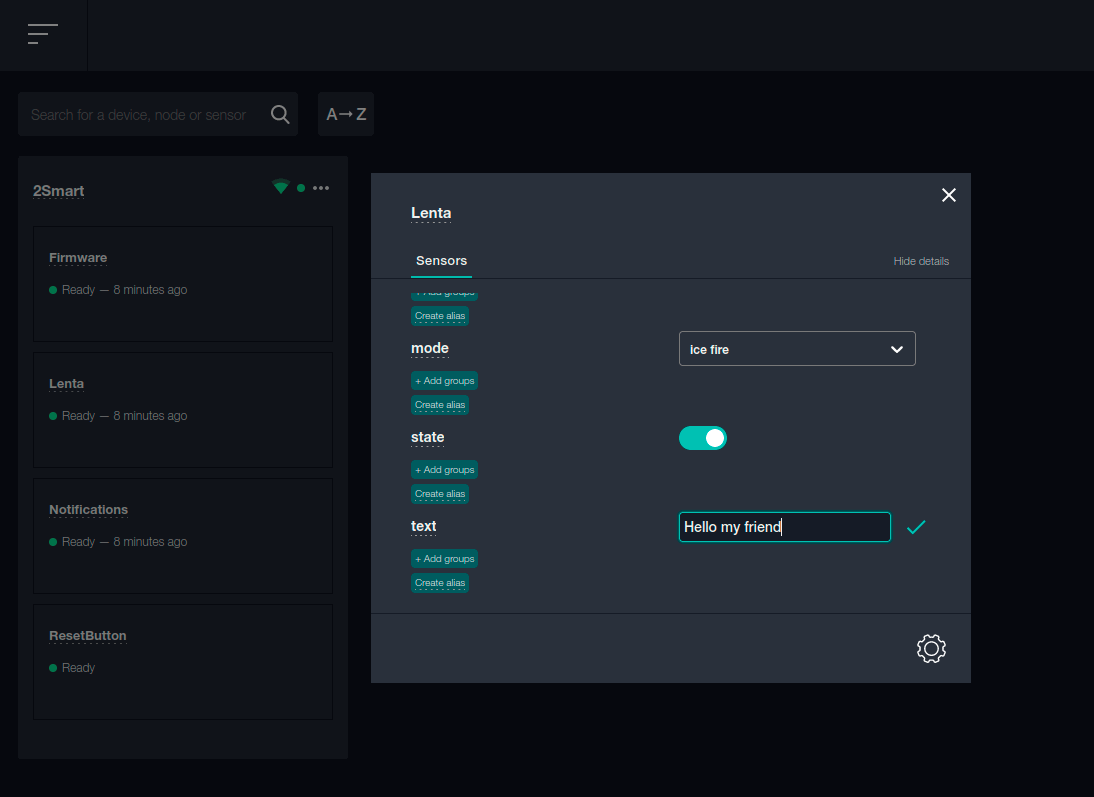
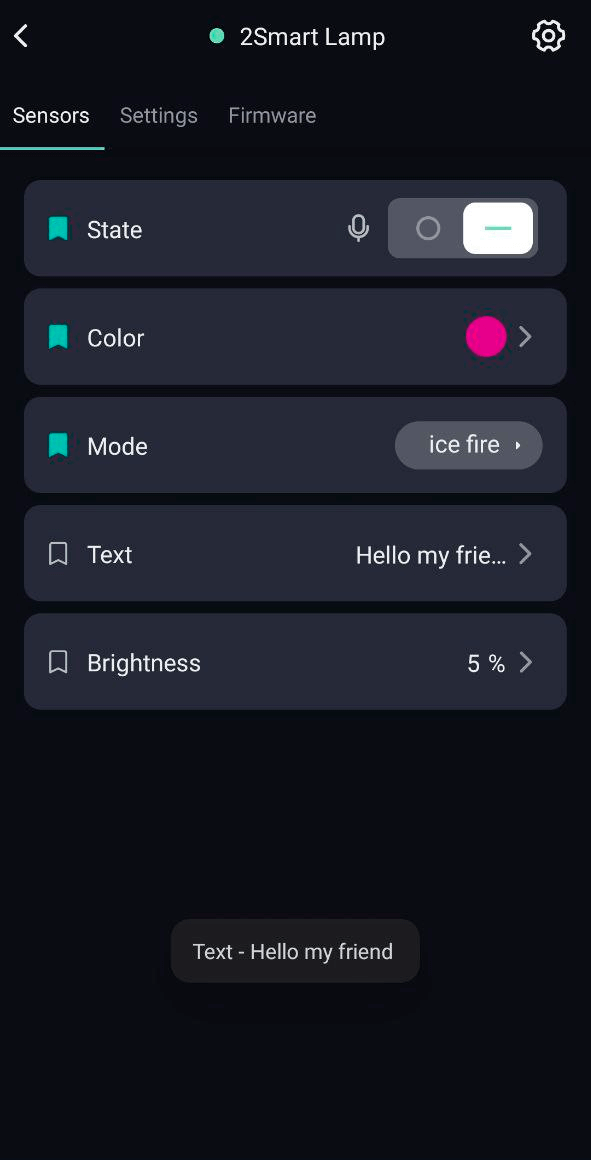
Similarly, you can edit device parameters using a cloud application, and in the Standalone panel, all changes will be visible immediately.
For example, let's set the red color of the lamp glow instead of purple.
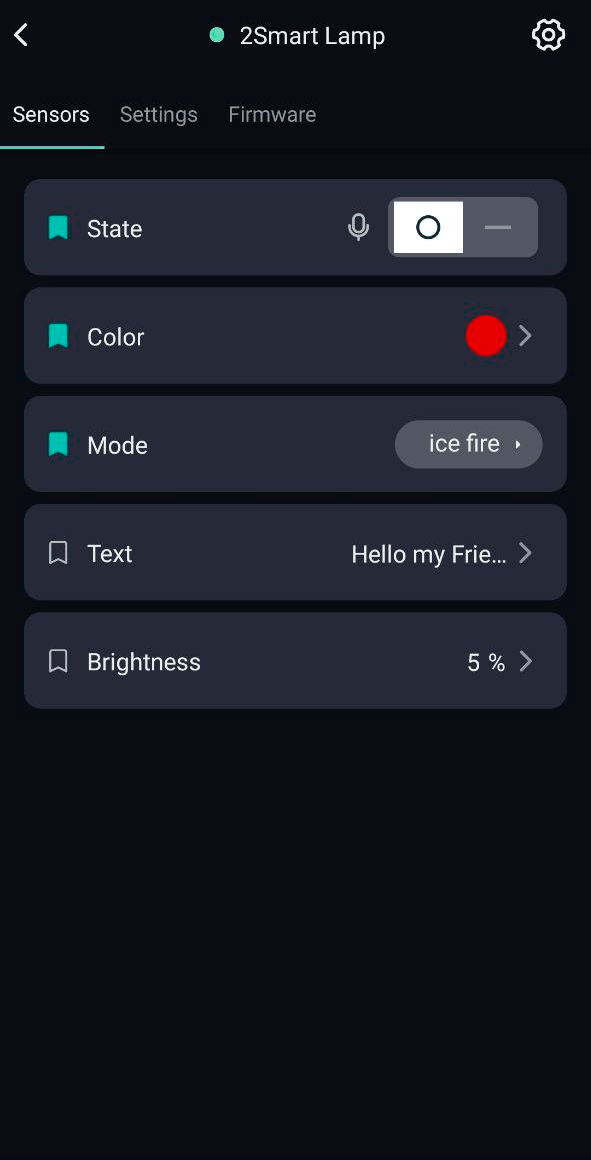
The 2Smart Standalone web application displayed all changes.
Please note that you can link multiple 2Smart Cloud accounts to the 2Smart Standalone web app. To do this, create additional bridges and specify the credentials of other 2Smart Cloud accounts in each of them. Devices from all accounts will be available to control from your Standalone panel.
Also, note that deleting or stopping the bridge will not remove devices from the Dashboard page. You need to remove them manually.
When you disable the bridge, the status of the devices will change to off, and you will not be able to control it using the Standalone application. After the bridge is re-enabled, the devices will become available again. In this case, you will see all settings changes if they were made on the 2Smart Cloud side.