Custom scenario creation and publishing
You can create your scenario and publish it using NPM. After that, it will immediately get to the Market, where your users can download it.
This feature is primarily intended for developers, as it is convenient during the product support stage. You can create and publish a scenario to be used by your clients. It is enough to publish a new version using NPM and update the scenario in the Market for the scenario changing or fixing.
How to create a custom scenario
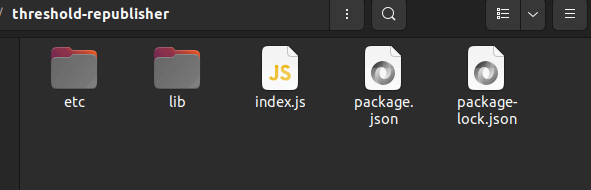
Create a directory for the module:
 mkdir <simple-scenario-name> # replace <simple-scenario-name> with your simple scenario name
 cd <simple-scenario-name>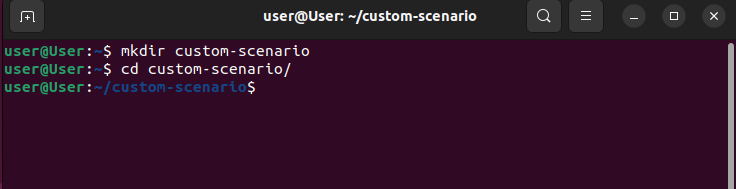
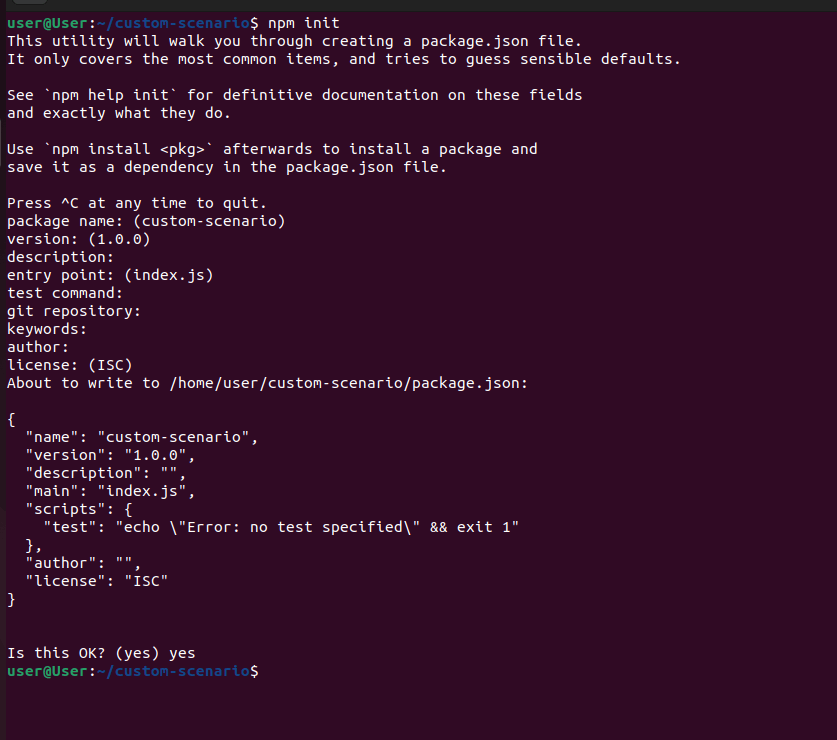
Create a package.json file by executing the "npm init" command.
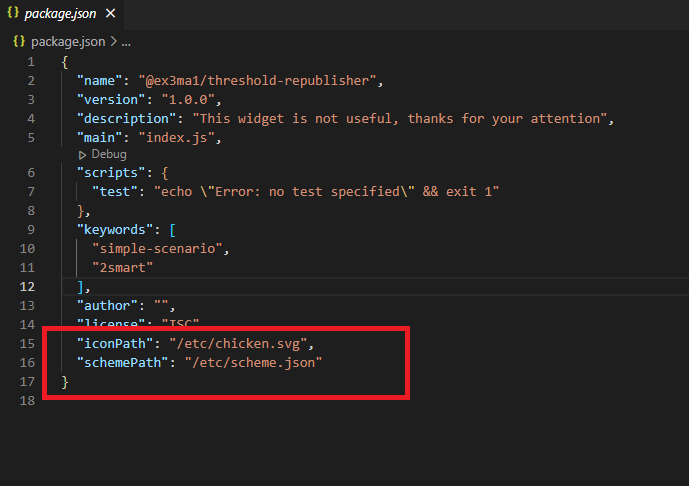
Please note: you must add "2smart" and "simple-scenario" keywords when configuring a package.json file for recognizing your scenario by the system.
Please note: if you specify 0 as the major version, users can update your package only for the subsequent patch releases in the current minor version. For example: if you specify version "0.1.0", users will be able to update your package only in versions range '>=0.1.0' and '<0.2.0'. See details: https://nodesource.com/blog/semver-tilde-and-caret/ ("Caret: Major Zero" point).
Add keywords:

Add your scenario icon (in SVG) and scenario scheme (description of environment variables that should be passed to your scenario from the user's input, in JSON) to the directory.
Scheme JSON file must contain the array of input configuration objects for rendering on 2smart UI.
Configuration object fields:
- label - input label;
- name - the name of the environment variable for current input to pass to your scenario;
- type - input type, current available types: 'string', 'number', 'integer', 'id', 'enum', 'boolean', 'topic', 'topics', 'javascript', 'json';
- validation - LIVR validation for the current input, see docs for details: LIVR docs;
- placeholder - input placeholder.
Example of scheme.json:
[
    {
        "label": "Schedule*",
        "name": "SCHEDULE",
        "type": "schedule",
        "validation": [
            "required",
            "string"
        ],
        "placeholder": "Set schedule"
    }
    ...
    ...
    ...
]
In the example below, it was created a separate directory with an icon and a scheme:

Example of the scheme:

To explain this scheme, it was created a topic called Switcher validates that only string topics can be selected.
After that, in the package file, specify the path to the scheme and the icon.
Add all of your simple scenario files to the directory and put a call of your scenario primary function to the file specified in the "main" field of package.json
Please note: HFS+ journaling file system used in macOS is case-insensitive, so don't make a file in the same directory with the same names but in different cases(e.g. "/lib/foo.js" and "/lib/Foo.js")
Don't change the main file with package.json - index.js.
Example of index.js:
    const simpleScenario = require('./simpleScenario.js');

    const {            //
        FIRST_PARAM,   // all fields, specified in scheme file should be passed to scenario.args object
        SECOND_PARAM   // so, you have access to them by its names
    } = scenario.args; //

    simpleScenario(FIRST_PARAM, SECOND_PARAM); // IMPORTANT: you must put the call of your main scenario function in this "main" file
However, there is an alternative way to create more readable code. Pass the method described in the scheme (that is, the created topic) to index.js.
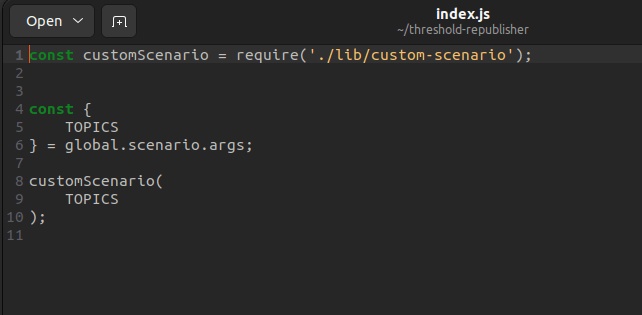
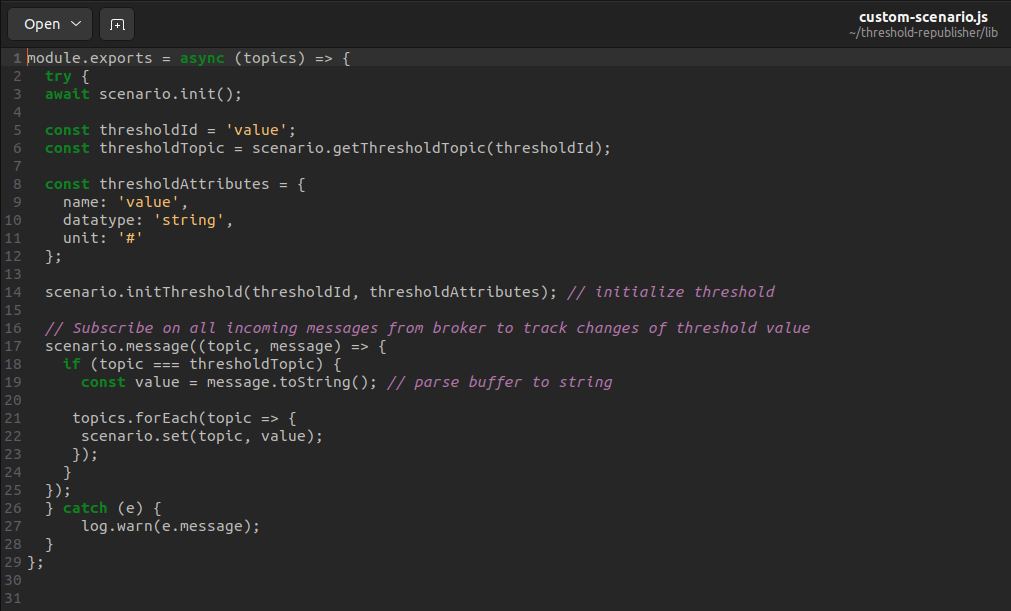
Describe the logic in a separate custom-scenario file.
The code logic is simple. Use API and create a trash hold. Make it so that the message that will be written to the threshold will be rewritten in the topic that you selected when creating the scenario.
Add all of the required dependencies by executing the "npm install" command.
The code is written. Now you need to publish it, and 2Smart will pull up your scenario with the help of keywords.
Please note: Before you upload the scenario to NPM, you can download it locally and check if it works.
Uploading the scenario to NPM
- To upload the scenario, register on the NPN website: https://www.npmjs.com/.
- For publishing to NPM enable Two-Factor Authentication.
Run the following commands: npm login, npm publish --access public.
Please note: In package.json, you need to put your nickname in the name field before the name of your scenario. You will most likely have a problem if you try to use a name that you have not reserved. The example below uses the name: "name": "@ex3ma1/threshold-republisher".
Now publishing

- Publish the package in public access to the NPM, and it will appear in the "Market" -> "Extensions" tab on 2smart UI.
Custom scenario installation and setup
Open the 2Smart web application and go to the Extensions tab of the Market section.
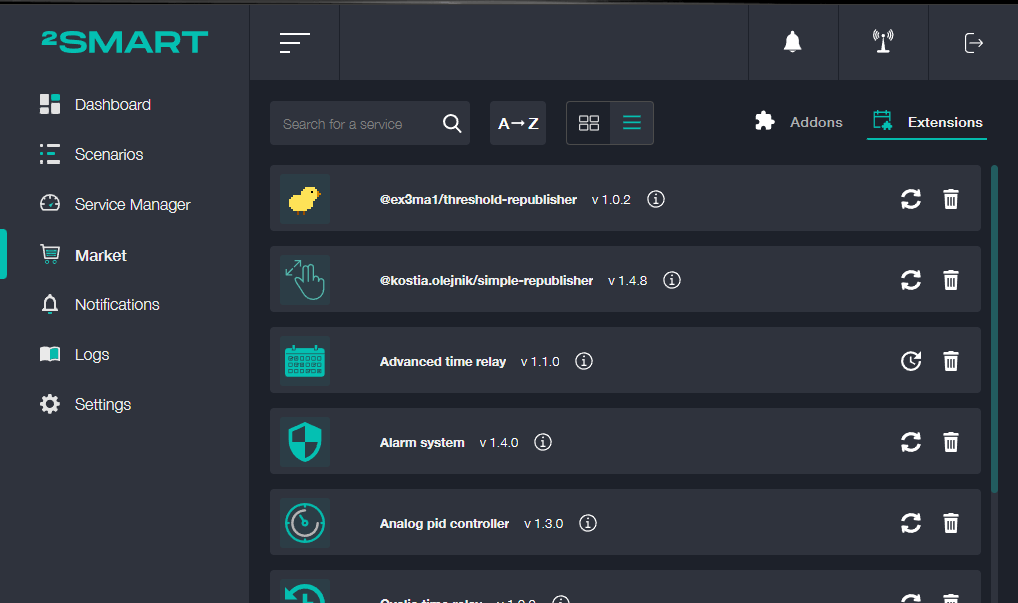
Download and install your custom scenario.
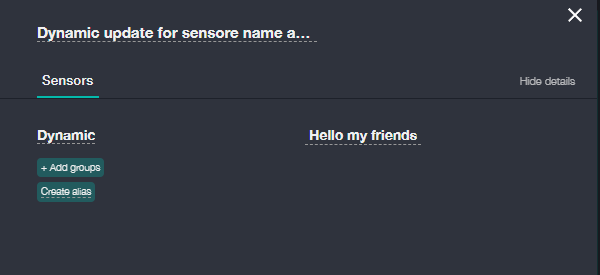
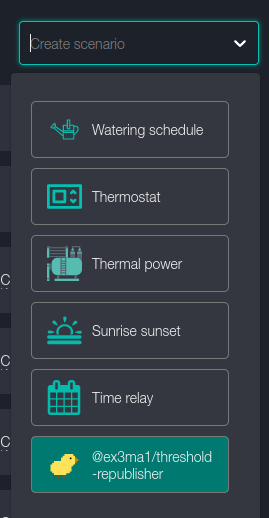
Go to the Scenarios page, click the “Create scenario” list and select your scenario.
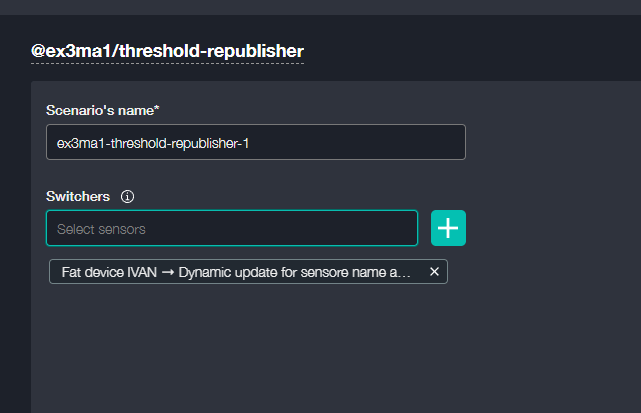
Make the necessary scenario settings.
Run the scenario. You will see its threshold.

Specify the necessary value in the threshold.
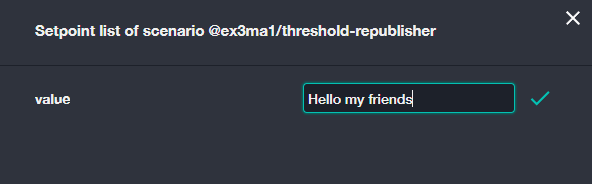
The value in the sensor topic will also be changed.